How we built a super easy DIY cat tree in just 1 day!
Disclosure: I am an Amazon affiliate and this post contains affiliate links, which means I may earn a commission (at no extra cost to you) if you purchase products mentioned.
Did you know it’s actually possible to build an easy DIY cat tree in one day? Okay, let me just clarify, we built it in one day, and I decorated and added things to it in the days following… but still, it was a super easy DIY project!
It was New Year’s Day a few years back when I approached my husband about building this cat tree for our kitty, Mixie.
“Babe, I have an idea to build a cat tree for Mixie! And look, I promise, we’ll use only materials we have on hand and it will be done in one day!” I knew adding those conditions would help him agree to it. My husband is NOT a fan of projects that go unfinished or cost a lot of money!
Let me show you guys how we did it! And I will say, it’s NOT a glamorous or super pretty tree, but it is SUPER sturdy and our kitty loves it! And it turned into a super fun New Year’s Day project.
Gathering our materials…
My husband and I do a lot of DIY projects around the house. From tiling floors to building custom cabinets, we’ve done quite a bit in the past two years since we bought our house!
This means we already had a bunch of scrap stuff hanging around for building this easy DIY cat tree! These were the scrap materials we used to put our cat tree together:
- 2″x4″s that were already in our garage when we bought the house
- 3/4″ plywood, leftover from making a shelf in our closet (cheap plywood)
- Pocket screws (from making our own cabinets!)
- Ordinary multipurpose screws
- Wood glue
Of course, in place of the pocket screws, you can just use normal screws and drive them in at an angle. If you do use pocket screws, you’ll need a pocket-hole jig and a drill to make the holes.
An impact driver is also pretty necessary for driving in the screws! If you really wanted to get around it, though, you could simply predrill your holes all the way (for ordinary screws) and screw them in by hand.
Putting our cat tree together!
To assemble these scrap materials into the perfect and easy DIY cat tree for our kitty, we first cut our “2×4″s into two long pieces, followed by four short pieces cut at a 45 degree angle for support.
We cut a piece of plywood into a large rectangle for the base and then attached the long 2″x4″s to it with the pocket screws and glue. We used ordinary screws to attach the four support pieces to both the base and the long 2″x4″s.
After this, we attached three 2″x4″s between the two longer 2″x4″s in a sort of stepladder pattern. To these, we screwed down plywood platforms, which were rectangular but smaller than the base.
At the very top, we attached a larger platform. I figured Mixie would want to sleep on the top as cats LOVE being at the highest point they can find!

Adding the finishing touches…
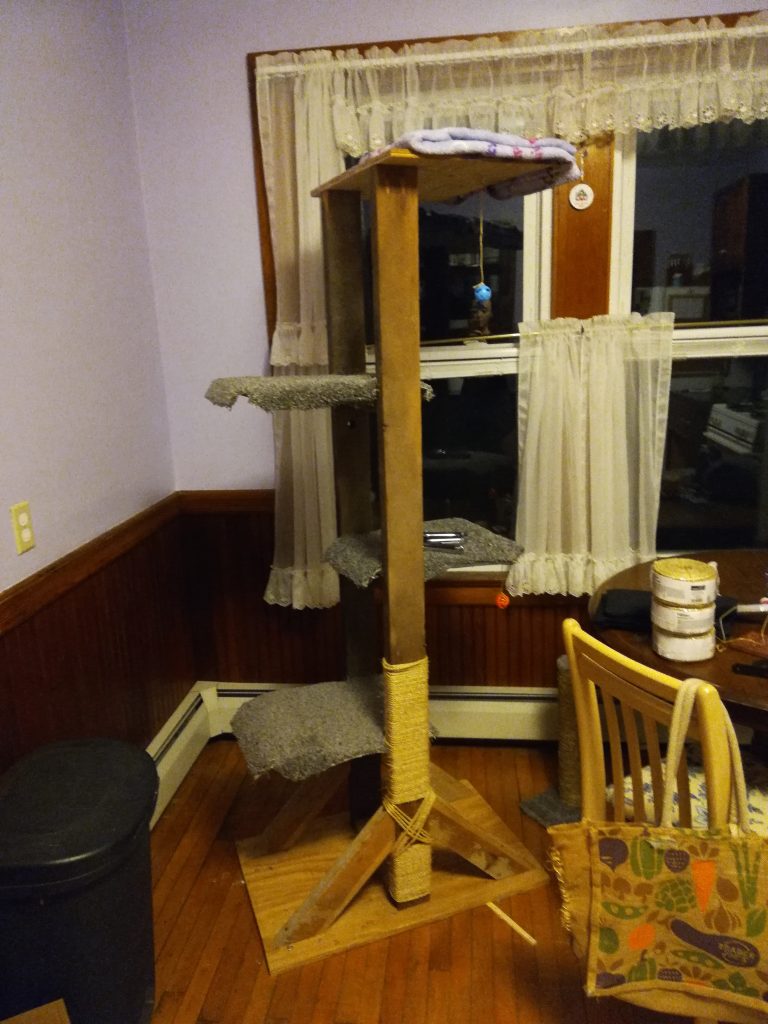
Once we had the skeleton done, we rested for the day. Unfortunately, I didn’t have any rug material hanging around or anything else to finish the tree. But we were already happy with how it was coming out! And our kitty was starting to like it…
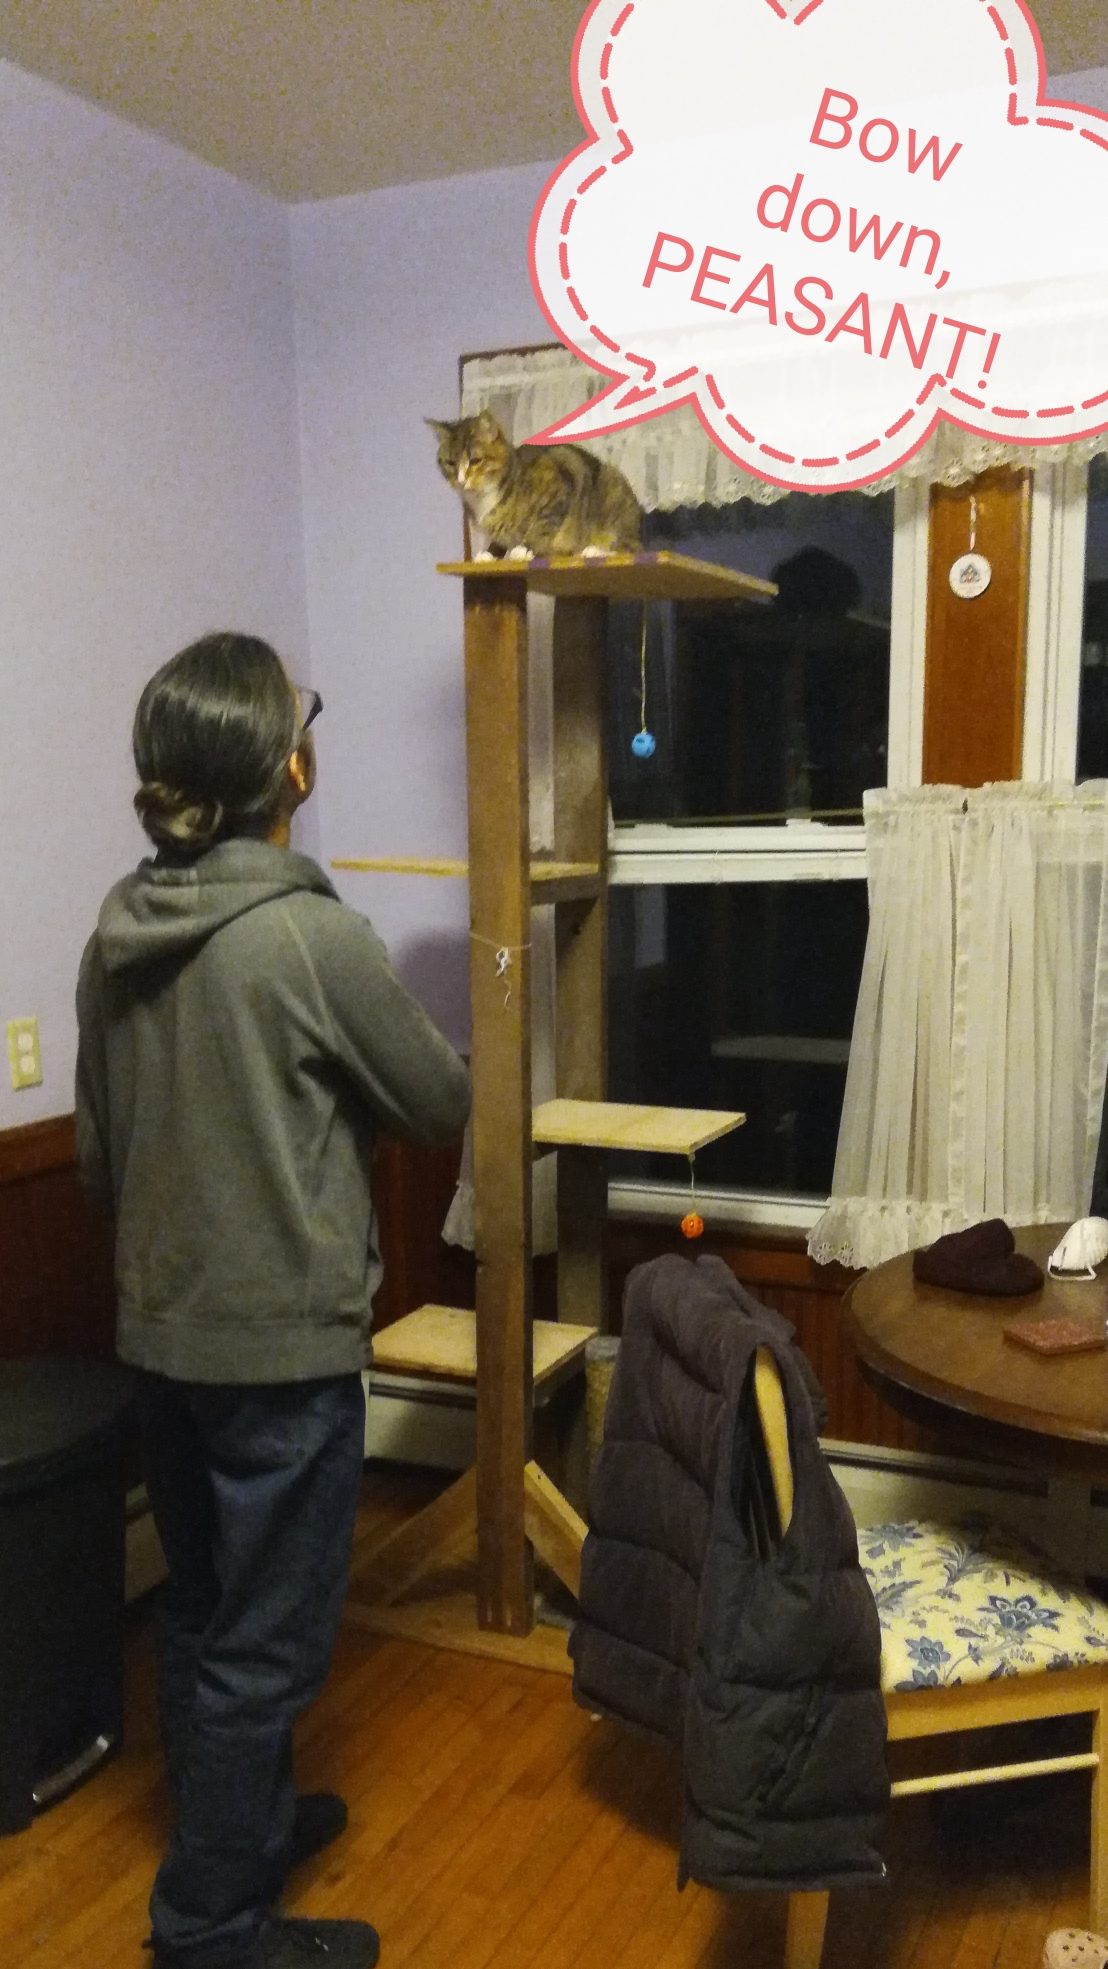
Okay, maybe her kitty ego was already getting a little too inflated… (cats already have such big egos!)
Within the next few days, I went to Ocean State Job Lot and grabbed a small, inexpensive rug and a matching faux fur blanket, as cheap as I could find.
I also picked up sisal rope from Walmart. Now that stuff is a bit on the expensive side (especially since I bought 4), and Mixie doesn’t like it too much. We found out she prefers to scratch the wood itself! (As long as she’s no longer scratching the DOOR FRAMES in our house, we are happy!)
I cut the rug up into the appropriate sizes and used a staple gun to attach them to the base and three lower shelves.
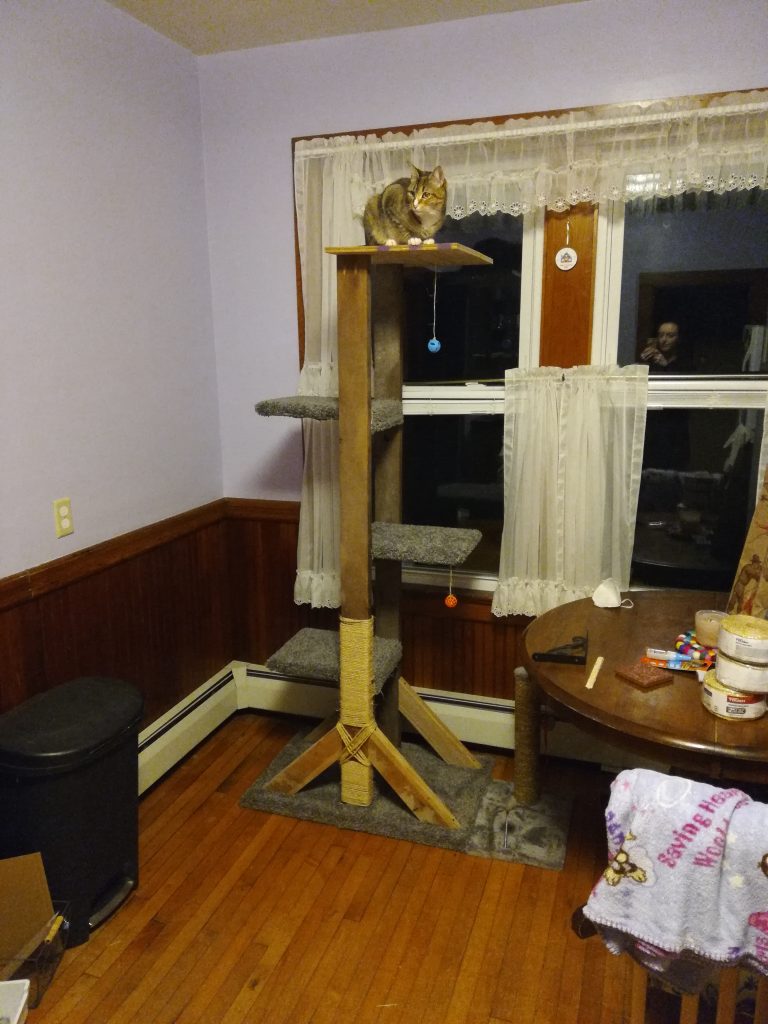
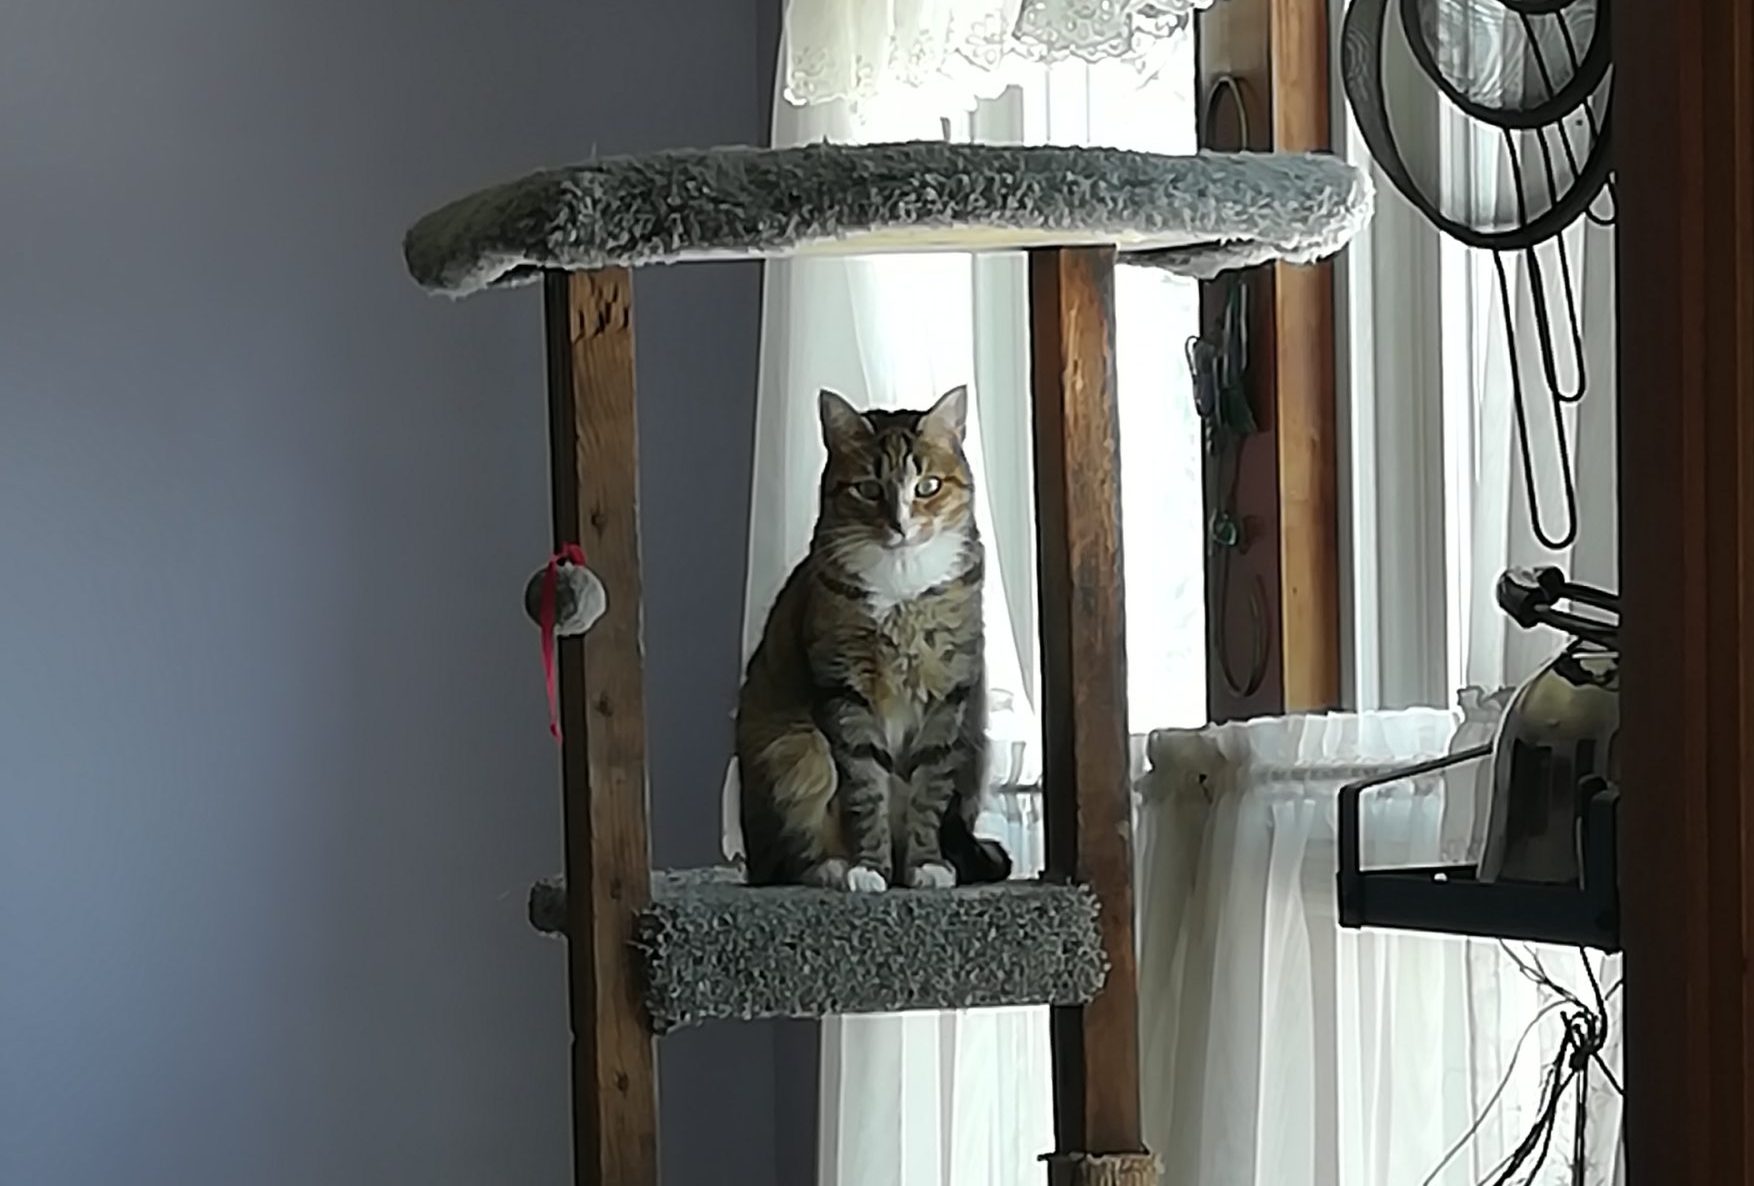
For the top shelf, I sewed the faux fur blanket into an elasticized cover and added some padding inside (just by using what was leftover from the blanket). The elastic means it is removable, so I can remove it and wash it if needed.

As you can see, she loves it! And look at this adorable paw stretch…

And… our cat tree is all done!
Just like that, in only a few days, we finally had a cat tree for our little Mixie!
Oftentimes, at the store, we’d considered buying one for her, but I ended up feeling so happy we did it ourselves. The stuff at stores is often built with cardboard and other materials which deteriorate easily. This cat tree is built with the same wood houses are built with, so I’m pretty sure it will be around for a long time!
Have you DIYed your own cat tree? Do you have an idea for yours? The great thing about making stuff yourself is that you have total freedom to design it just how you want to!
Our cat tree definitely could have been more extravagant and as beautiful as some of the others I’ve seen online, but we opted for simplicity and ease this time around. Though, do keep in mind, you have the whole world of options available to you!
I felt such satisfaction making this for Mixie, and seeing her enjoy it always makes me smile, even over a year later!