
Sewing PJ pants for my sister – the perfect Christmas gift! (Full step-by-step sew-along tutorial)
Disclosure: I am an Amazon affiliate and this post contains affiliate links, which means I may earn a commission (at no extra cost to you) if you purchase products mentioned.
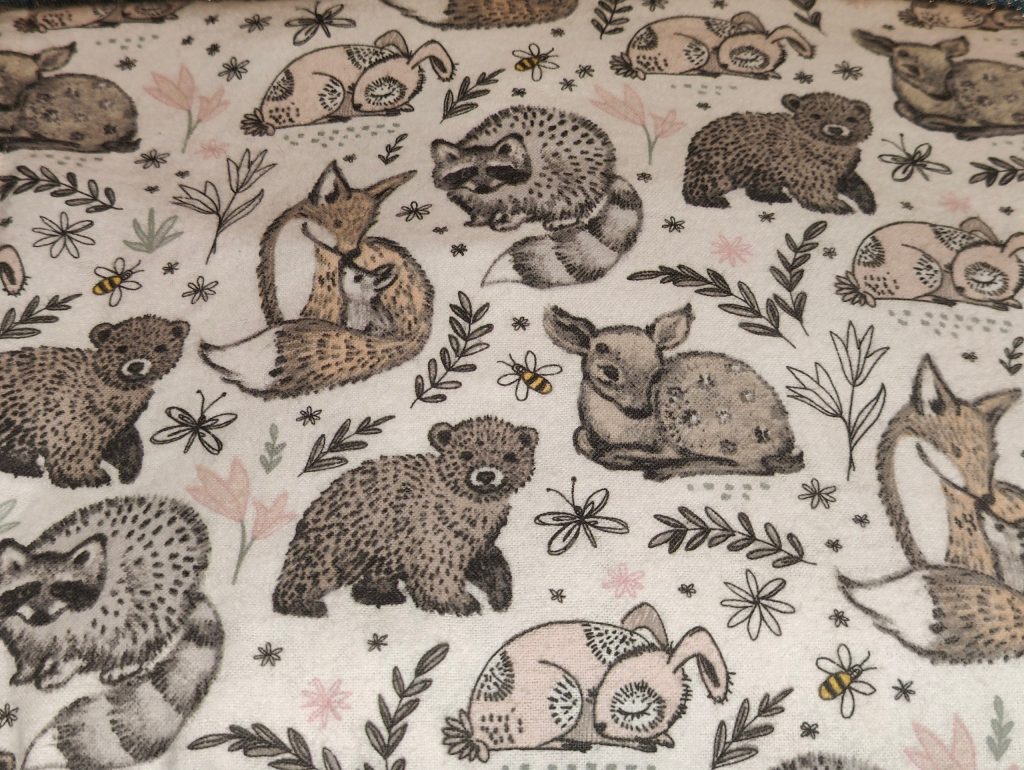
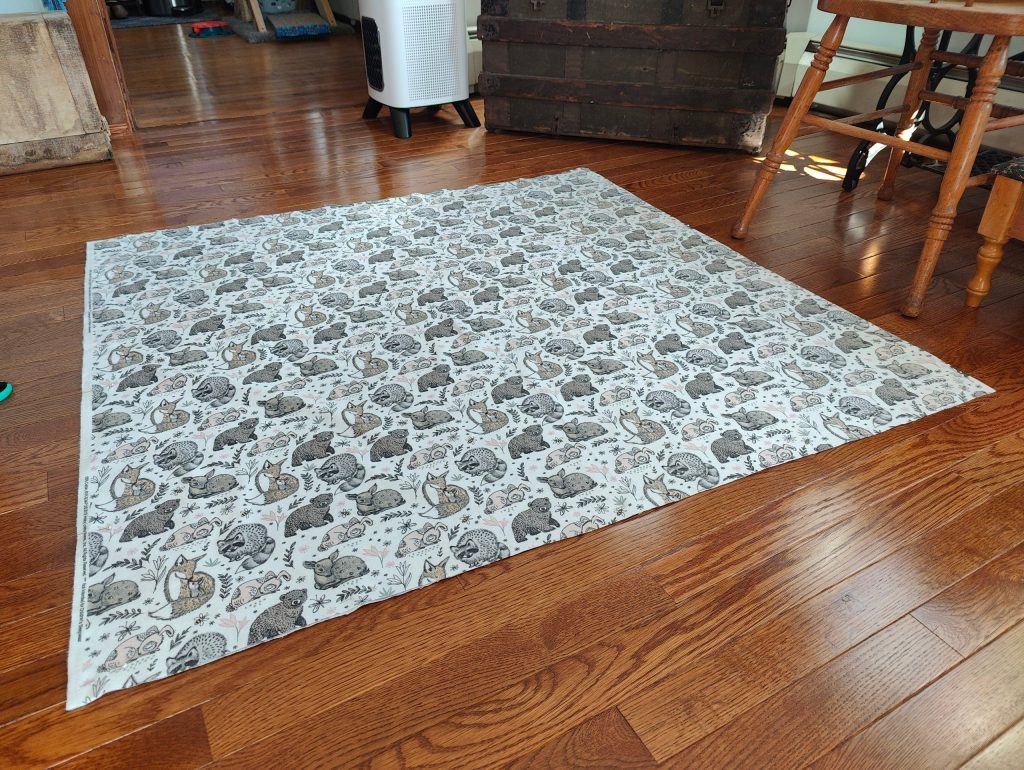
This year, I decided to make (rather than buy) as many Christmas gifts as possible, and I thought sewing PJ pants for my sister was the perfect idea! Especially with this fabric I found at Hobby Lobby, which is SUPER cute!
I’ve taken tons of photos and videos along the way as I made these so I could show you guys really in-depth how I sewed them. It’s my first step-by-step sewing tutorial, so bear with me!
These follow Simplicity’s pattern 8134 if you want to sew the exact same pants! I did make some modifications to the pattern, but you don’t need to!
Here is the pattern on Amazon if you want to buy it: Small sizes, Large sizes
I sew these with flat-felled seams and shirring for the waistband, both of which I will demonstrate!
Now, let’s get sewing!
Modifications to the pattern
As I mentioned above, I made some modifications to this pattern.
Waistline lowered
This pattern will make pants which sit right on the waist. However, for these PJ pants, I wanted them to sit a bit lower, so I lowered the waistline three inches.
To do this, I simply folded down the pattern pieces of the front and back legs by the necessary amount, making sure I did this uniformly. (A sewing ruler really comes in handy for such things!)
See?
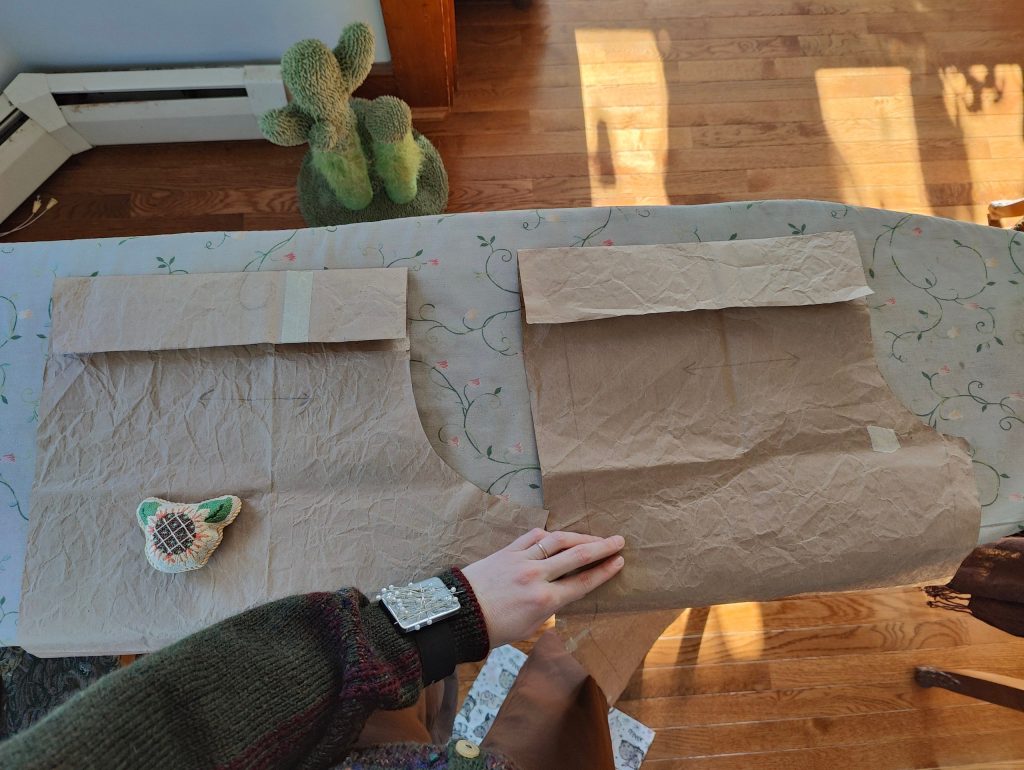
You might also note that I am not using the actual pattern here. This is because I had already bought this pattern for myself and cut it out in my size and, instead of buying another pattern just for my sister, I decided to enlarge it on some separate paper. See?
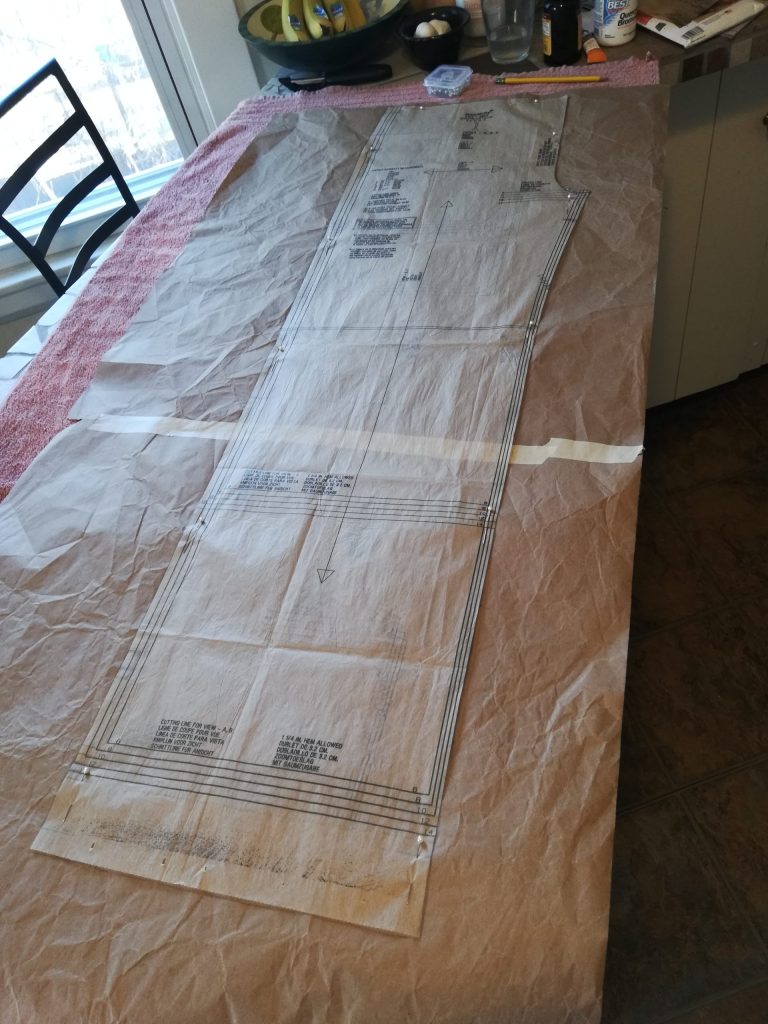
So, just pretend these are the real pattern pieces, because they basically are!
A shirred and enlarged waistband
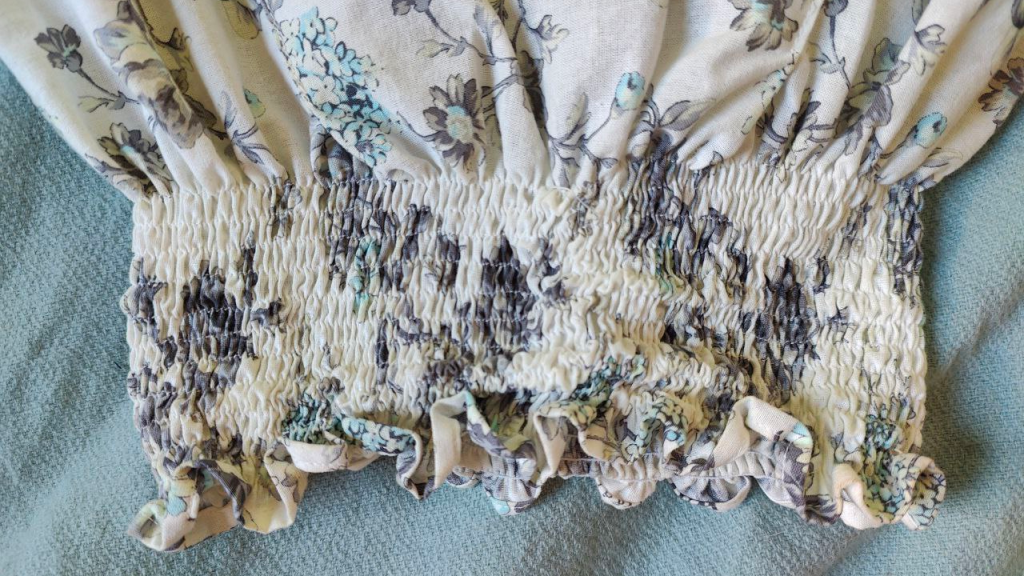
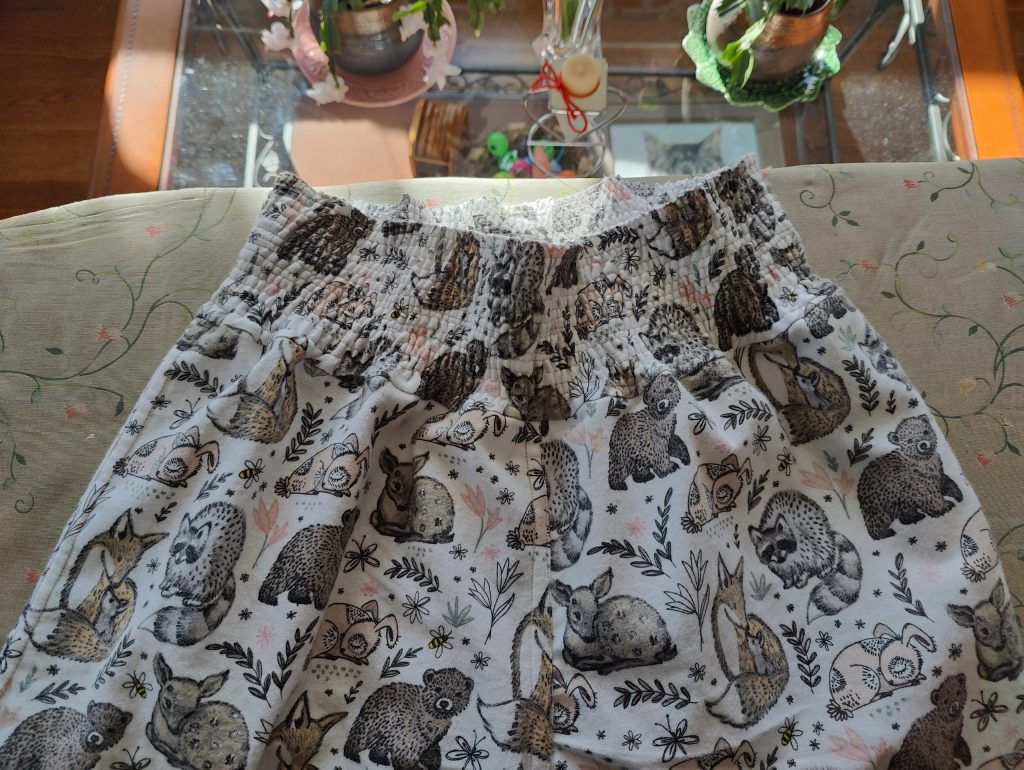
I have made so many pants in this pattern and, though I’ve made them both ways, I have to admit: I am quite fond of shirred waistbands!
If you haven’t heard of shirring, it’s probably just because you haven’t heard the name. But I’m sure you’ve seen it before! It’s when you use elastic thread in rows and gather the fabric and make it all scrunchy. Like this:
Click here for my in-depth tutorial on shirring!
I just love the way it looks, and I also find it to be more comfortable, since it conforms better to your body and over more surface area than a straight up waistband would do.
In order to do the shirring on the waistband, I increased its height around double what it originally was. The number doesn’t need to be exact – you just want to leave enough room for adequate rows of shirring, like at least eight rows or around there (each row is about a quarter inch apart).
When figuring the size of your waistband, keep in mind that the finished waistband is half of the original height since you fold it over to the inside, and there is also a seam allowance. My waistband pieces ended up being 8 3/4″ once cut out.
However, if you’d prefer to follow the pattern and just use an elastic waistband, of course go for it! It will definitely simplify things, and still be super awesome!
Preparing the fabric
Before jumping into a sewing project, it’s always important to take the necessary preparatory steps!
Picking out your fabric
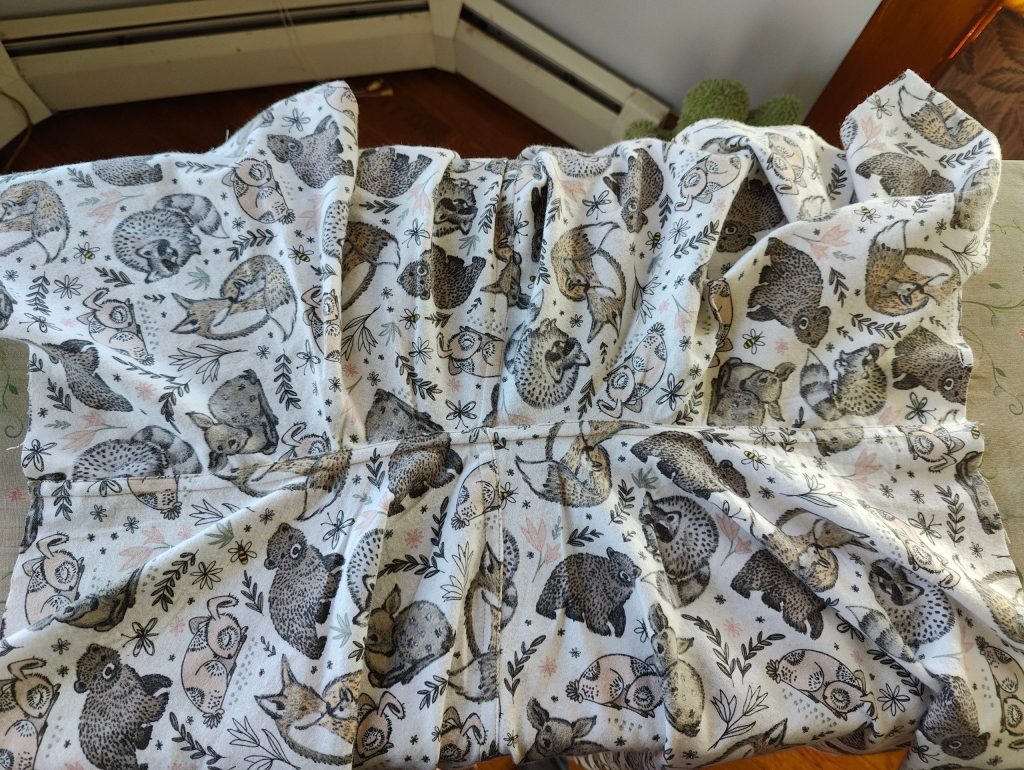
This pattern has been very forgiving of the different types of fabrics I’ve used for it. In this case, since I was making PJ pants, I decided to go with a 100% cotton flannel. Flannel tends to be a comfy choice for PJs but, of course, your options are endless!
You could make these in silk (or the synthetic equivalent), a lighter cotton, or whatever you prefer.
Picking out your thread
When it comes to thread, of course the most important consideration is making sure it blends/matches the fabric well. I decided to go with a beige 100% cotton thread for these pants, because I’m a purist for 100% cotton all the way!
But do keep in mind that cotton thread is far less durable than polyester, and polyester thread can be easier to sew with for beginners.
Pre-washing your fabric
Once you have acquired your fabric, the first step is to pre-wash it. Basically, launder it in the same way you would plan on doing once the item is finished. This will allow the fabric to shrink if needed and also take on a new texture.
Synthetic fabrics are not as prone to these issues, so you’ll probably be fine without a pre-wash for those.
Additionally, before pre-washing, it can be helpful to zigzag your fabric’s edges to keep them from unraveling a ton. If you’re like me and you line-dry everything, this step probably isn’t necessary. It’s the dryer that really takes a toll on the fabric’s raw edges!
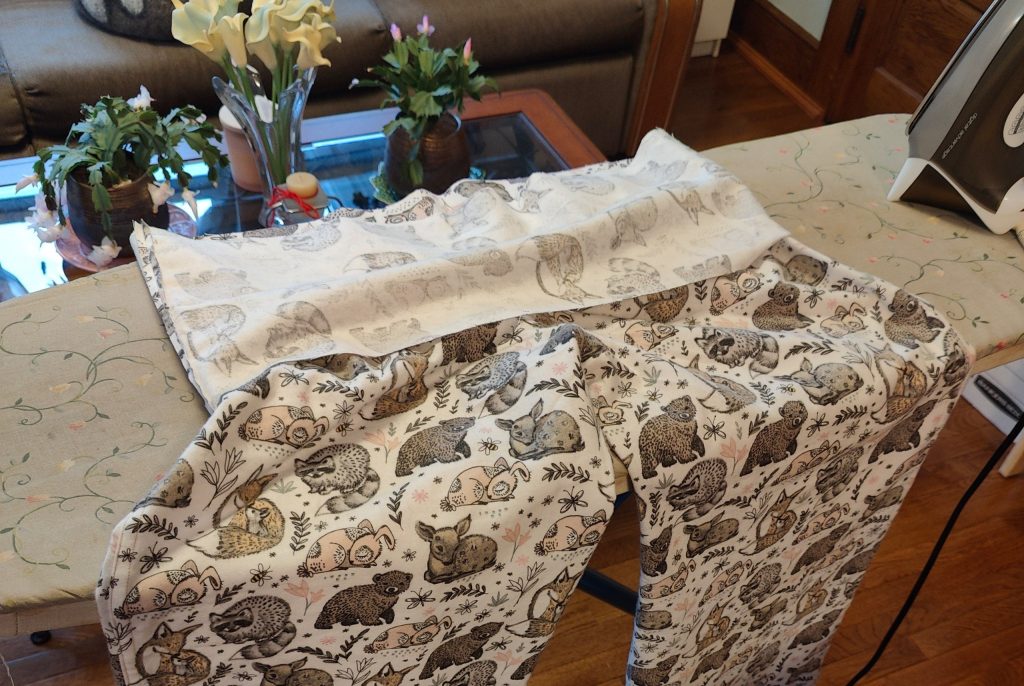
Ironing your fabric
Please take this to heart: The iron is a seamstress’ best friend! I cannot tell you how incredibly necessary and helpful an iron is when sewing. Before starting any project, it’s a good idea to get the ironing board and iron out and set up a little station for yourself. You’ll be running over there constantly from the machine!
The very first step after your pre-wash is just ironing the entire piece of fabric. This will get it nice and flat for laying out your pattern pieces which is very important for getting accurate cut-outs.
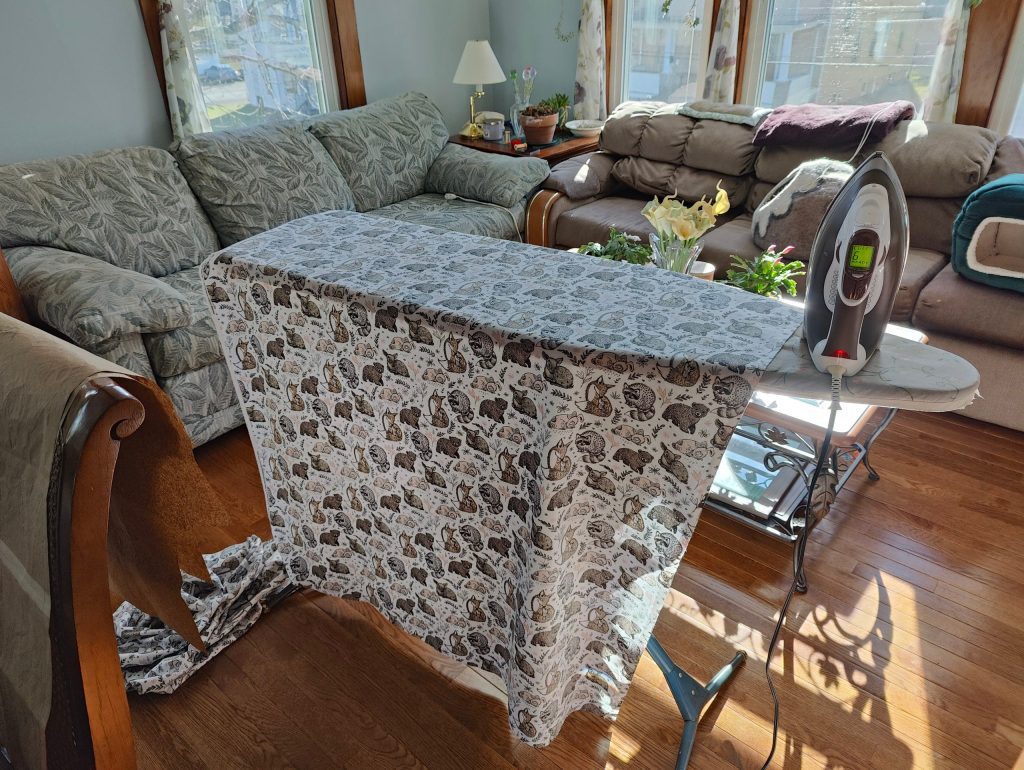
Make sure you have the steam going on the iron – it really works wonders in getting the fabric crisply flat.
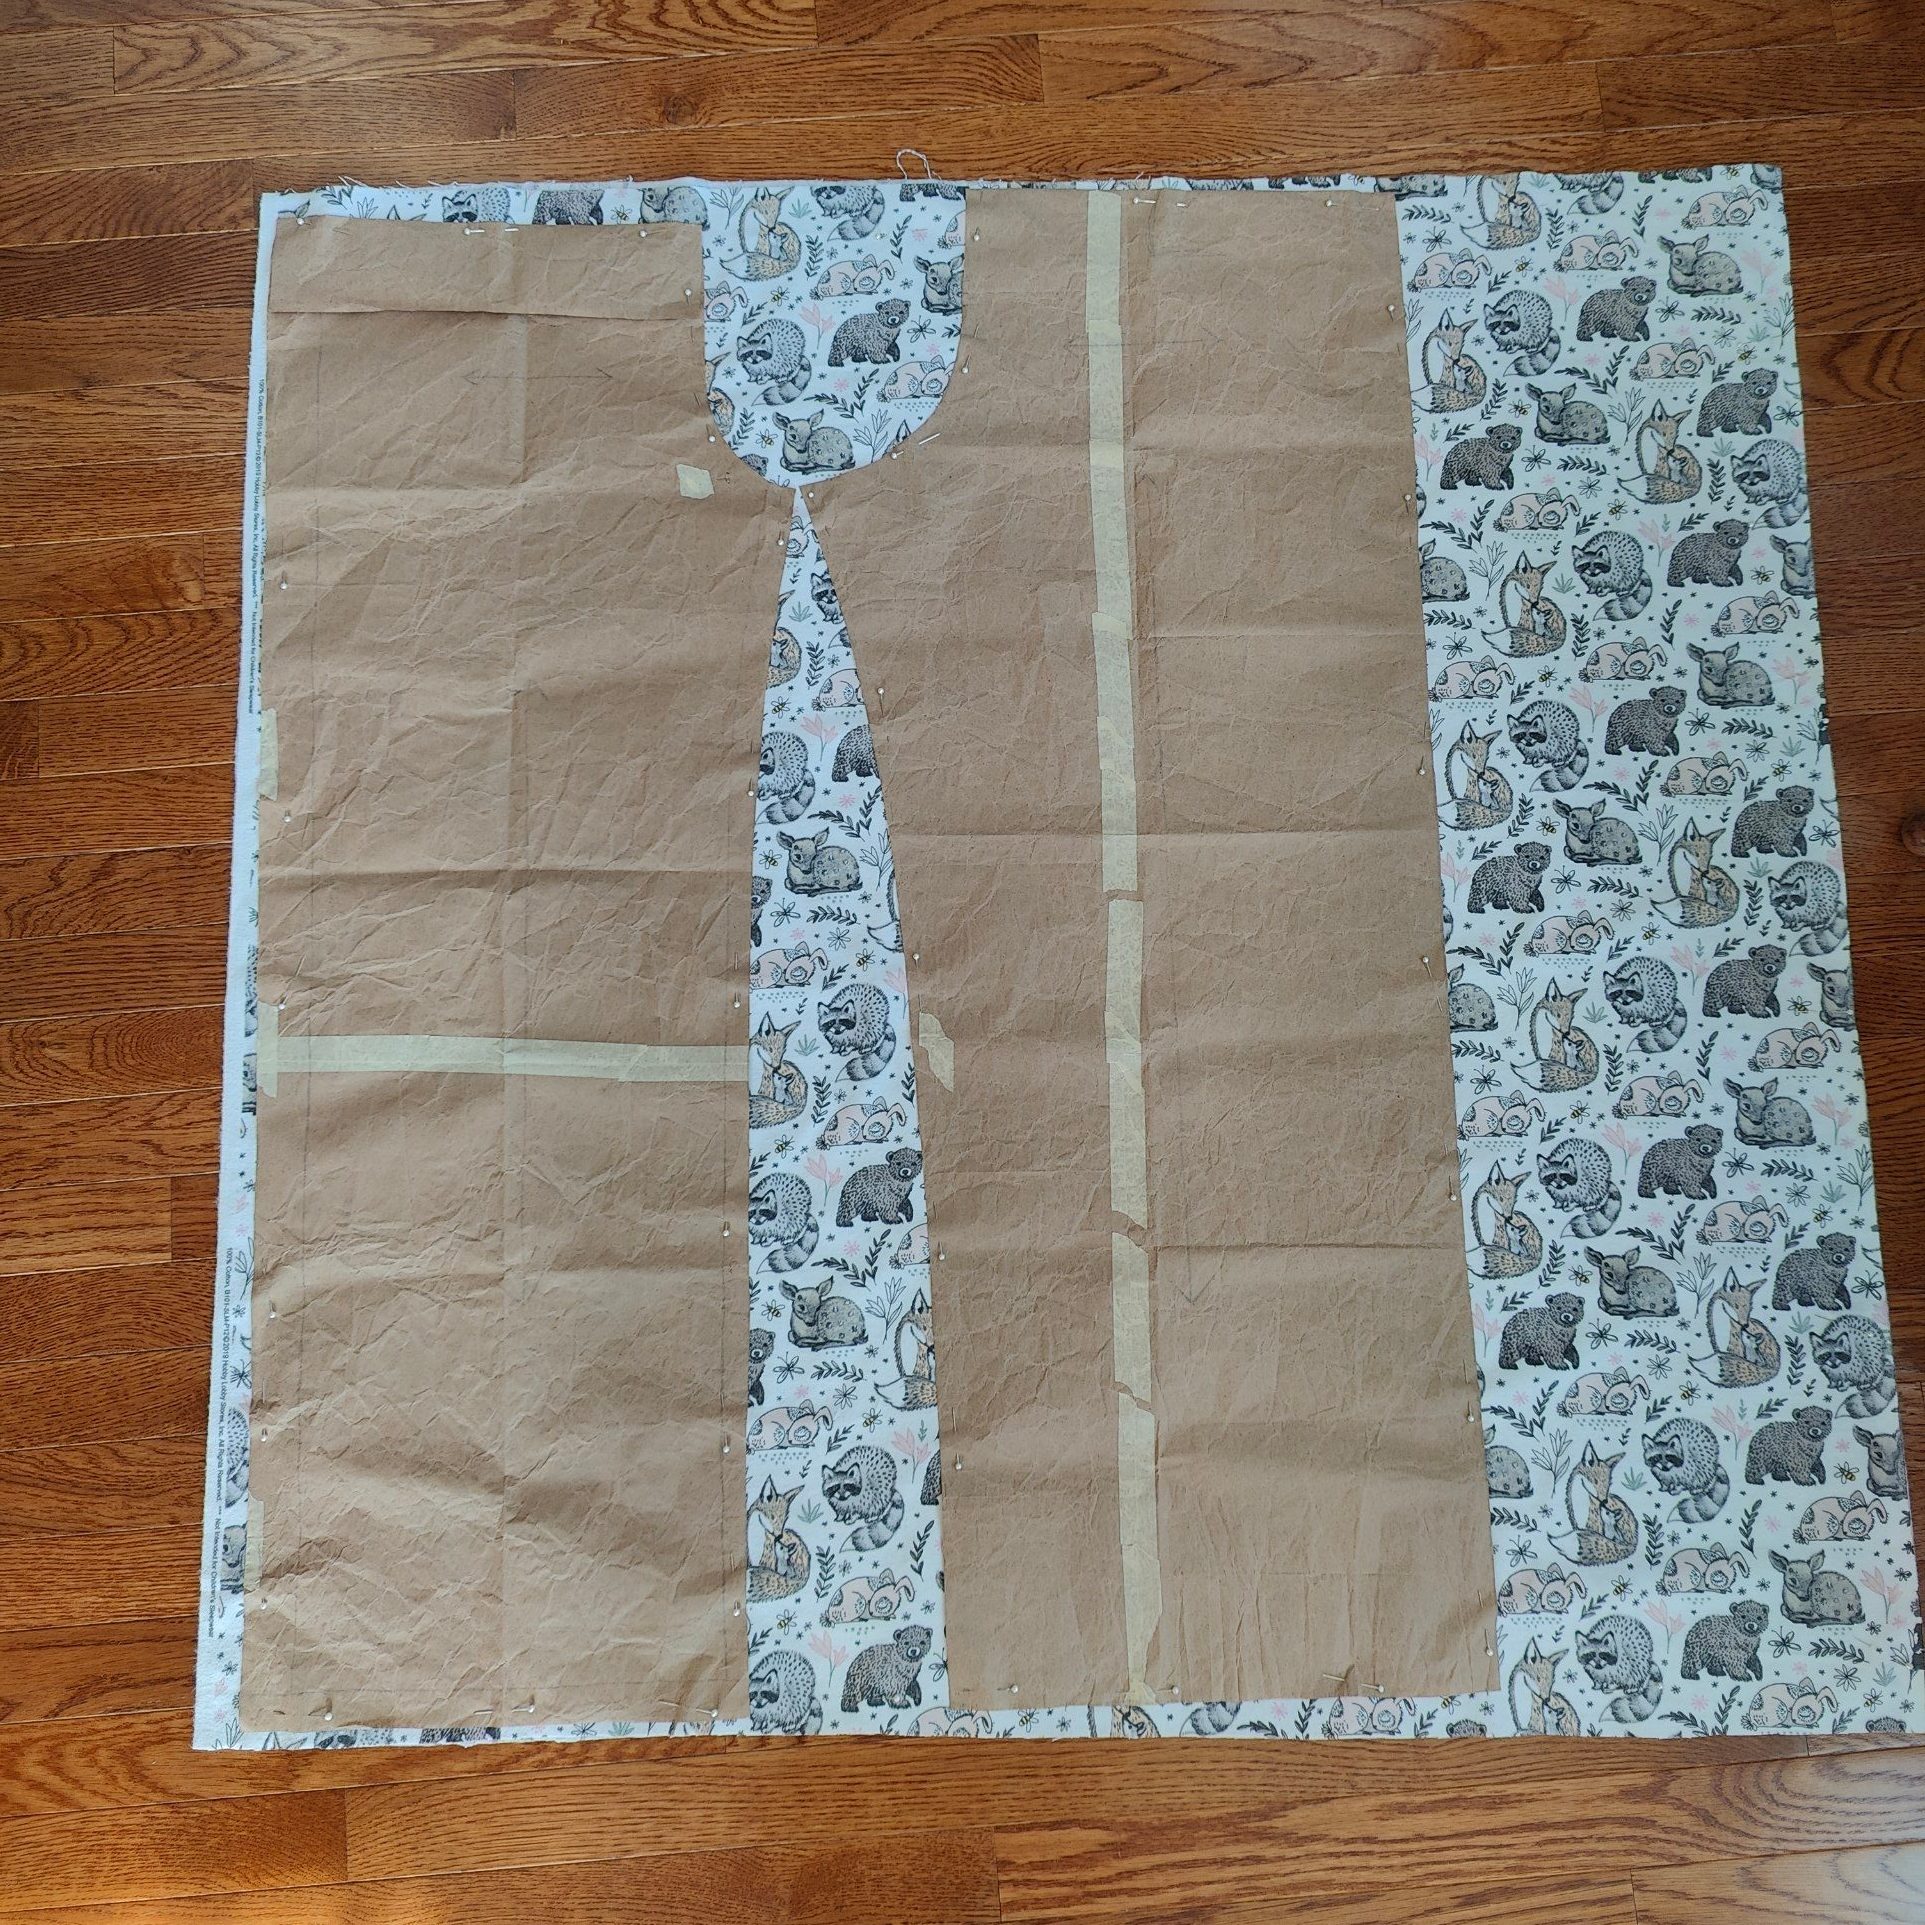
Transferring the pattern to the fabric
Once you’ve got your fabric all nice and ironed, you’re going to need to do some thinking.
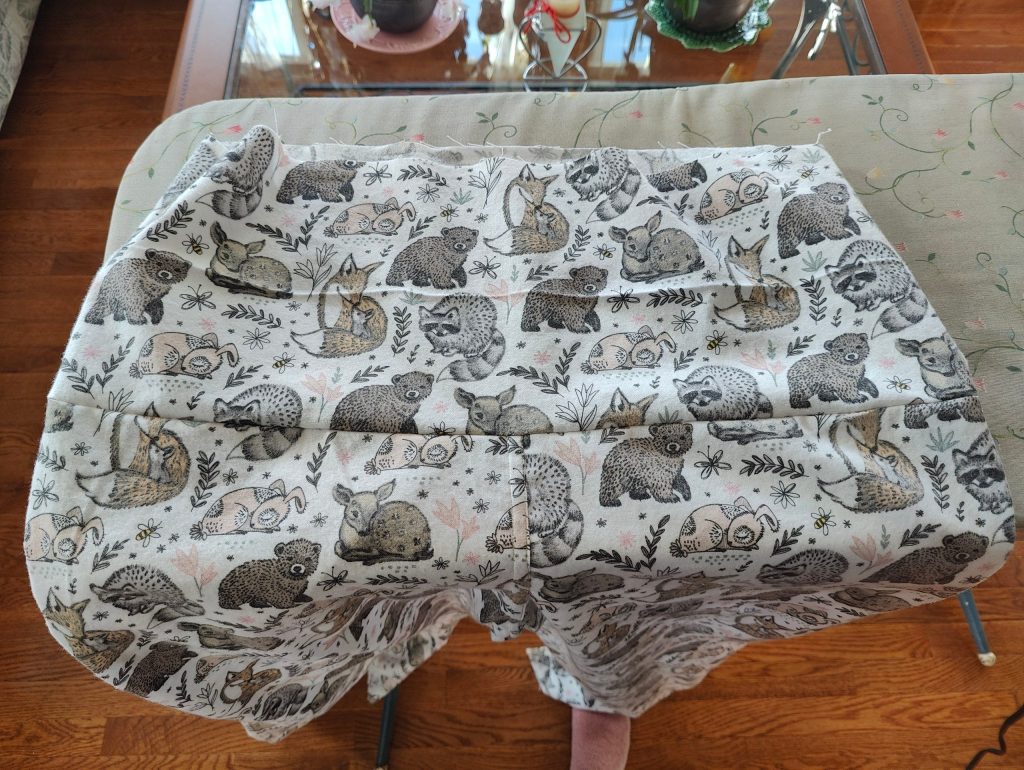
If you are using a solid color fabric, you can simply fold it the best way that fits the pattern pieces and proceed with pinning them.
If, however, you have a pattern which could be turned upside-down and/or inside-out (i.e. your pattern has a “wrong” side), a little bit of thinking and planning is required.
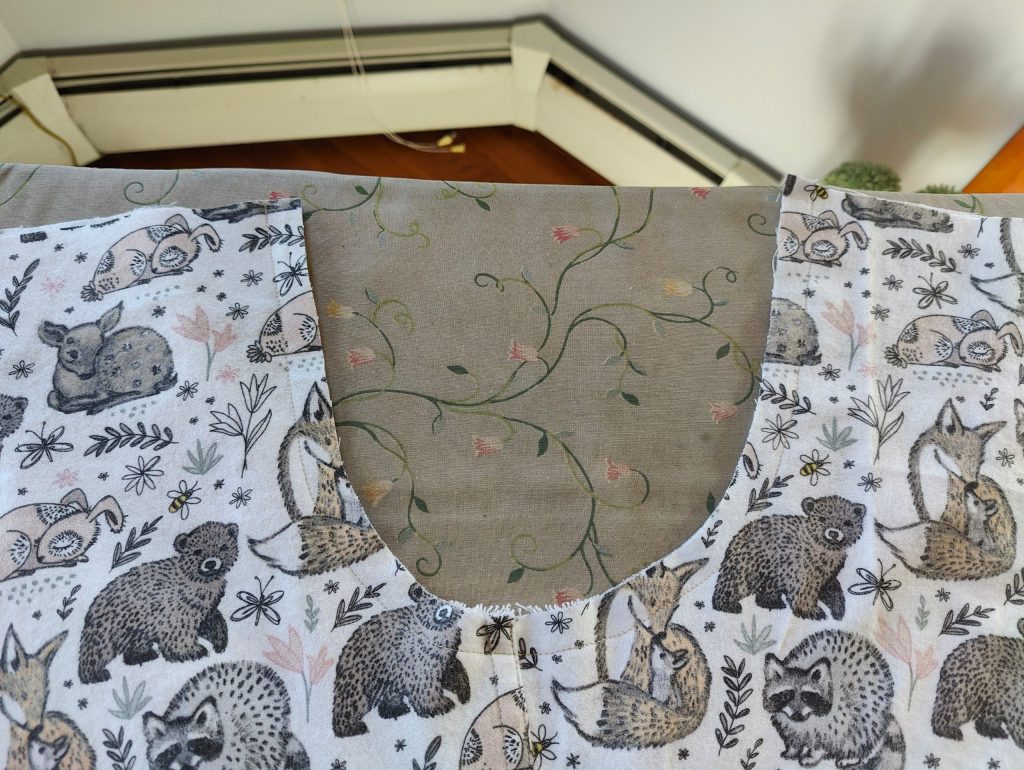
This is because if you simply fold the fabric, the other side will end up upside down. I made PJ pants like these for myself a few years back and made this mistake. I had to just eat it and make the pants. You can hardly notice, but see how one leg is upside down?
Yep, you live and you learn!
So, what I did was get the amount of fabric I needed, doubled it by folding it, cut it, and then cut it along the fold. Then, I took the two identically-sized pieces and pinned them wrong sides together (this is important) but with each piece such that the the direction of their designs was the same.
You want to try to be as exact as possible when putting the pieces together, making especially sure your selvages line up (the selvage is the finished edge of the fabric which doesn’t unravel).
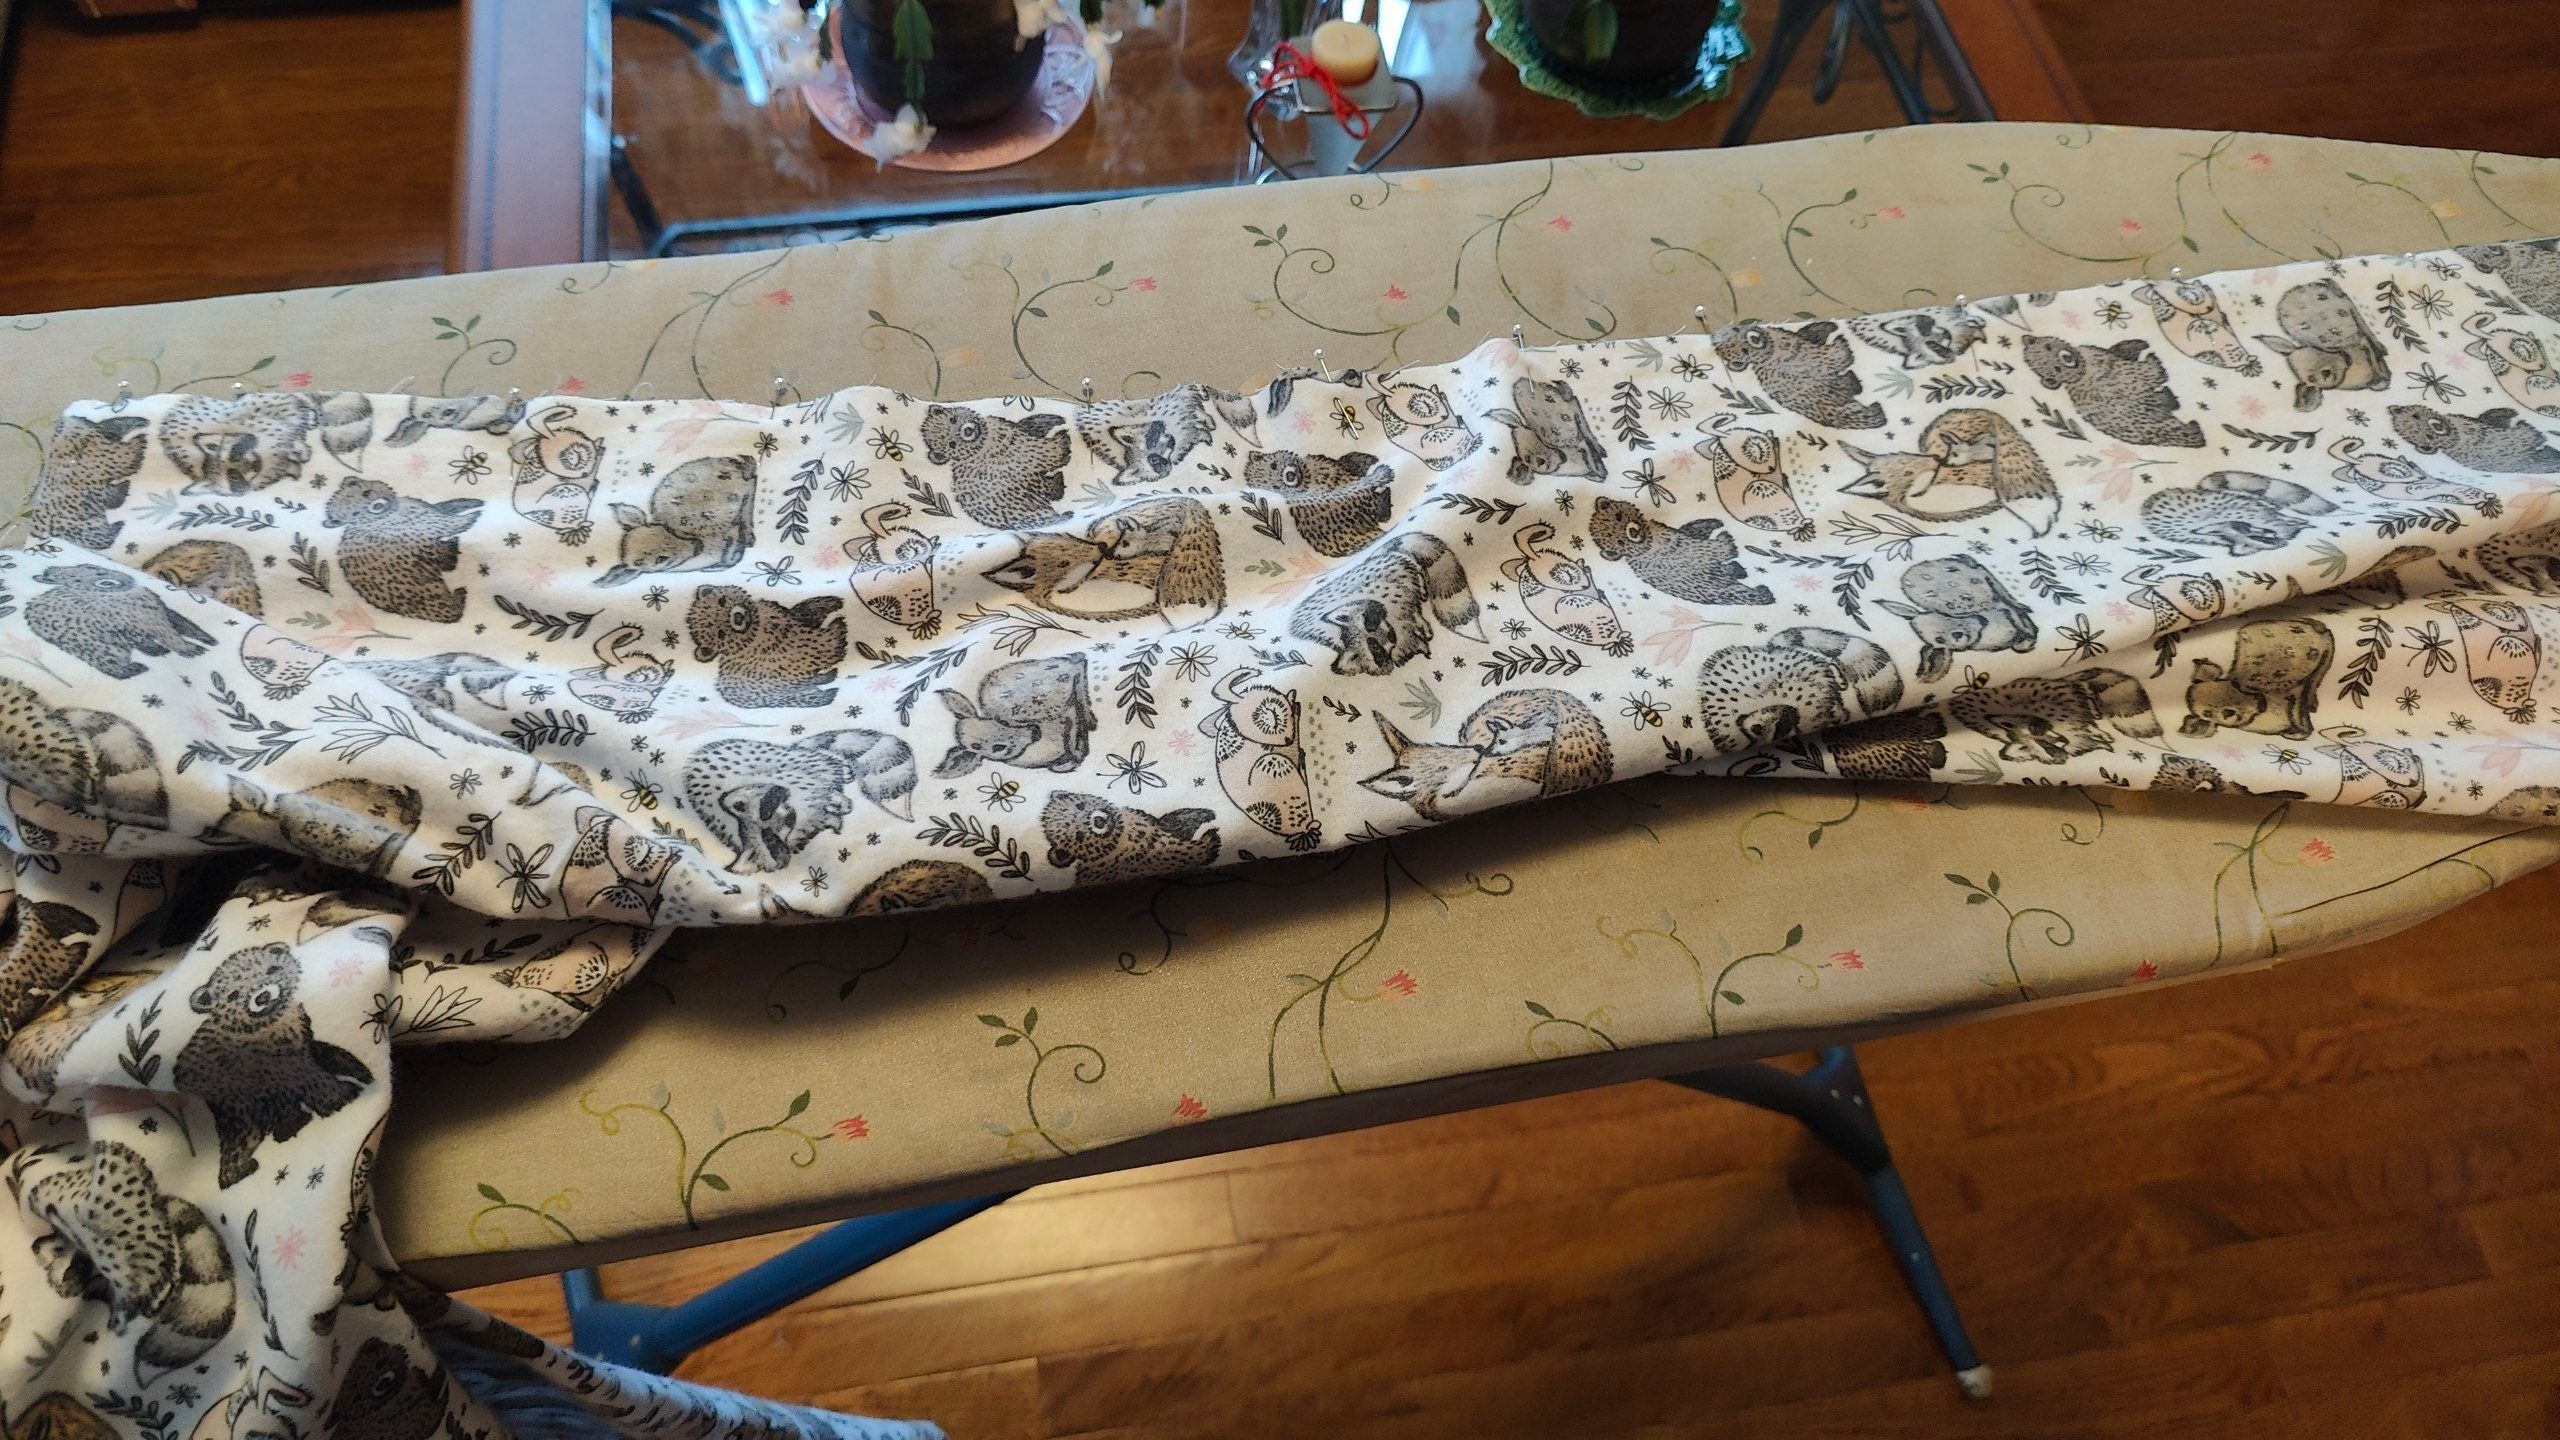
Pinning the pattern to the fabric
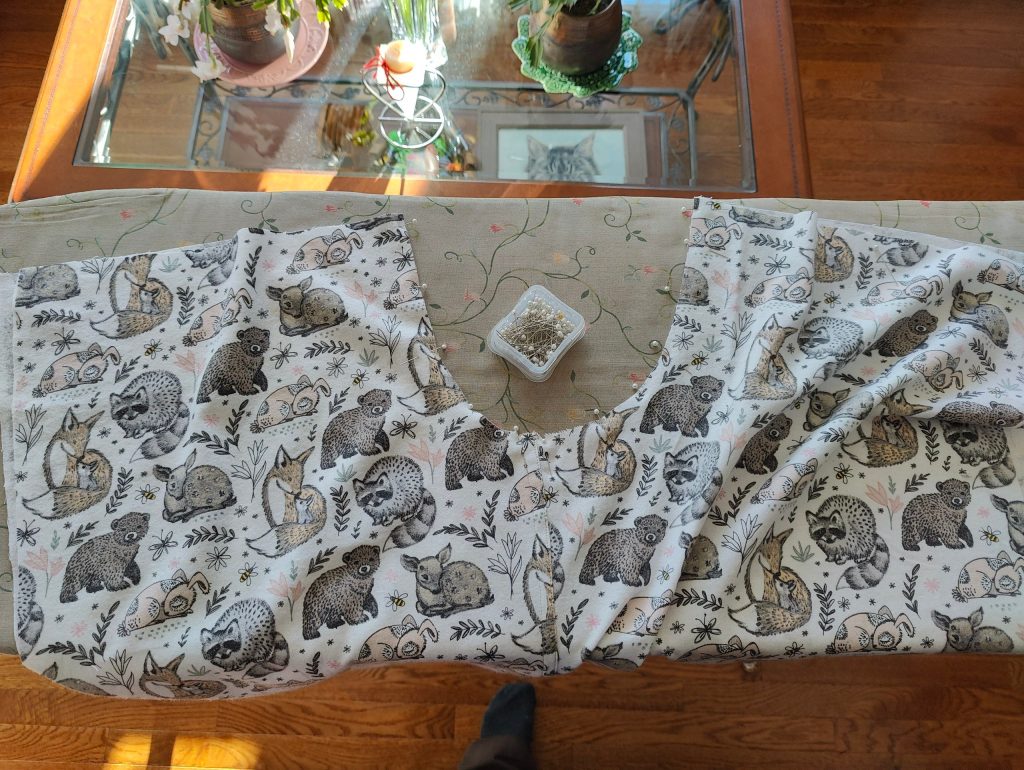
I then proceeded to place the pattern pieces onto the fabric and arrange them carefully. The most important thing here is to make sure your grainline matches up with the grain of the fabric.
You can barely see my grainlines on the pattern pieces I made, but they’re there. I measured from each end of the grainline to the selvages to make sure they were equidistant, and then pinned them down. I place my pins maybe every 3-4 inches. You want enough that your pattern pieces adequately stick to the fabric as you cut.
For now, I am only pinning the pant-leg pieces. I ended up cutting out the waistband later.
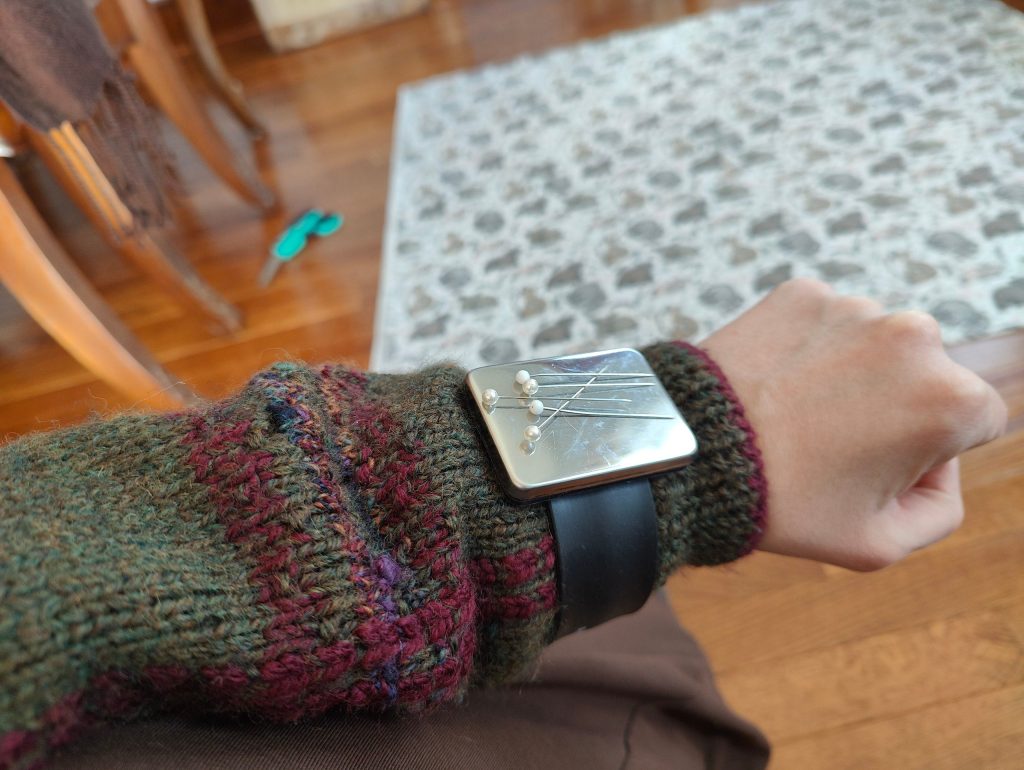
Side note: I absolutely LOVE this little wristband magnetic pin holder that my mom got me! It’s so convenient for keeping your pins handy!
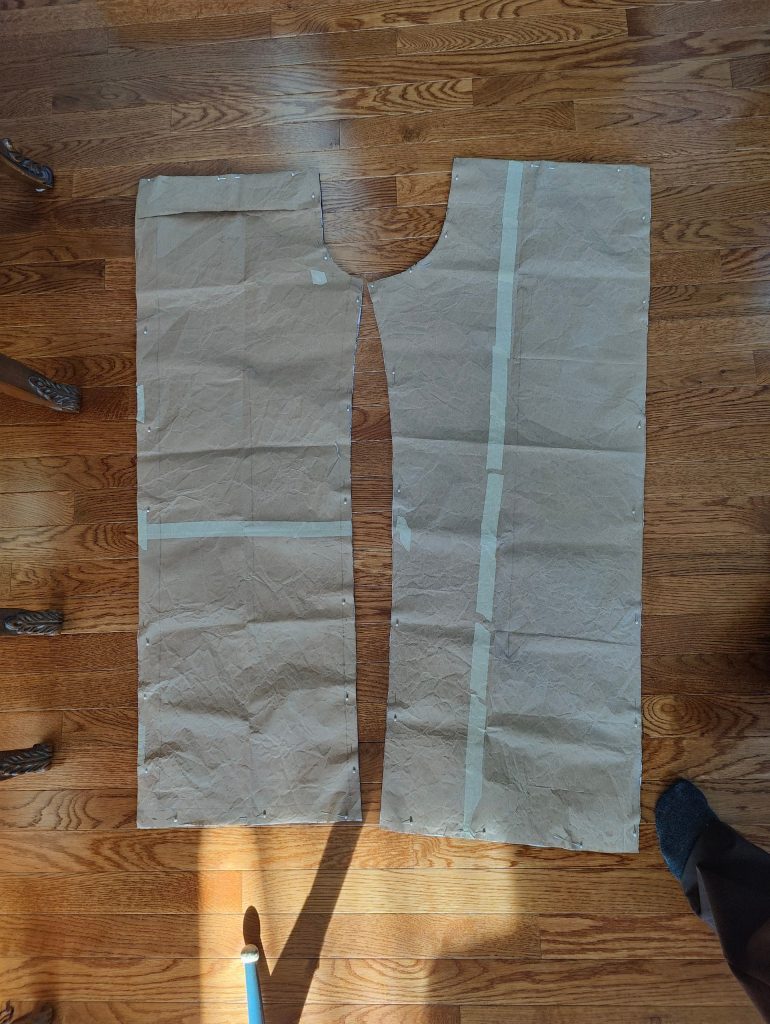
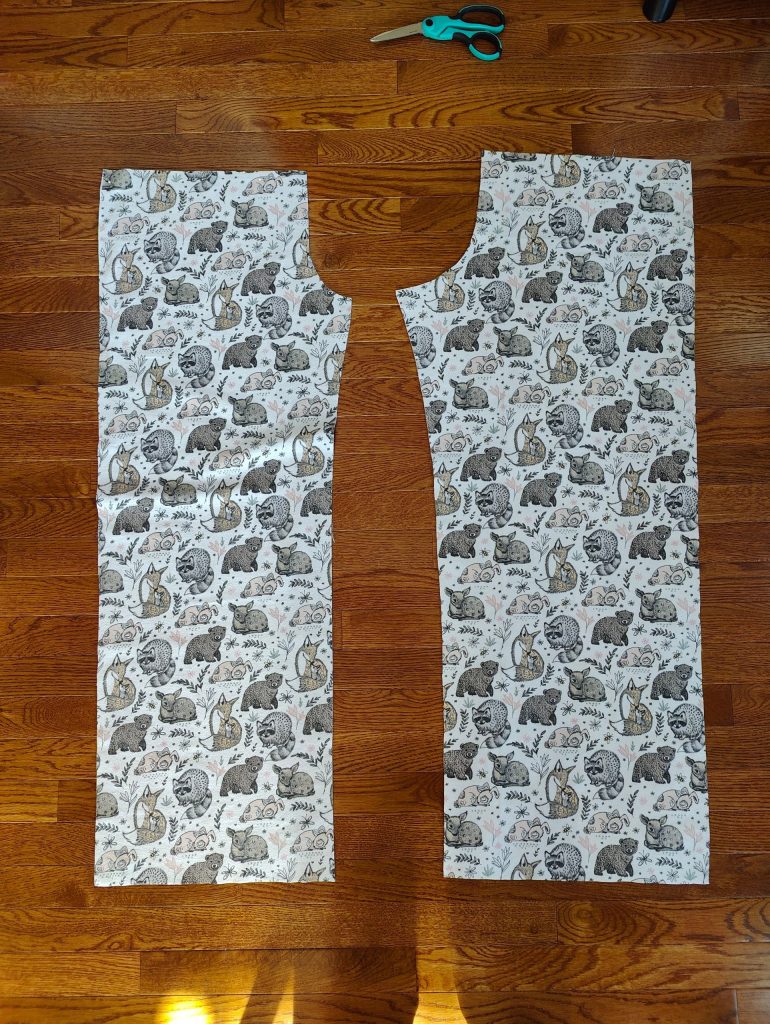
Cutting out the pattern pieces!
Now that my pattern pieces were pinned down, it was time to cut! Ugh, I always hate how irreversible this step is!
My biggest tip for cutting out fabric is to keep your scissors straight, as in, make sure the top blade stays directly over the bottom one and thus you orient them vertically straight. If you don’t, the scissors will fight you and veer off the cutting line.
Here is a time-lapse of me cutting out the pieces! My cat wanted to join in on the fun.
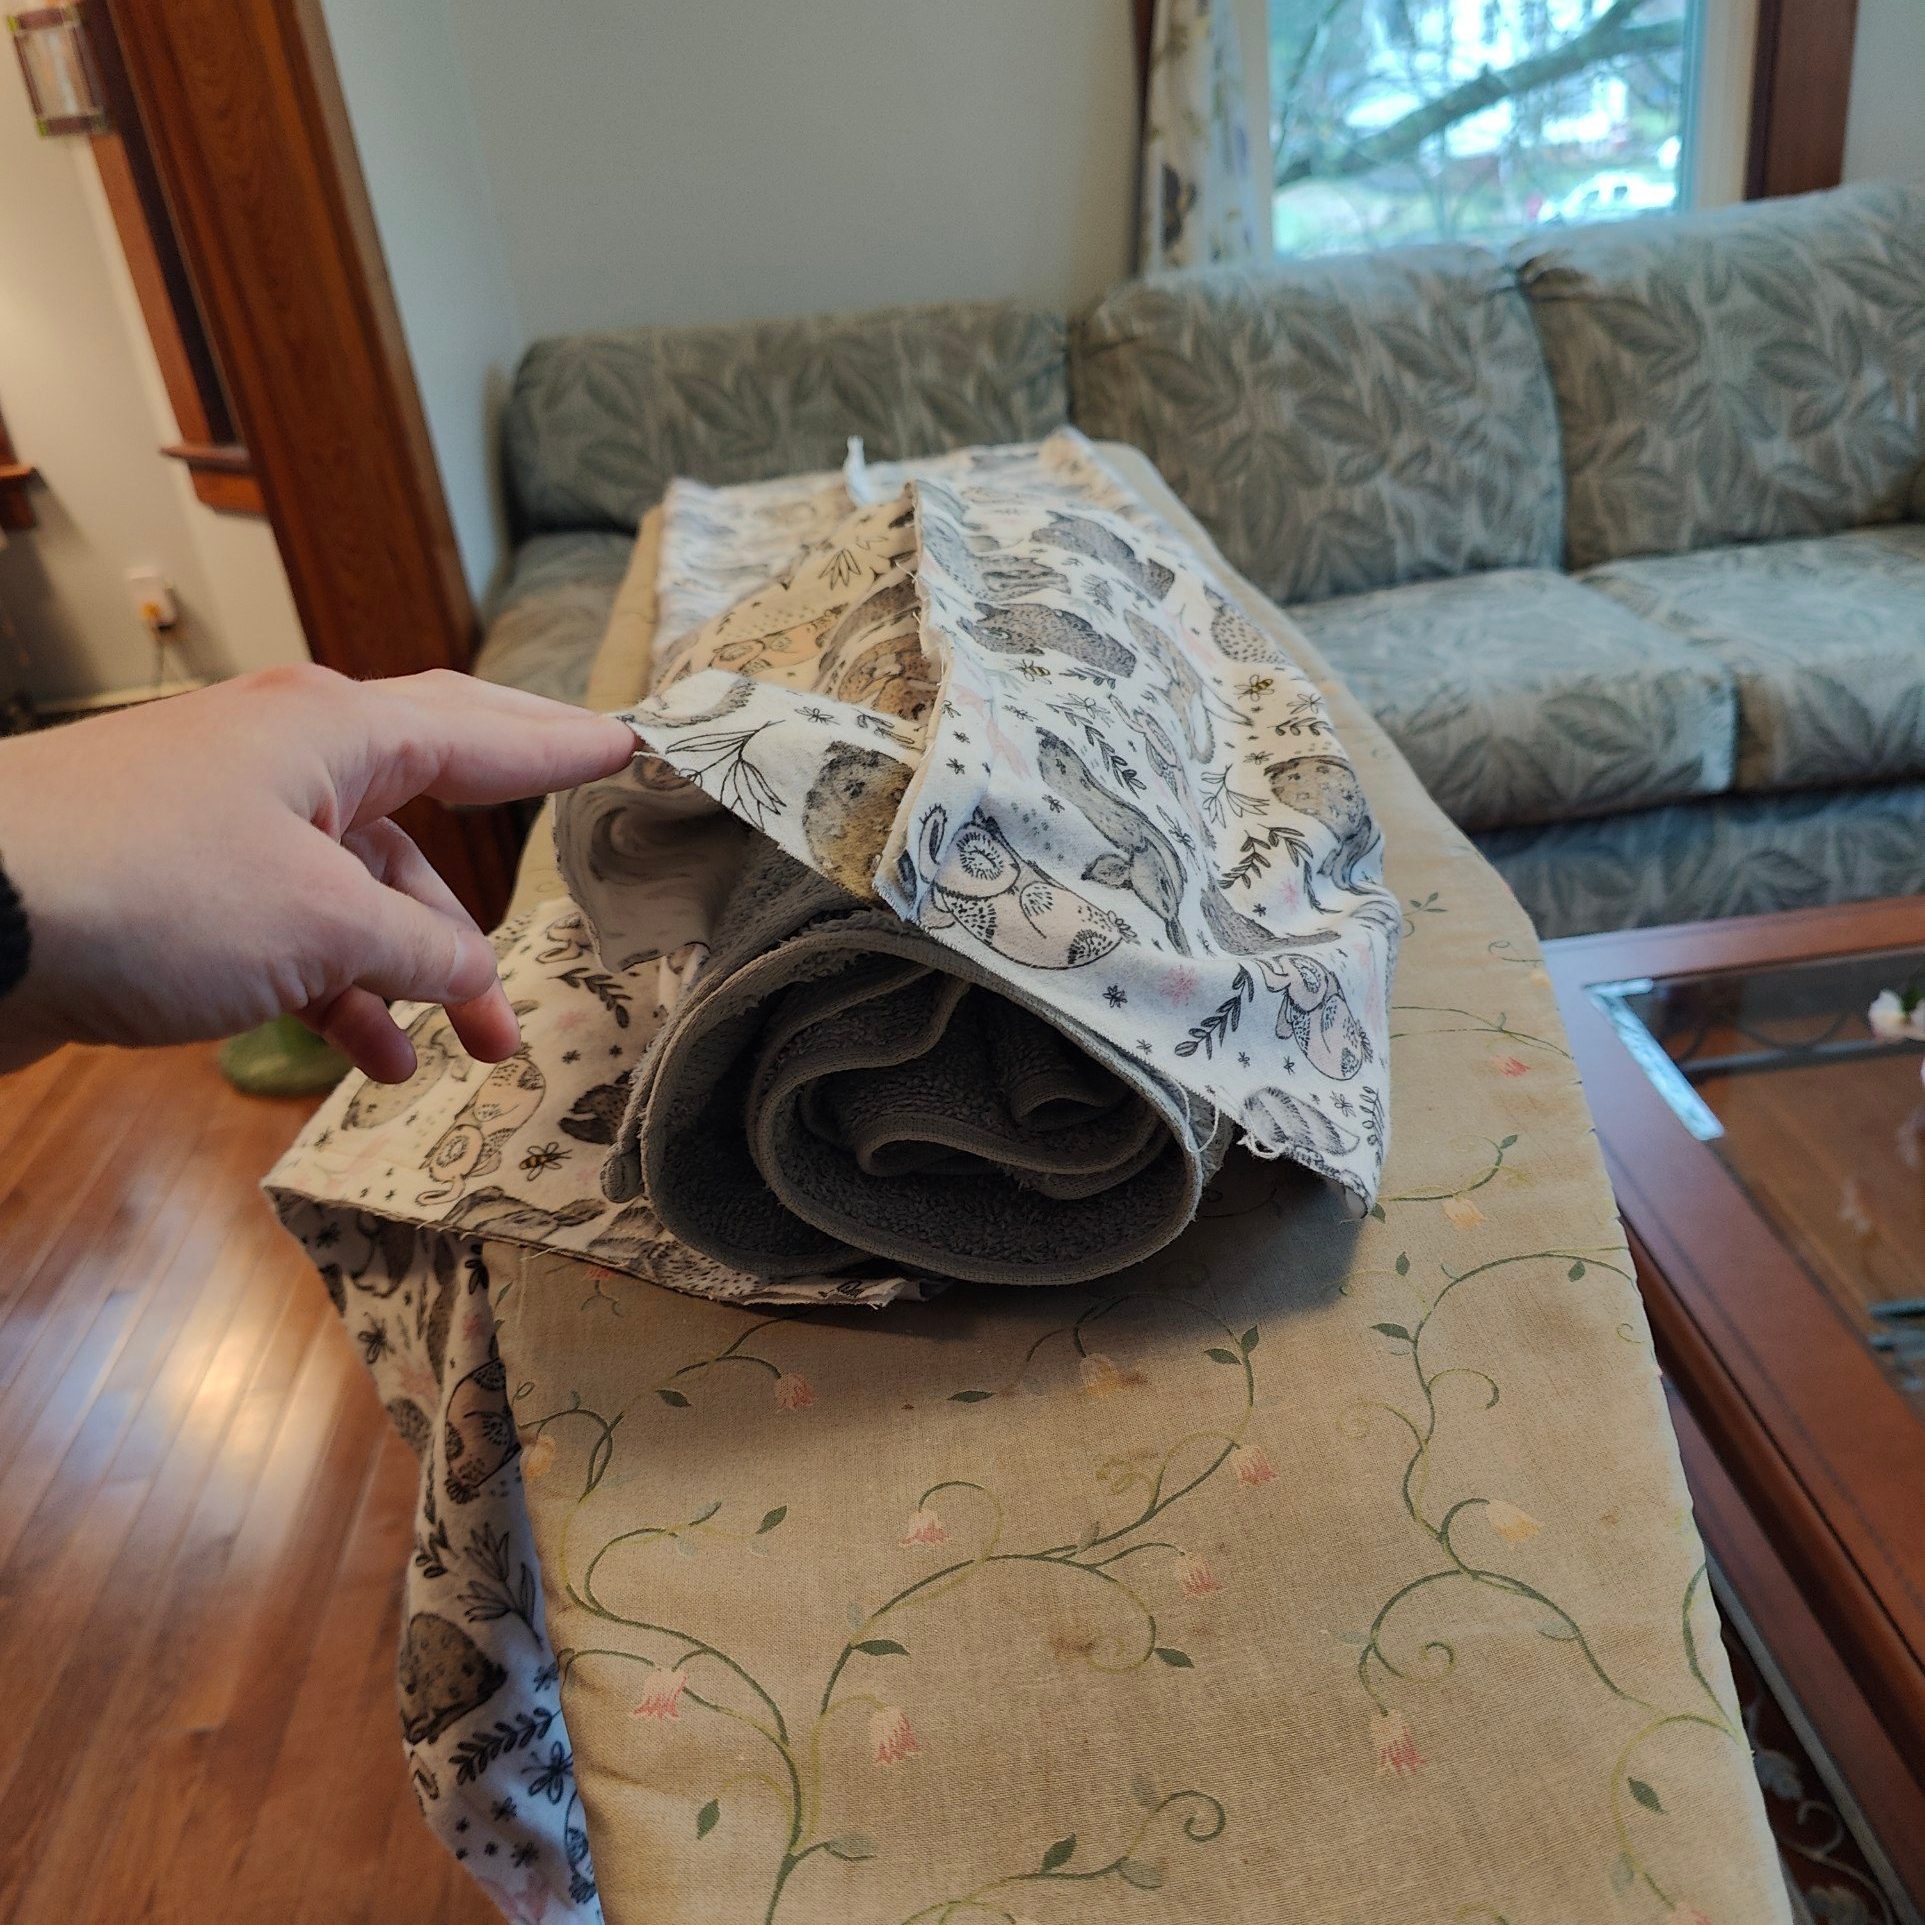
Here are my pattern pieces all cut out!
Transferring pattern markings to the fabric
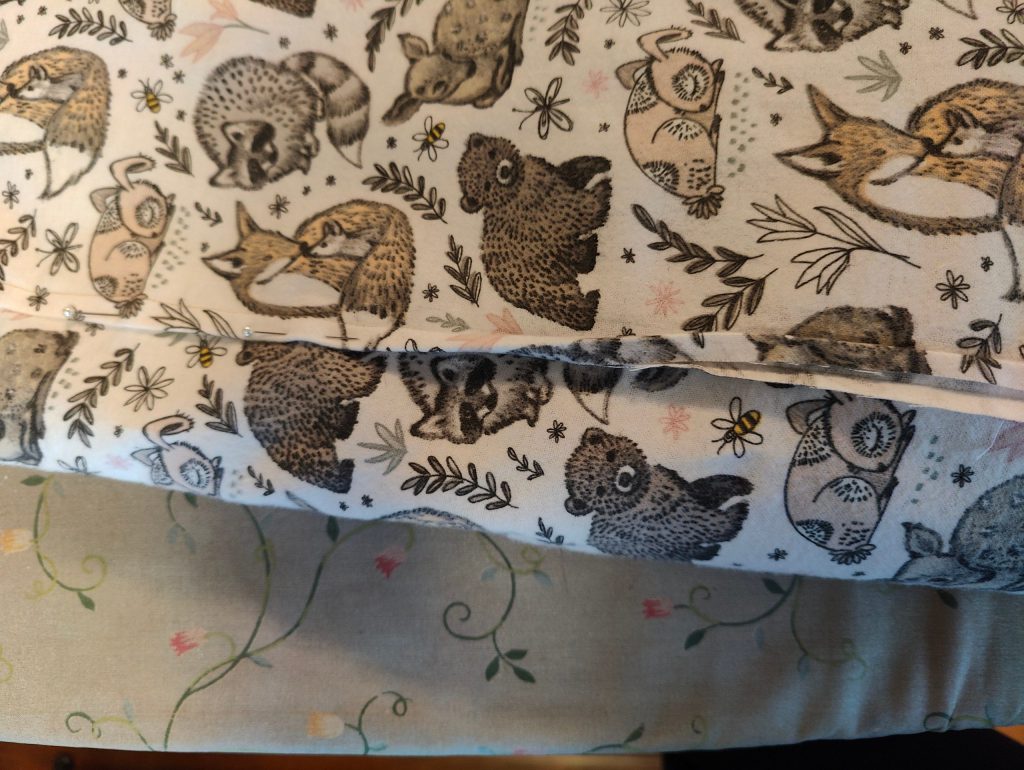
Before I unpinned the pattern pieces from the cutout fabric, I made sure to transfer my notches by clipping maybe an 1/8 inch in with my scissors. I didn’t want to clip in far since that would mess with my flat-felled seams.
If you don’t already know, the notches are the little triangles at the edge of the pattern pieces. These help you to properly line up the pieces when sewing them together. You can also mark them with chalk or a fabric marker!
Thankfully, these pant legs didn’t have any other markings that needed transferring, so that kept things nice and simple!
Constructing the PJ pants!
Woo, this is always the fun step – actually sewing stuff together!
My favorite part of sewing is the actual sewing part, if you could believe that, haha. When you sew, you actually end up doing so much ironing, pinning, and prep that it can feel like the actual time at the machine is quite minimal!
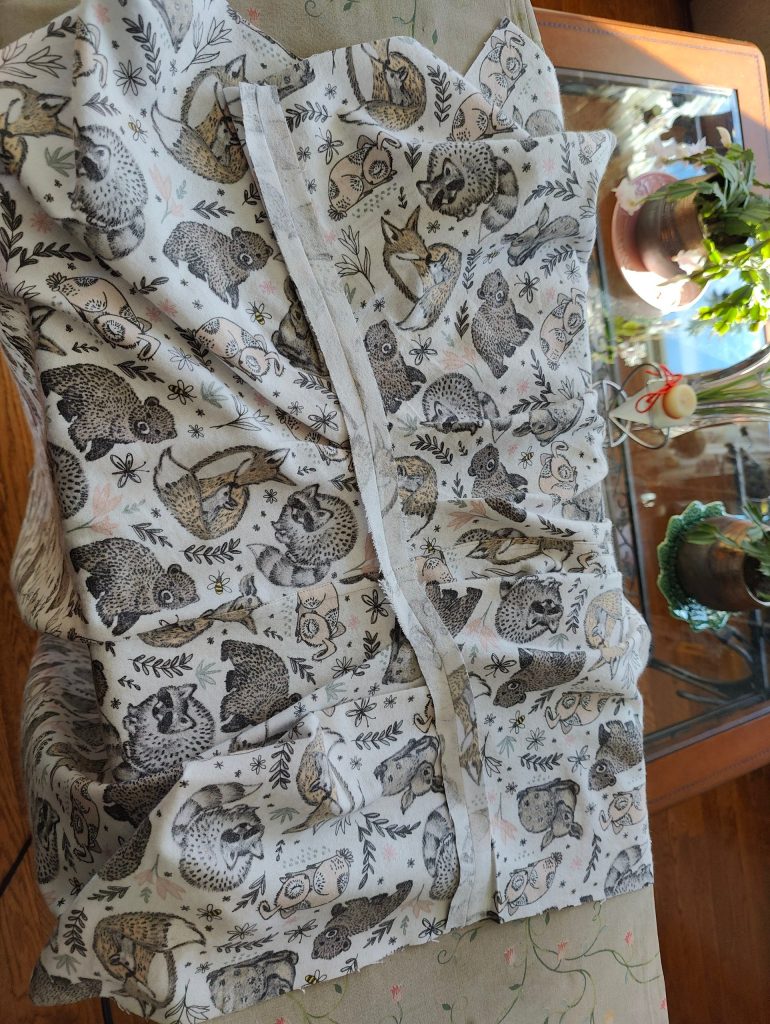
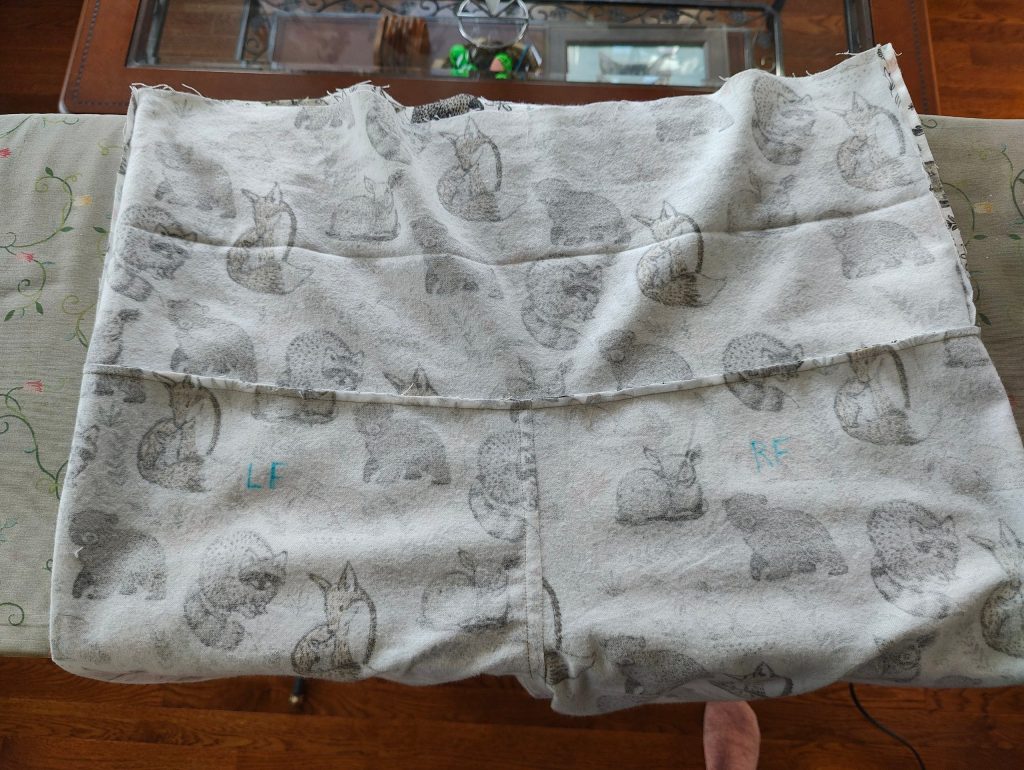
The very first thing I did this time around – and which actually proved to be SUPER helpful – was label my pieces with my fabric marker. See?

This helped me remember which piece was which and therefore feel more confident when pinning them together.
Preparing the inseam for sewing
When constructing pants, the first seam that needs to be sewed is the inseam – that is, the seam which runs from the crotch down to the inner ankle.
And when it comes to flat-felled seams, there are two different ways to sew them: with the double seam showing on the outside, or on the inside. I wanted to show off the seams on these pants and make them look like a traditional flannel garment, so I went with having them visible on the outside.
This means I actually pinned my pattern pieces wrong sides together before sewing.
How to sew the flat-felled seams
In short, flat-felled seams are constructed by sewing two pieces of fabric together, trimming one side of the seam allowance by half, and then folding the other side over it to encase all the raw edges and stitching it down.
But let’s dive into the detailed process of how to do it with these pants!
First, as I said above, I pinned the right-front to the right-back and left-front to the left-back at the inseams, right sides together.
Then, it was finally time to head over to my machine!
I sewed a 5/8″ seam allowance (what the pattern specifies). Always remember to backstitch at the beginning and end of your seam! Think of it as knotting your thread at both ends.
Here is the seam all sewn and ready to be pressed open with the iron!
After pressing open with the iron:

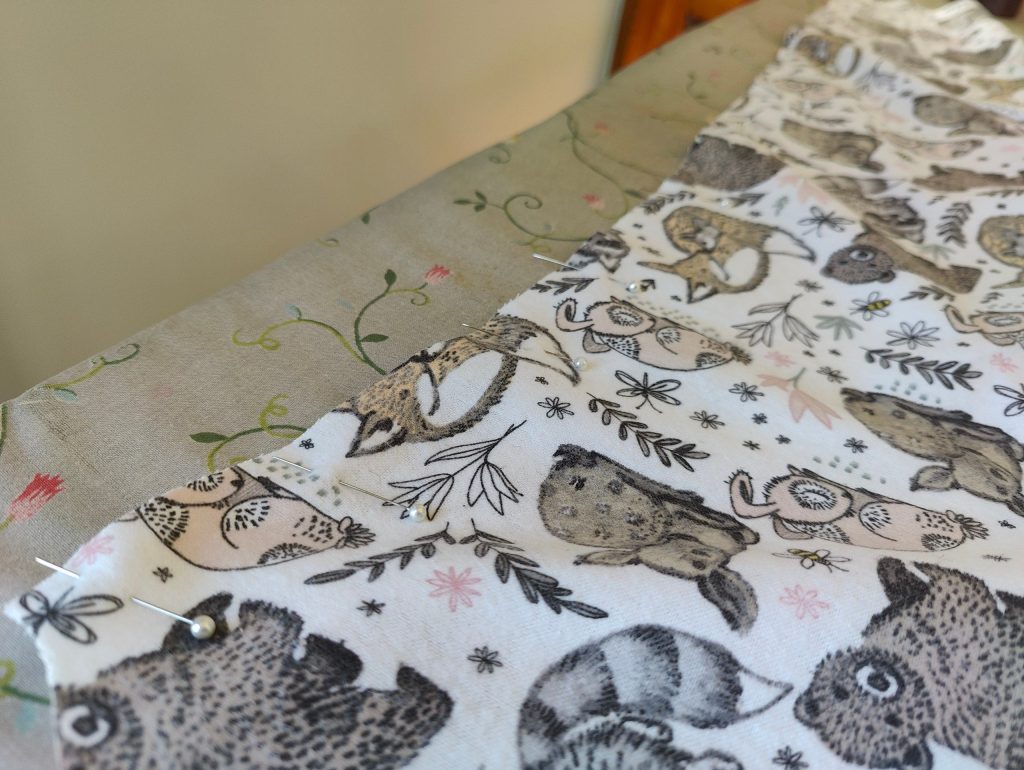
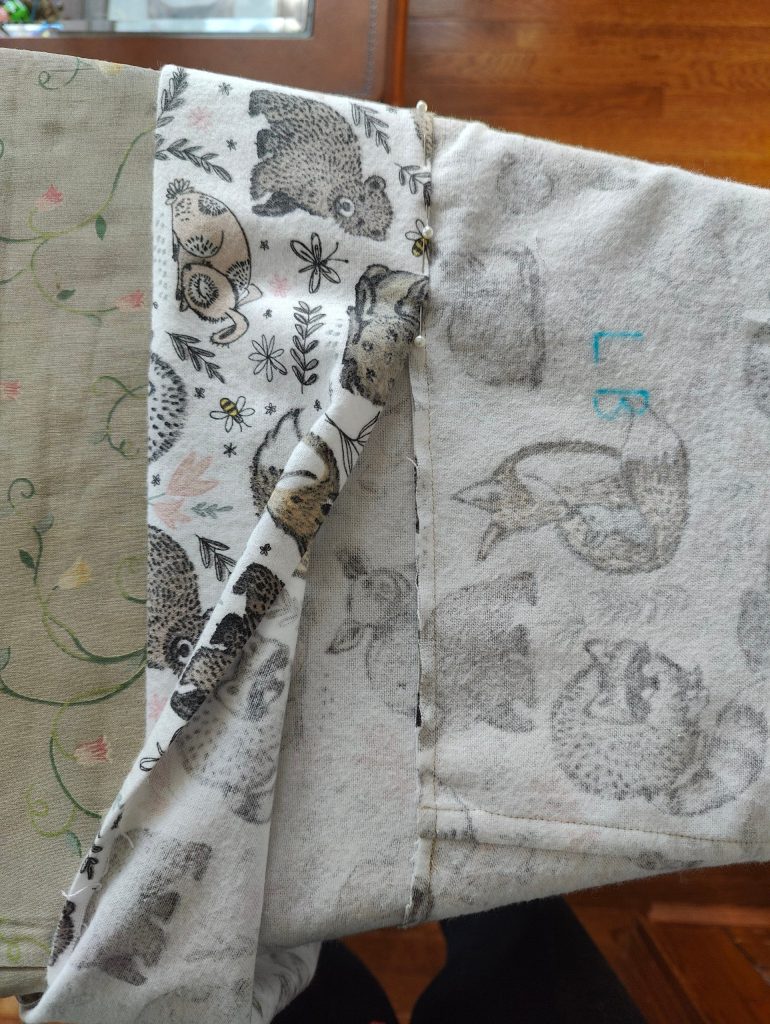
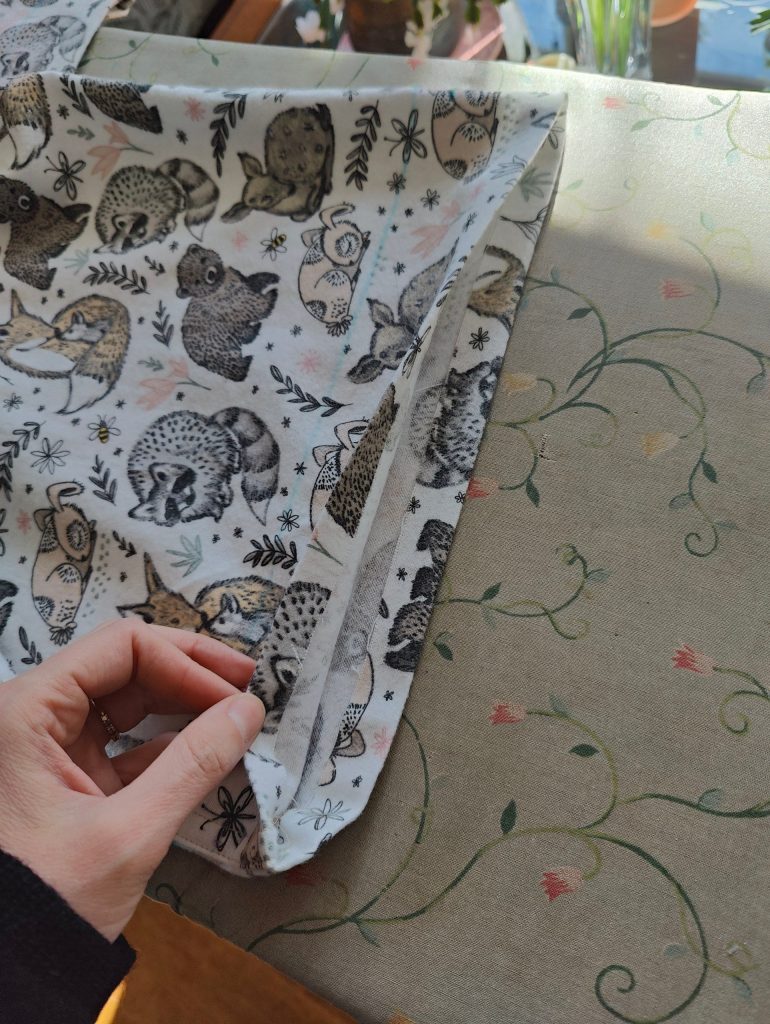
The next step is to cut half of one of the seam allowances off. I wanted my seams to face toward the back of the garment, so I trimmed the seam allowance of the back piece.

Now that one side was trimmed, I first ironed a fold in the other side, folding it just barely shy of the seam itself.
Then, I ironed the short side toward the folded side just slightly to help it tuck into the fold more easily.
After this, I went along the length of the seam, tucking the short edge into the fold and pressing the fold over it with the iron.
I followed up by pinning the seam in place.
Then it was time to sew it!
At this stage, the goal is to edgestitch along the fold, bringing the seam down nice and flush with the fabric. That’s the cool thing about flat-felled seams – they truly lie flat, both inside and out!
However, this edgestitching step can definitely be a challenge. It’s easy to let your needle fall off the edge. I find it helps to keep my eye on something other than the needle, such as where the seam is passing by the presser foot, to get more consistent results. By the time I see something go wrong at the needle, it’s almost always too late to adjust.
Here is the seam once I edgestitched it!
Of course, the next step was doing the exact same thing to the other leg’s inseam. Just repeat all the above steps! I promise, flat-felled seams do get easier and faster with practice! And they’re so worth it for their lovely finish and unparalleled durability.
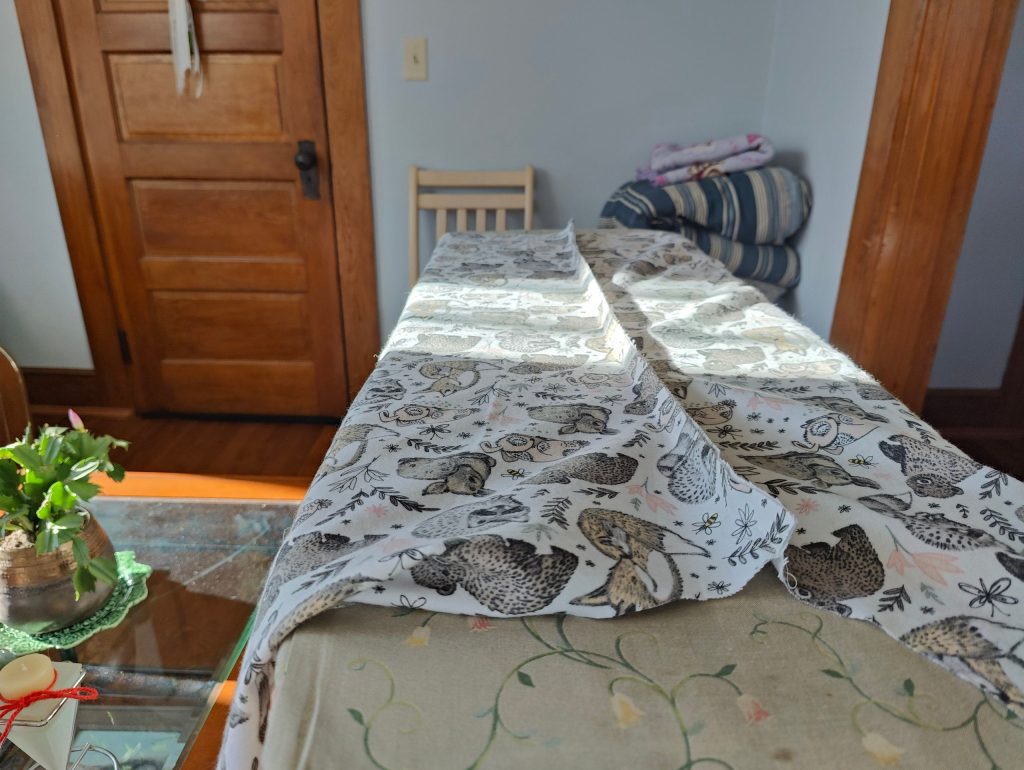
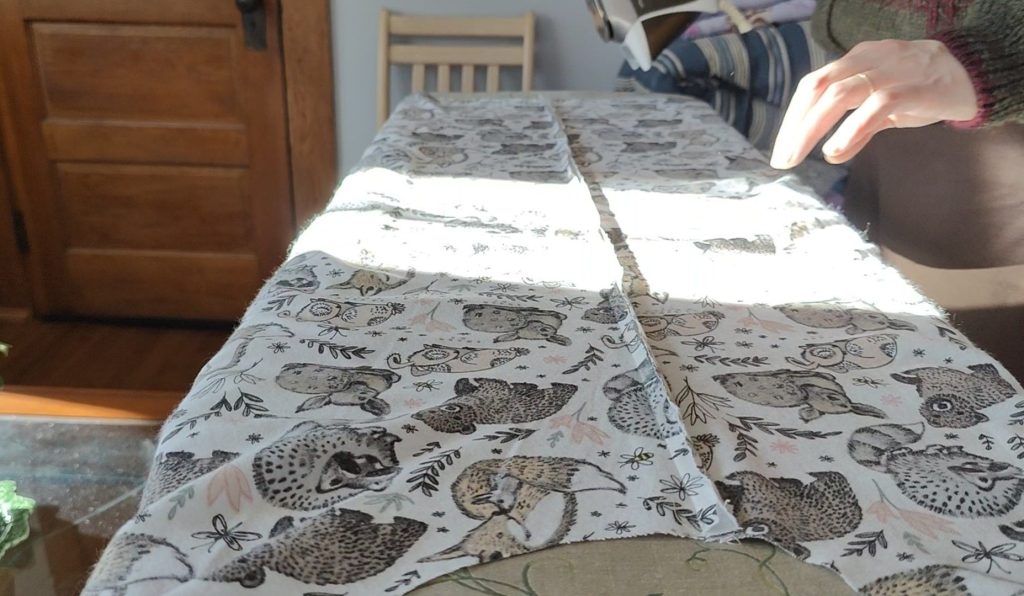
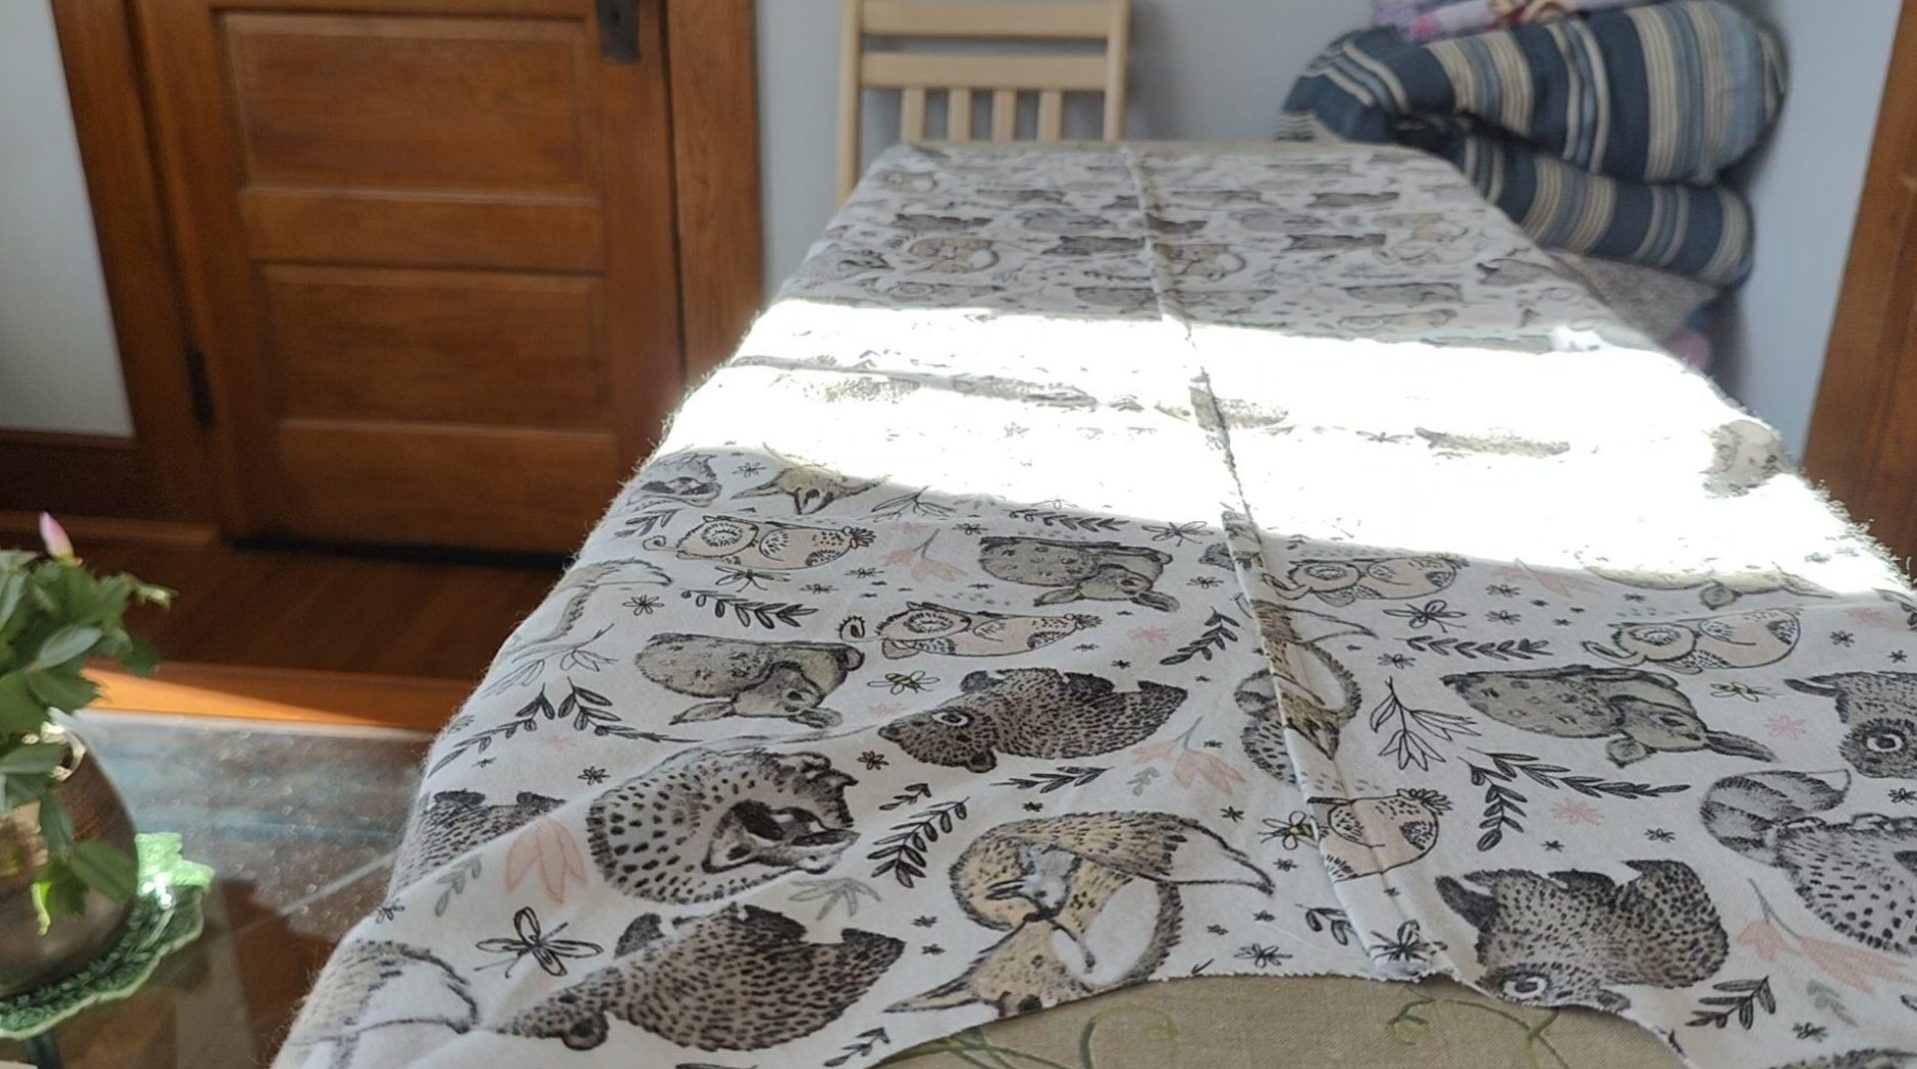
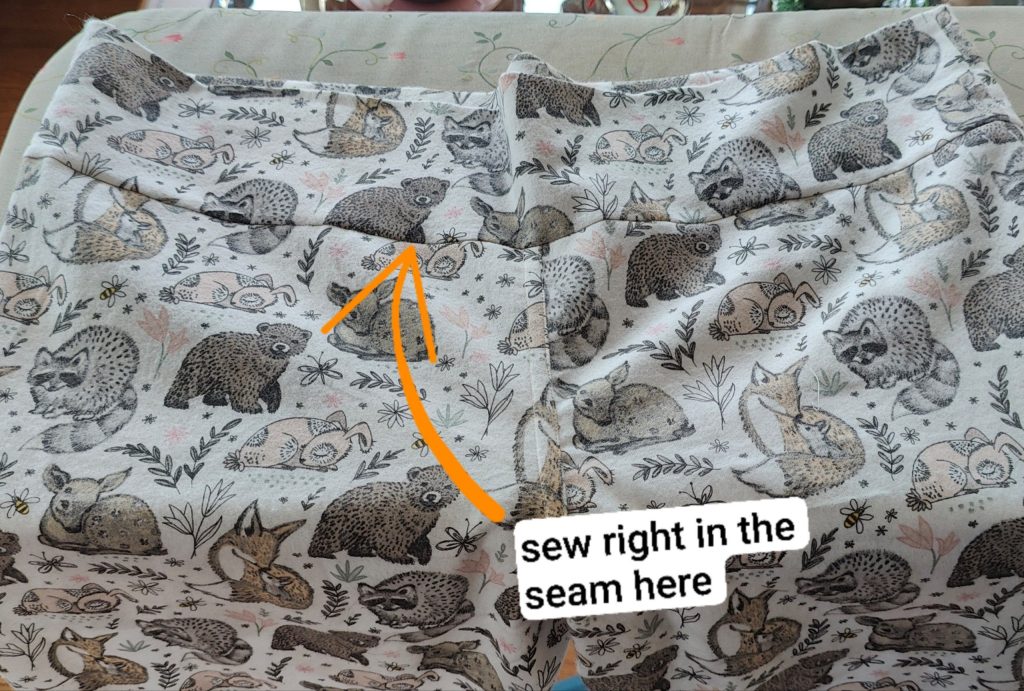
Sewing the crotch seam
Next up after the inseams is the crotch seam. This seam is super curved, so it definitely requires some maneuvering at the machine! But it’s not hard, don’t worry!
I did flat-felled seams throughout this project, even including this crotch seam. So, I followed the same steps as above. First, I pinned my legs wrong sides together like this:
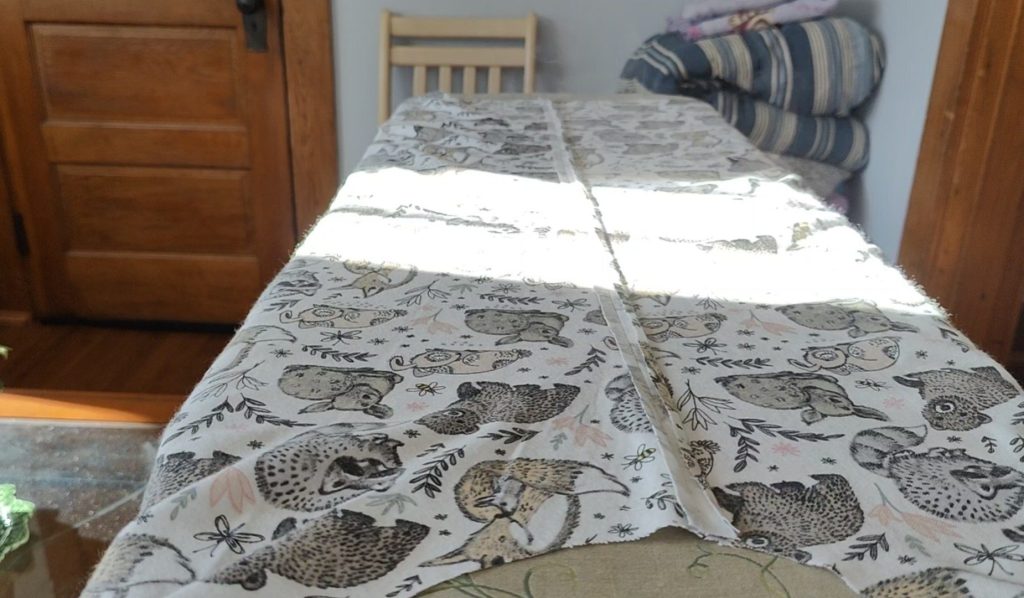
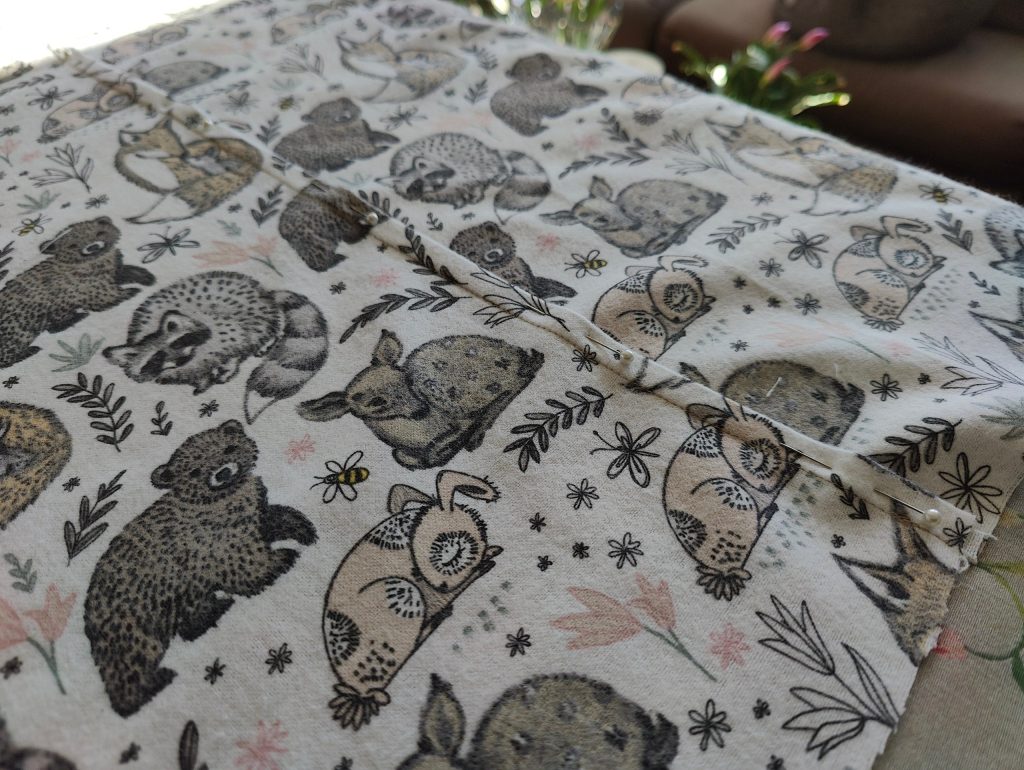
I sewed the 5/8″ seam allowance:
Pressed it open:
Ironed and pinned it in preparation for edgestitching:
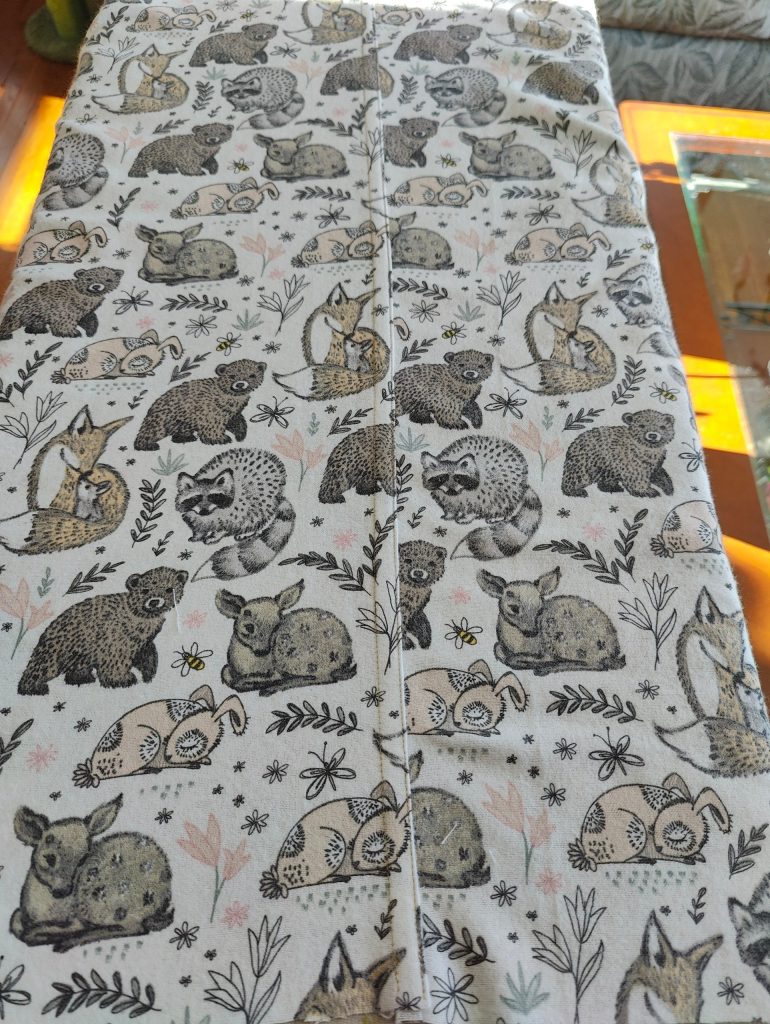
And this was it after sewing!
The key is to keep the seam nice and straight as you sew, and not worry about the folding of the fabric on either side. As long as the fabric going through the needle is flat, you’ll be good!
Sewing the outseams
Just as there is an inseam, there is an outseam, which runs from the hip down the outer sides of the pants.
Again, we’ll do a flat-felled seam here. First, I pinned the seam wrong sides together:
Since the pantleg was already sewn closed in our previous step, I had to use a towel on the inside to iron the seam and prepare it for edgestitching.
You might be wondering at this point how the heck I’m going to edgestitch this, since the pant leg is closed and it needs to be stitched top down.
Well, I used to think it was impossible, but it’s totally not! You just have to adjust the fabric like crazy as you proceed through the pantleg and make sure you don’t accidentally stitch over some other material by accident. Constantly adjusting and feeling underneath what you feed the machine is key here.
It’s also much easier if you begin the seam at the top of the pants, rather than at the foot holes, but either way is possible!
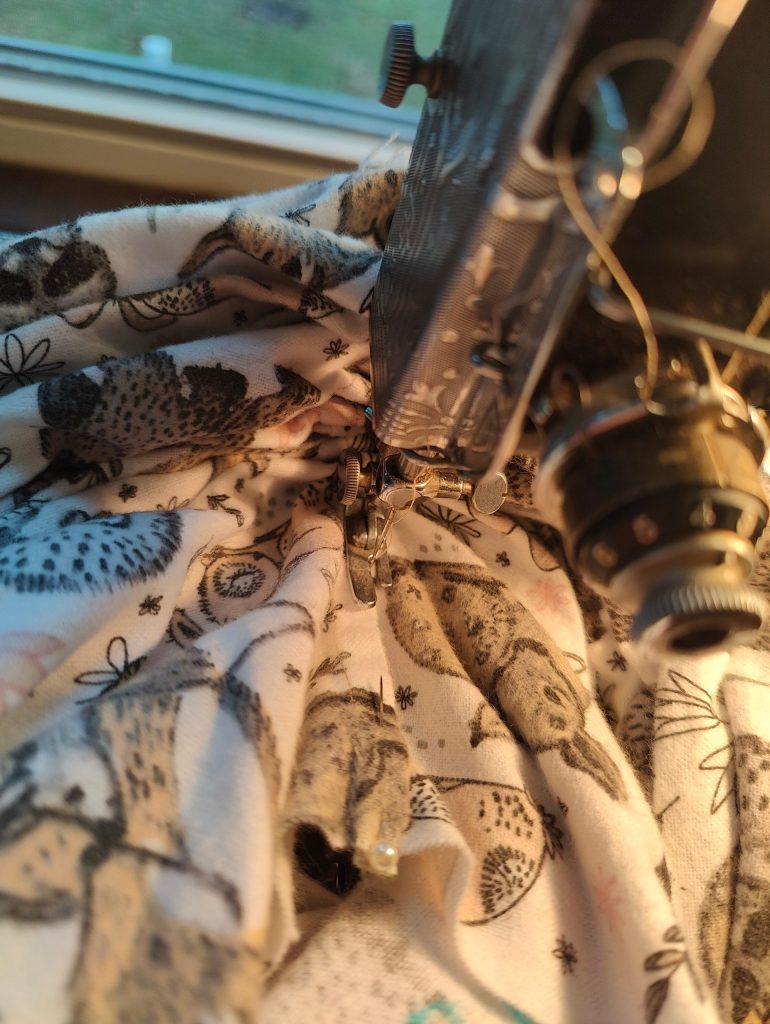
See how much the fabric bunches up on this one? Again, as long as what is going through the path of the needle is flat, it doesn’t matter how much of a mess everything is around it!
Then, I proceeded to do the other outseam the exact same way. At this point, my pants were beginning to look more like… pants!
Attaching the waistband
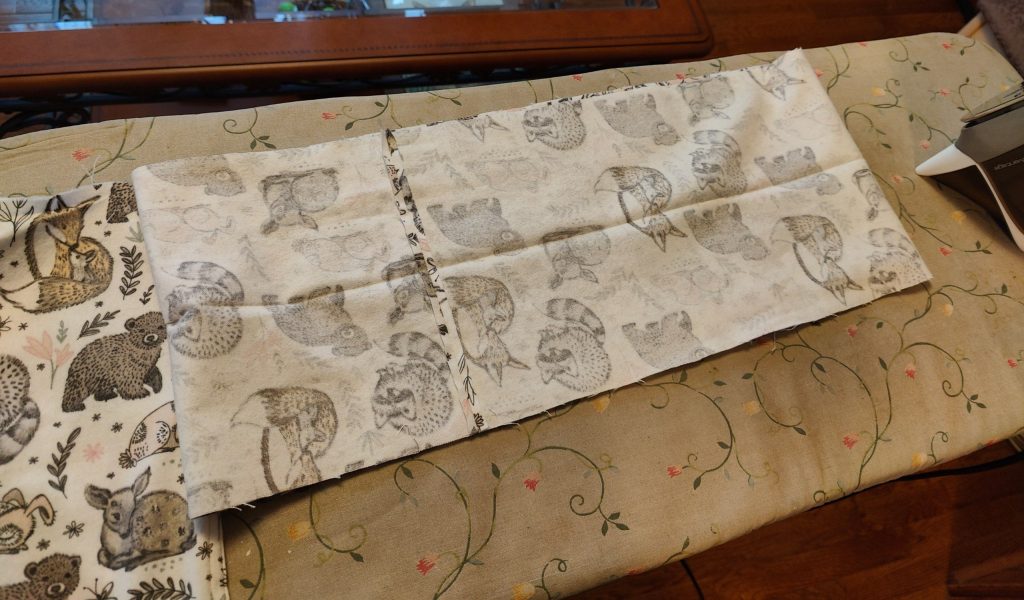
At this point, I cut out two waistband pieces, the same length that the pattern indicated but taller (as I mentioned earlier). I went with 8 3/4″ which made a nicely tall shirred waistband. If you’re just using the elastic which is recommended for the pattern, you’ll want to leave the waistband pattern piece as is.
I started by sewing the waistband pieces right sides together, trimmed off about half the seam allowance, and then pressed them open. The seams end up encased in the waistband, so no need to finish them.
Then, again with right sides together, I pinned the waistband to the pants, lining up side seams and notches. I sewed this seam at the recommended 5/8″ seam allowance, trimming it when finished.
The reason for trimming seams is to reduce any bulkiness of the fabric once finished. It really does make a difference!
Keep in mind that, if you are using an elastic band as the pattern describes, you’ll need to leave a gap in one of these seams as marked from your pattern so you have a way of inserting it later.
Also, be sure to consider the direction of your fabric’s design at this step (if it is directional)! You’ll want to attach it upside-down so it will be right-side up once the waistband is pressed upward, as shown here:
Notice the seam itself has been ironed upward.
Closing the waistband
To begin closing the waistband, I simply folded and pinned the waistband down just slightly past my previous stitch line. This is because the next seam will be “stitched in the ditch” of that very seam, so I need to make sure I actually catch this folded edge whilst sewing.
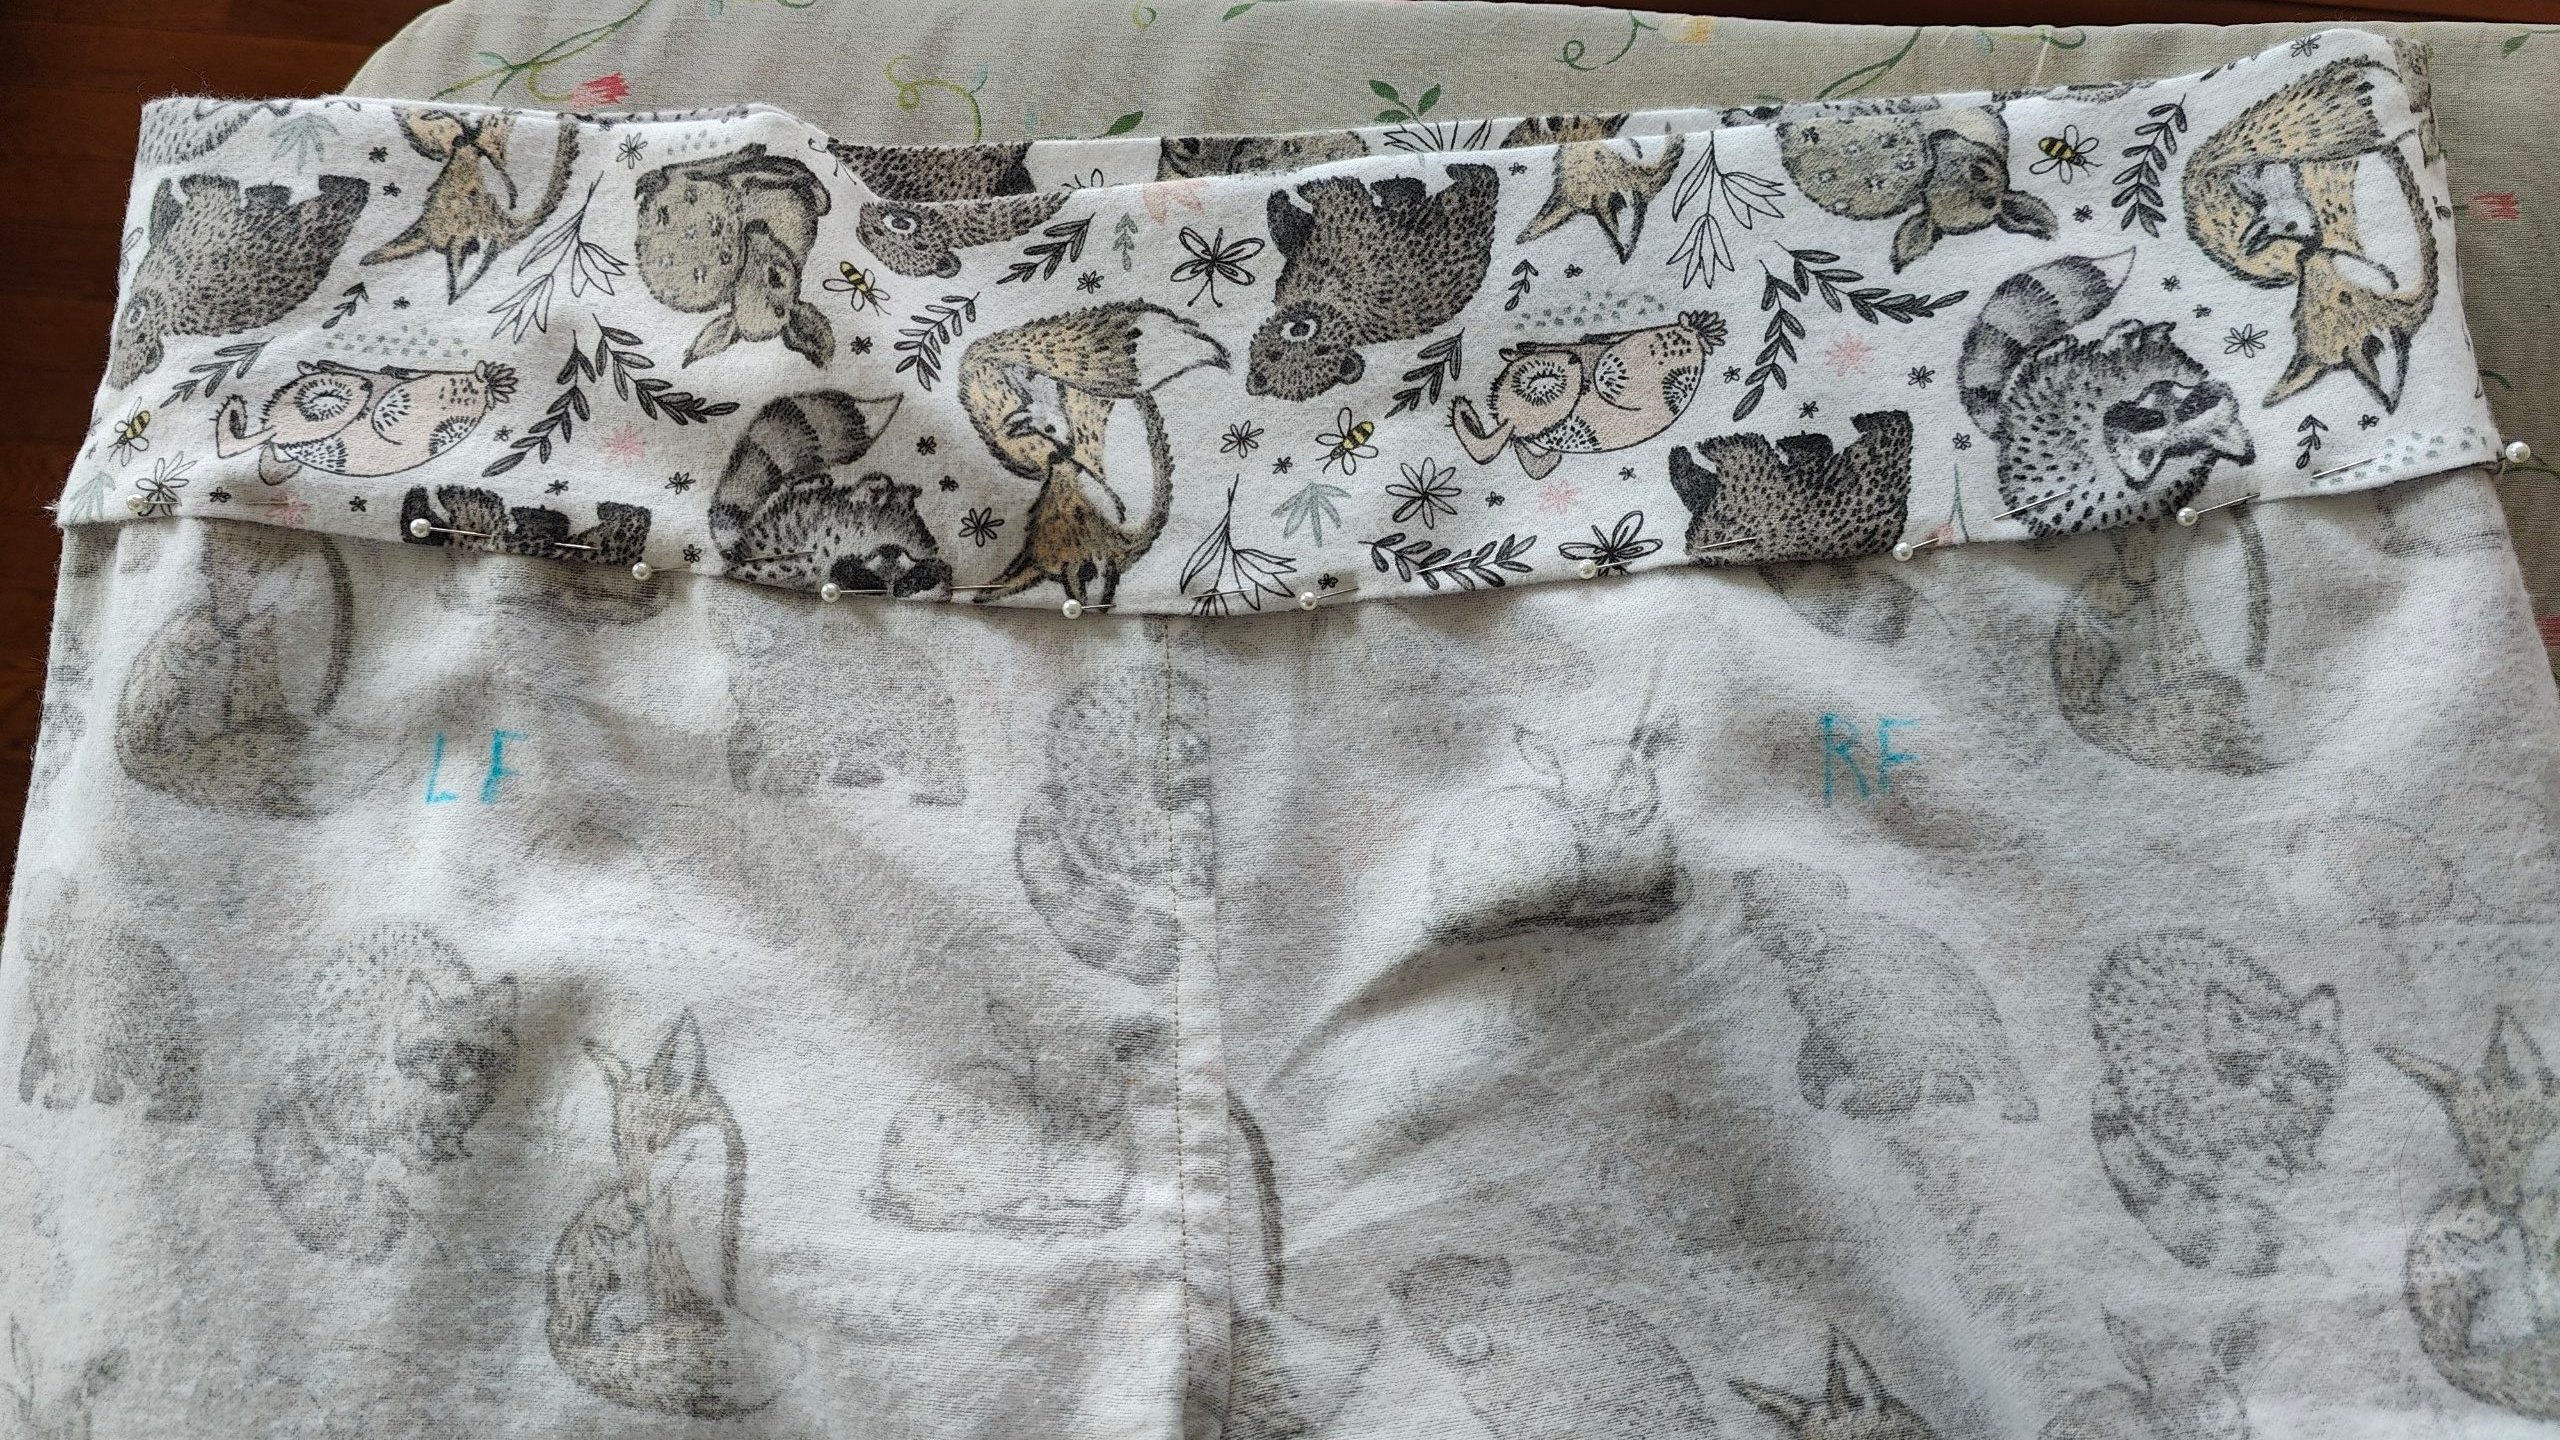
If you haven’t heard of the technique “stitch in the ditch”, it simply means to sew into the middle of a seamline. If this is done with precision, the stitching is hidden in the “ditch”.
The challenging part is that, since you are stitching on this side of the fabric, you can’t see if you’re catching the folded waistband on the other side while it goes through the machine.
This is why I suggest putting a ton of pins in and making sure you have adequately overlapped the seamline by around 1/16″ minimum. Further, I constantly felt for the waistband’s edge underneath the fabric as I fed it through my machine to ensure I was actually sewing it.
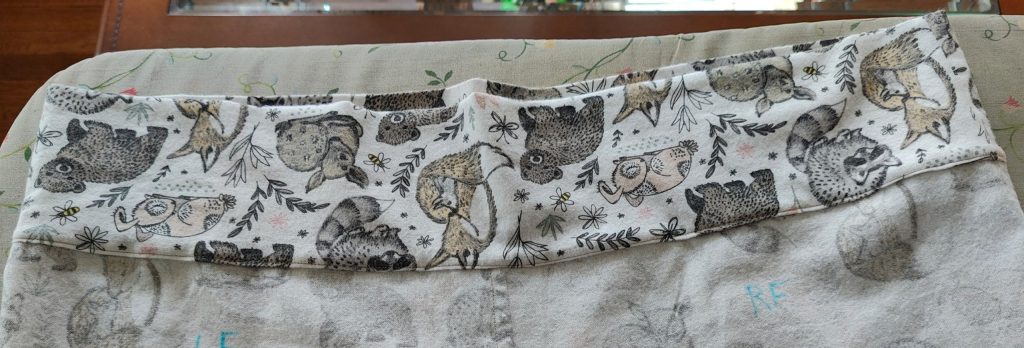
Here’s the waistband all closed up!
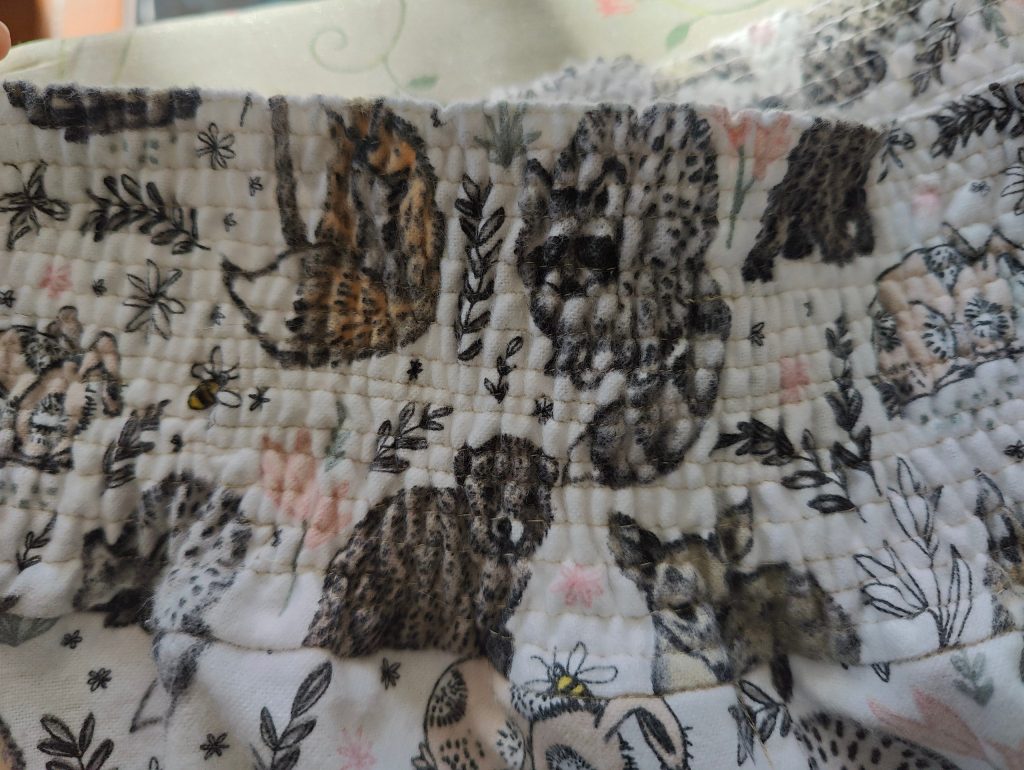
Shirring the waistband
Unfortunately, shirring is a topic of its own and is beyond the scope of this post. For my in-depth tutorial on shirring fabric, click here!
If you are simply using an elasticized waistband, you just need to feed it through the waistband’s channel with a safety pin, try on the pants, and sew the elastic together where it makes a good fit. Then close up the little hole in the waistband by hand.
Though, if you love the idea of shirring your pants as much as I do, then you can proceed with these next steps.
The basic idea of shirring is to load your bobbin with elastic thread (purchase here) and sew with your ordinary top thread. If your tensions are adjusted correctly, the fabric will scrunch up as its sewn. Each row amplifies this effect until you end up with a waistband which gently but snugly hugs your hips!
I did a total of 15 rows of shirring on my waistband beacuse it was a pretty tall one. But even 8 or so rows should be enough!
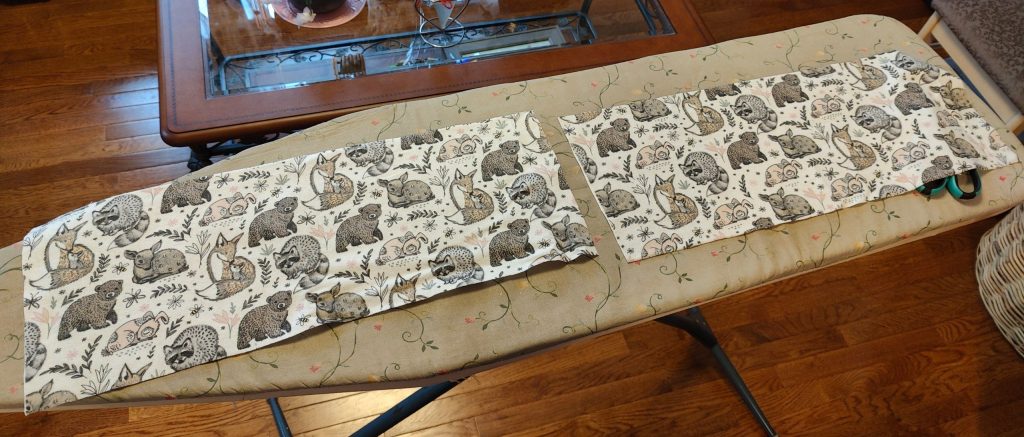
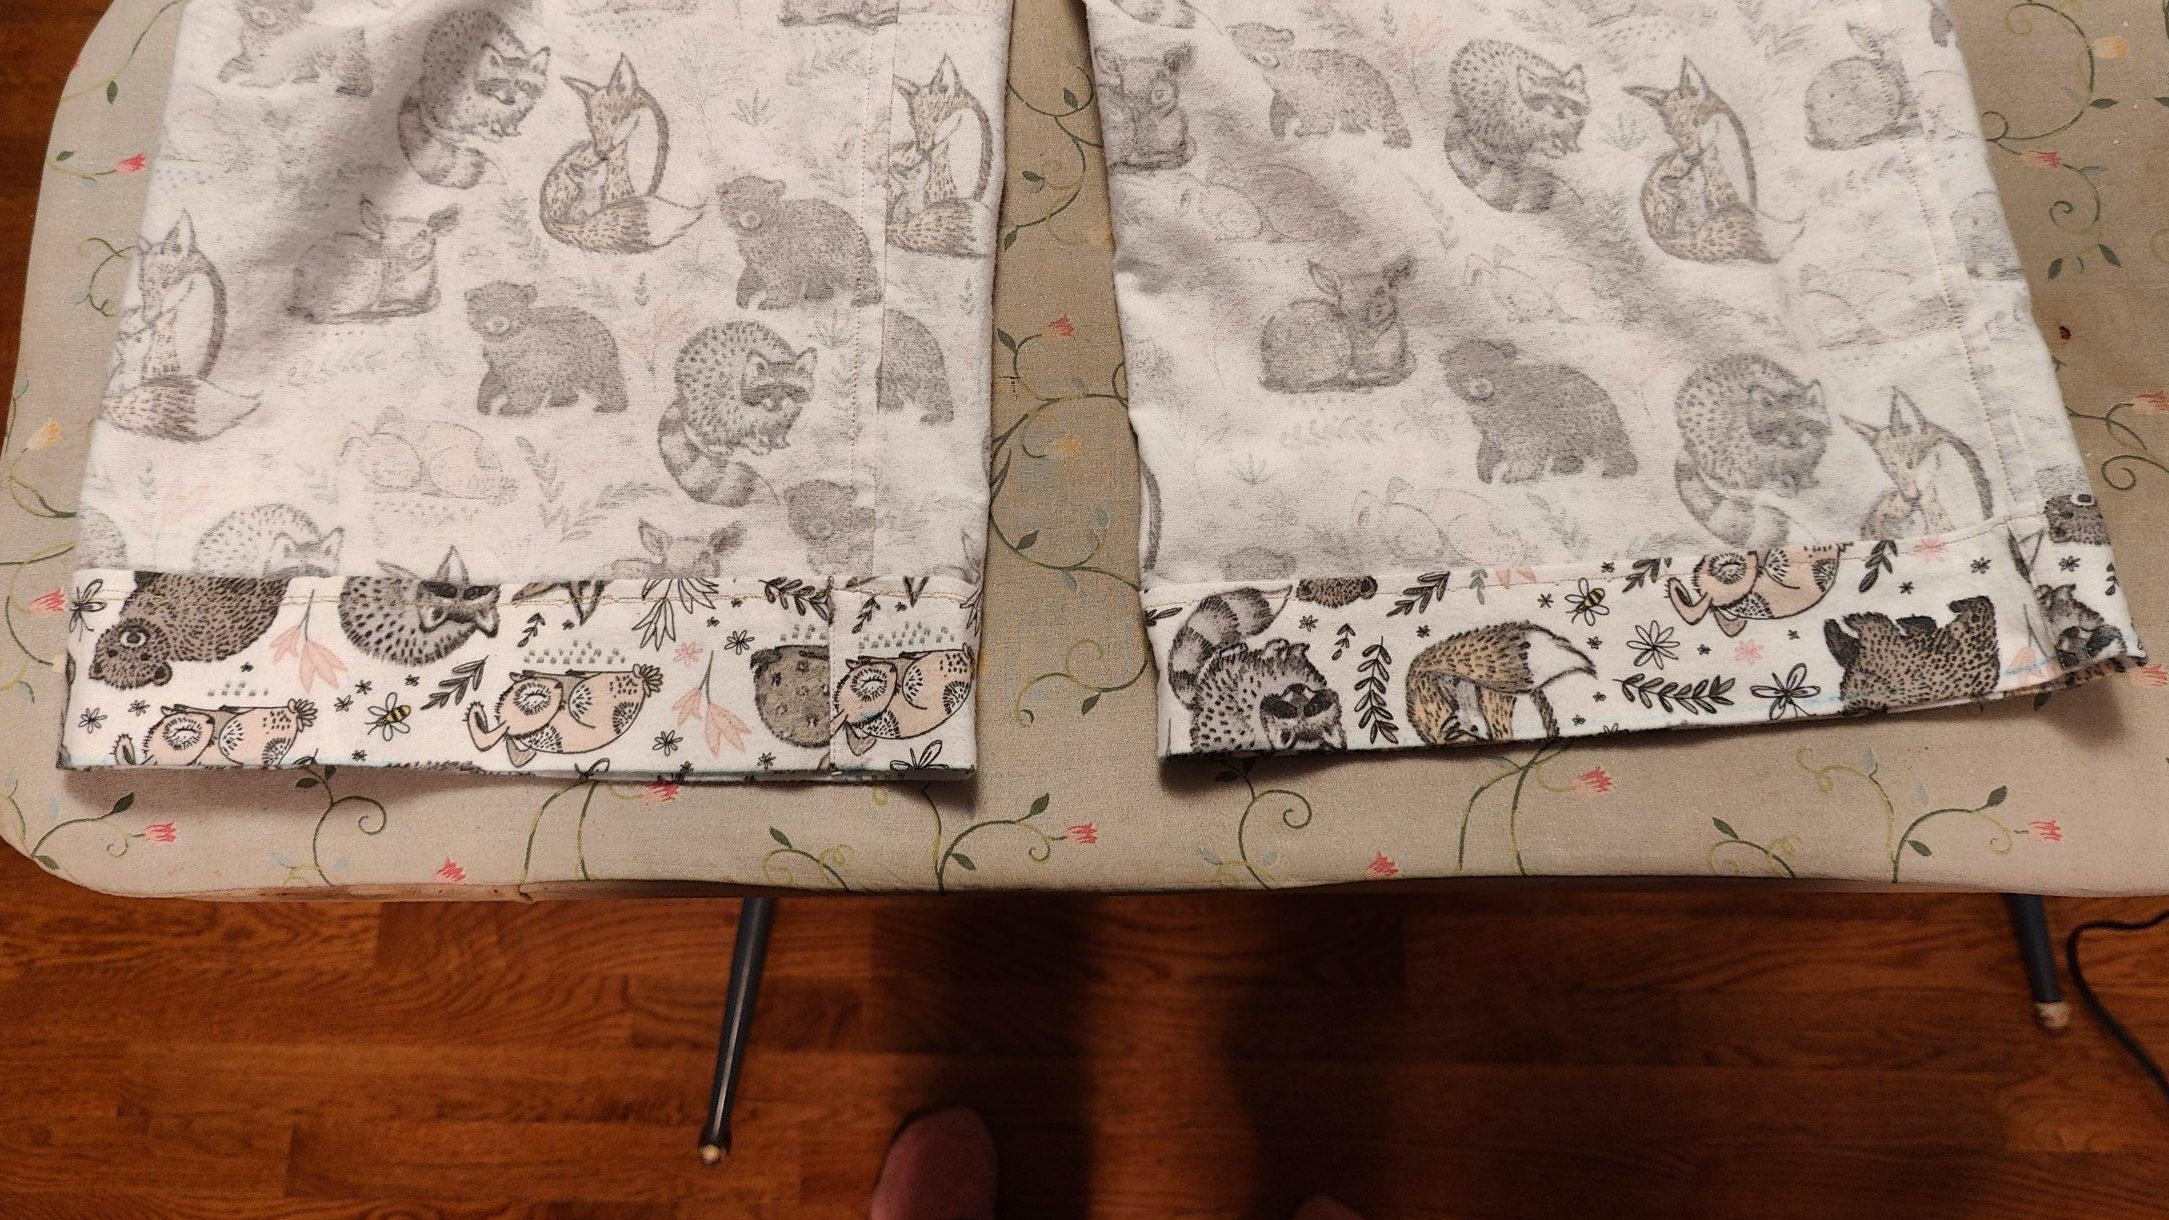
Hemming the pants
With the waistband done, all that was left to do was hem the pants!
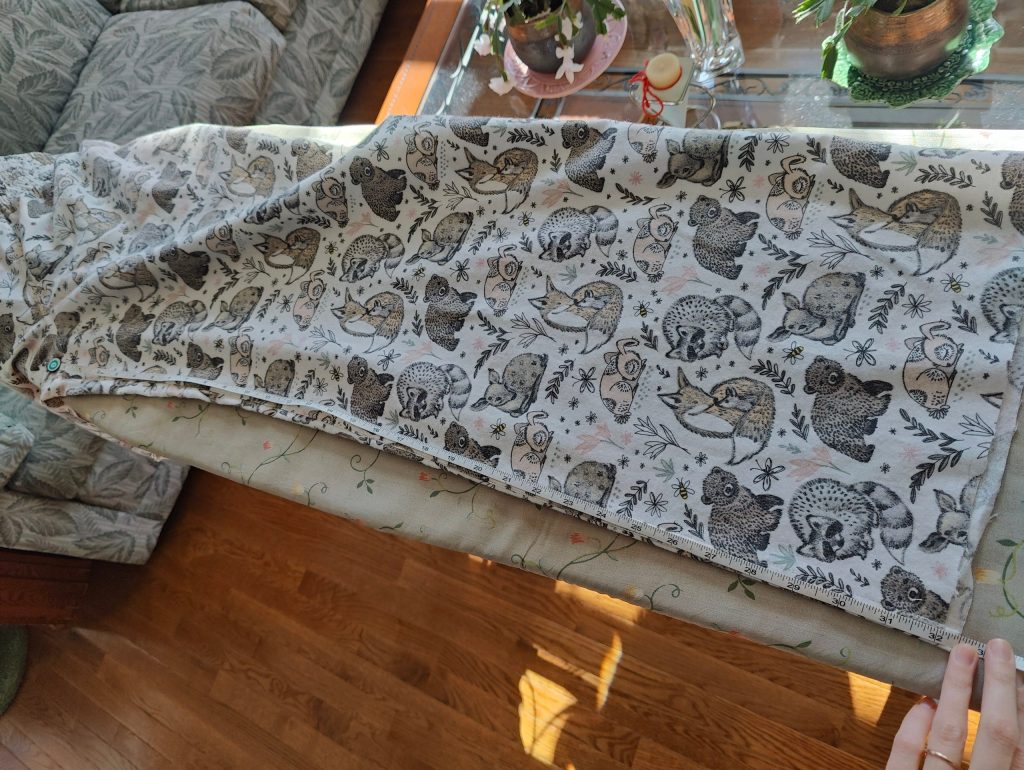
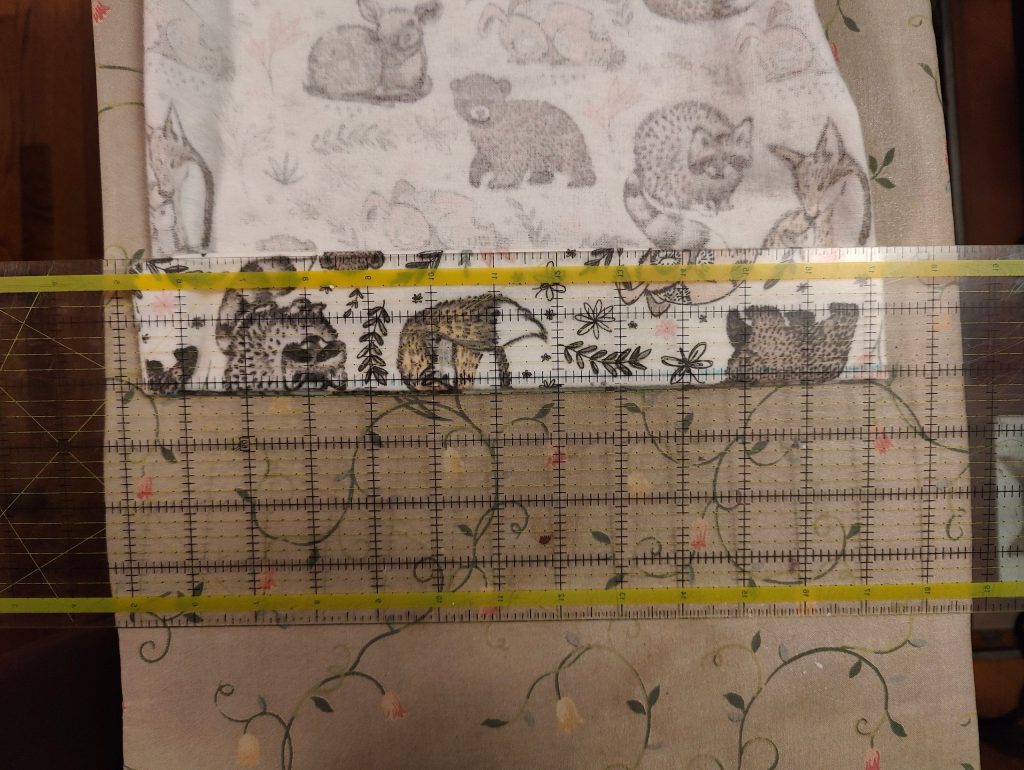
I marked each inseam (measuring from the crotch) at 30″. Then, I ironed a small fold toward the inside of the pants, followed by a bigger one along the mark I made. I used my sewing ruler to verify the hem was even.
To sew the hem, I actually used the fancy blind-stitch attachment I have for my vintage Singer Featherweight machine… because what’s the point of having these little gadgets if I never use them?
But normally, in the past, I simply stitched somewhat close to the edge of the fold and secured the hem that way. Alternatively, you can sew a blind hem by hand if you don’t want the stitches showing. This link has a fantastic tutorial for that. Additionally, some fancy newer machines have a blind stitch setting built in, so it’s worth checking if your machine has that!
And then…
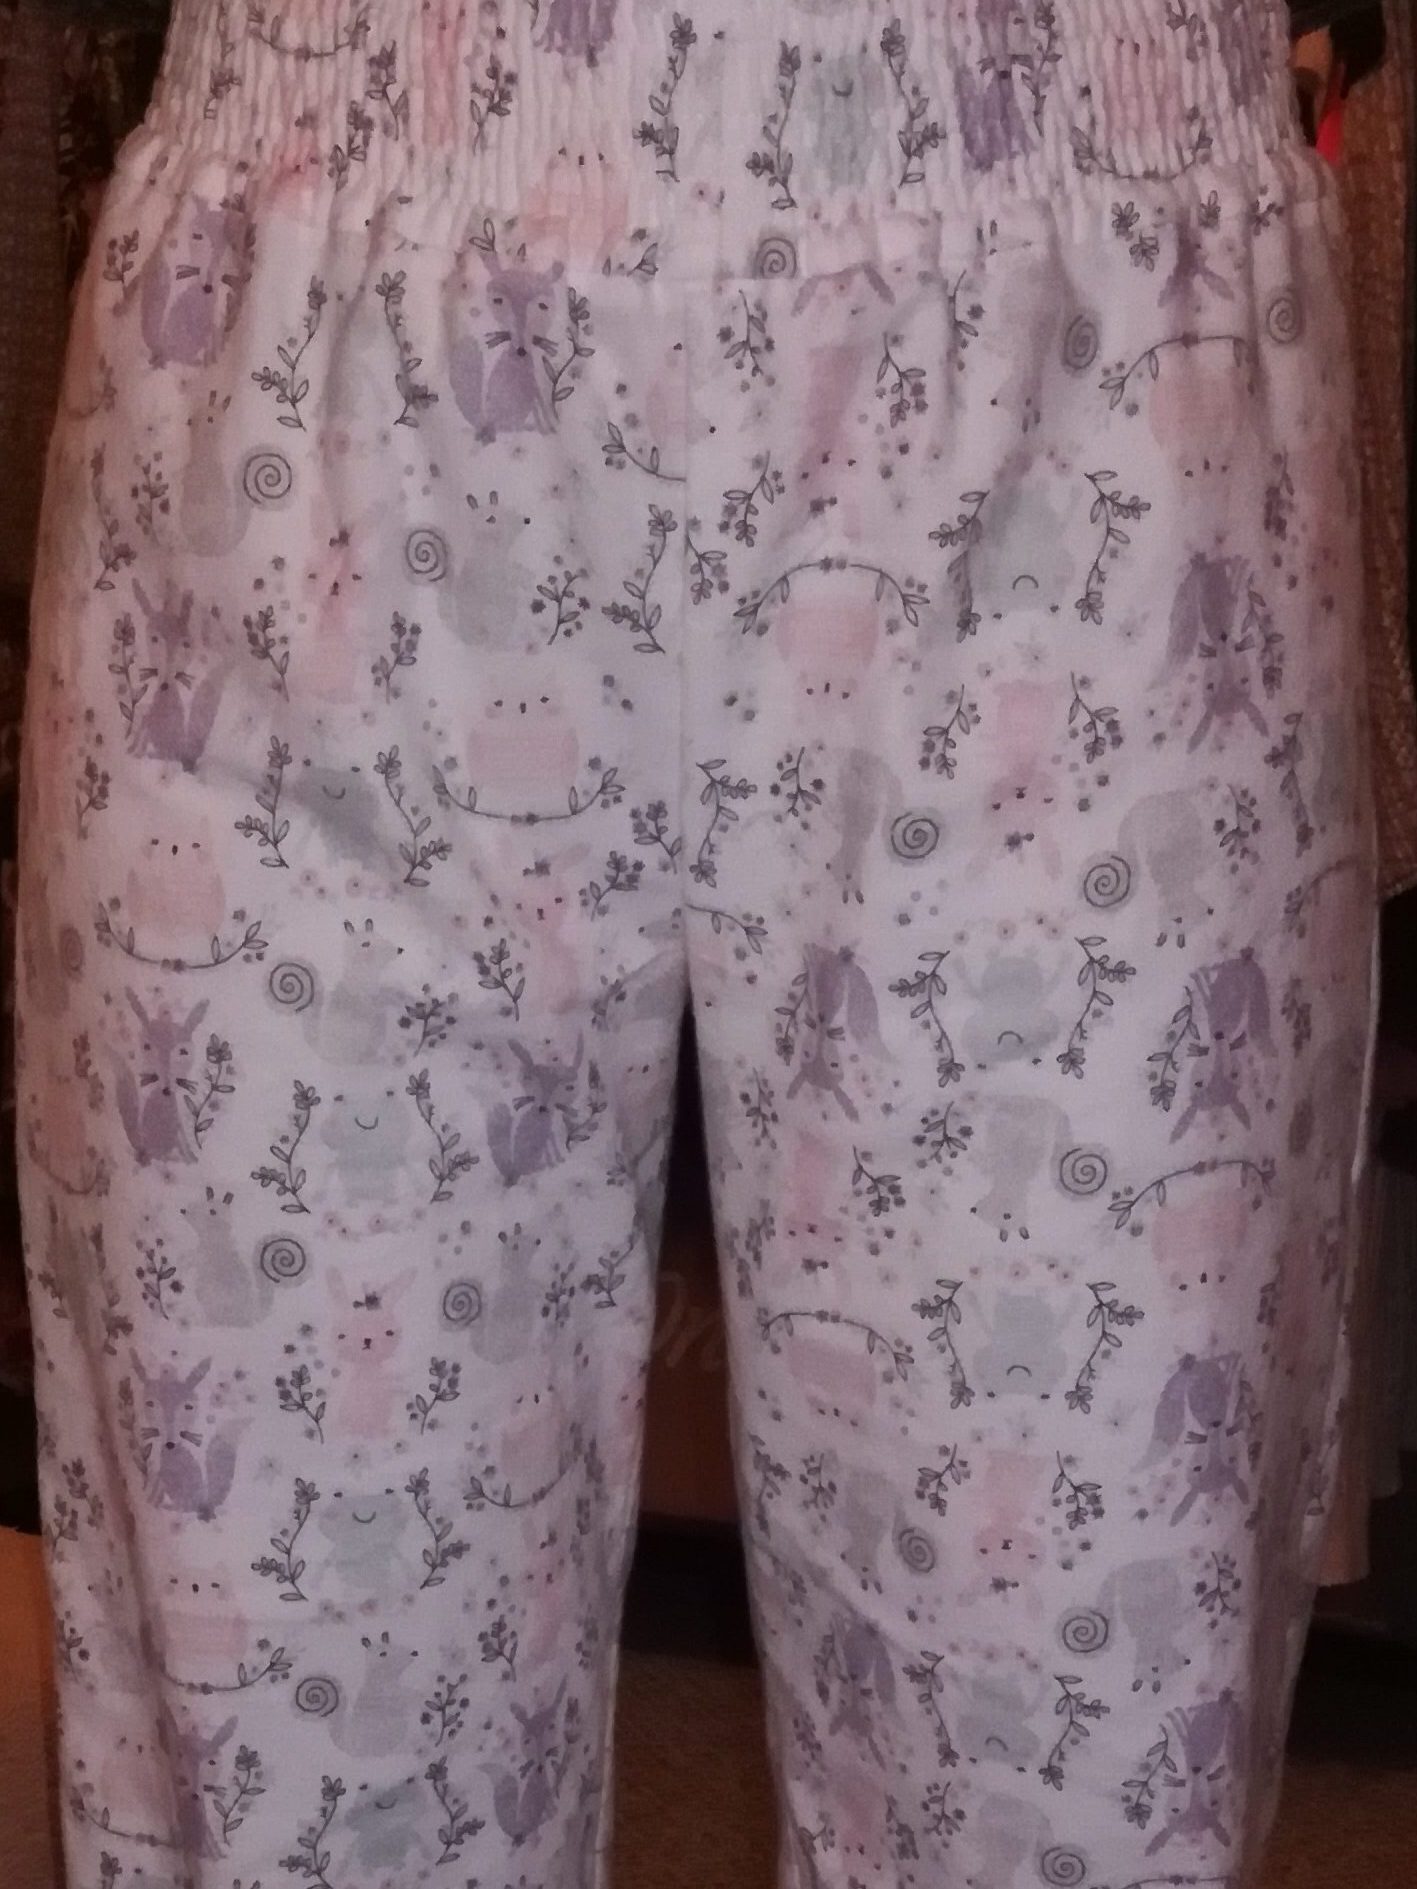
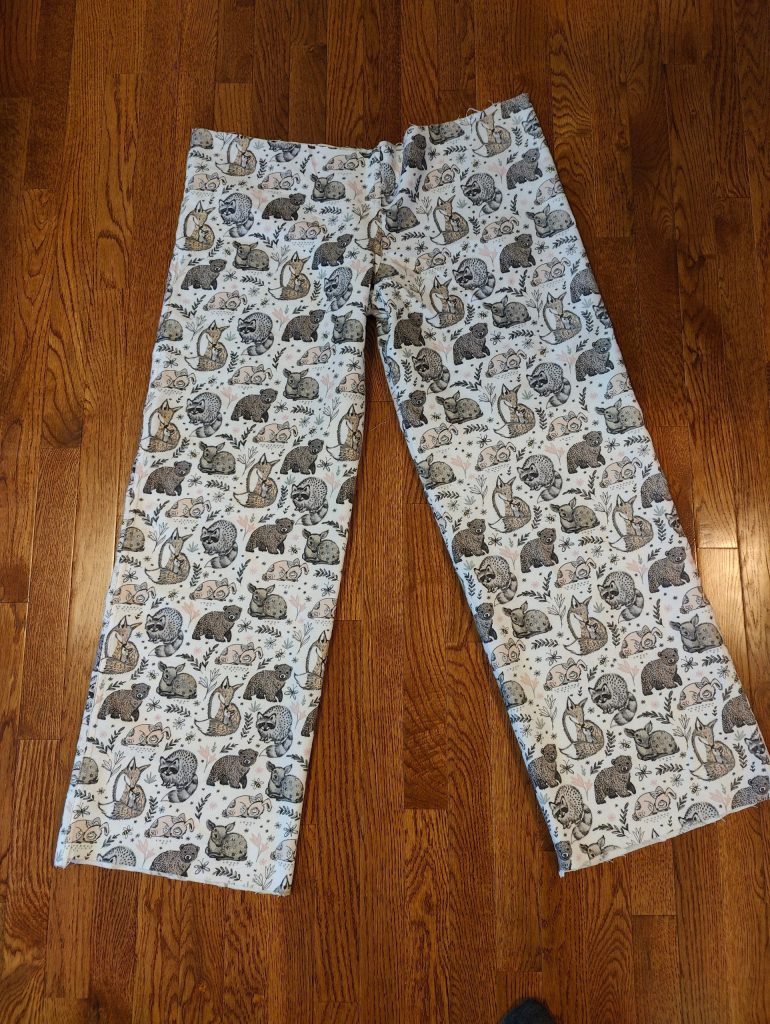
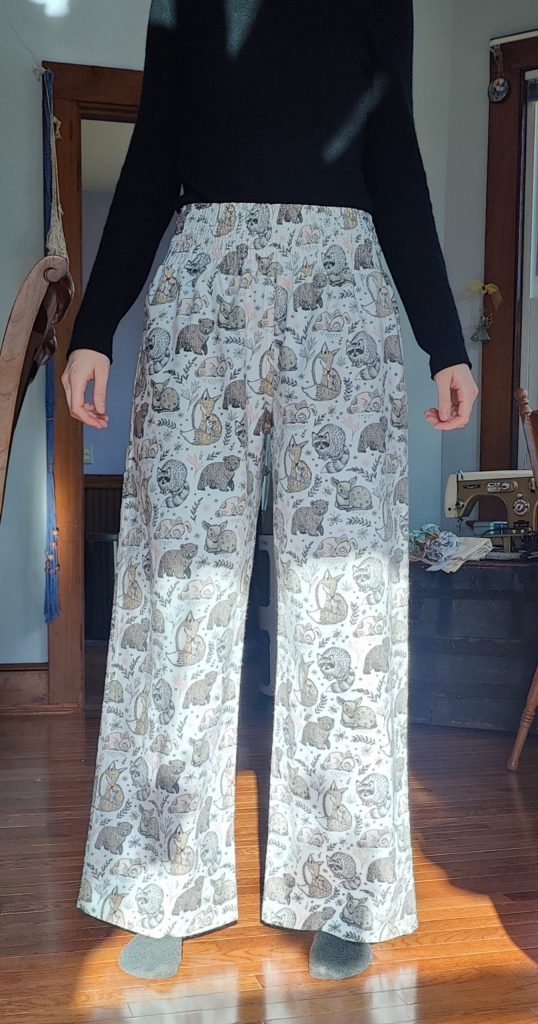
The pants are done!
Check ’em out!

And of course I had to try them on just to make sure they were good… and this seriously convinced me I needed to make myself the EXACT same pair. Honestly, even though they’re a bigger size, I love the relaxed and bigger fit!
This tutorial feels like it got super long, but I hope it has been helpful! I tried to go super in-depth in case there are any brand new sewers here. 🙂
If you want to leave your questions down below, I will do my absolute best to help!
Thanks so much for being here, and happy sewing!