Our DIY tile backsplash using gorgeous travertine!
Disclosure: I am an Amazon affiliate and this post contains affiliate links, which means I may earn a commission (at no extra cost to you) if you purchase products mentioned.
I’m super excited to tell you guys about our DIY tile backsplash project in our first floor kitchen. (Yes, we have two kitchens in our two-family house!)
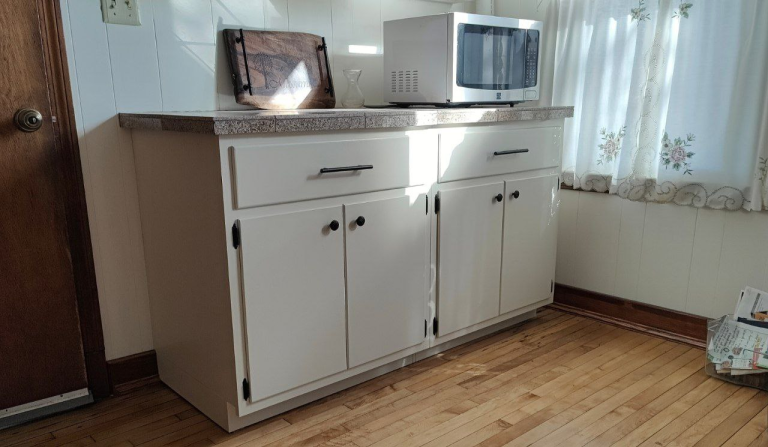
My husband and I had just finished installing granite tile countertops in this kitchen on top of the cabinets we built ourselves from scratch! It was starting to feel like one huge project after another. To be honest, compared to building the cabinets, this backsplash project felt much simpler!
I was really set on using very decorative and ornate tile for the backsplash, and travertine really helped us achieve that goal! I am in love with our new backsplash!
Let’s jump in and I’ll show you guys how we did it.
Picking out our tile
When it comes to picking out tile, my husband and I have gone to all the major big box stores, but we are partial to Floor and Decor. They just have such a huge selection, and it’s fun to walk around looking at all the different tiles!
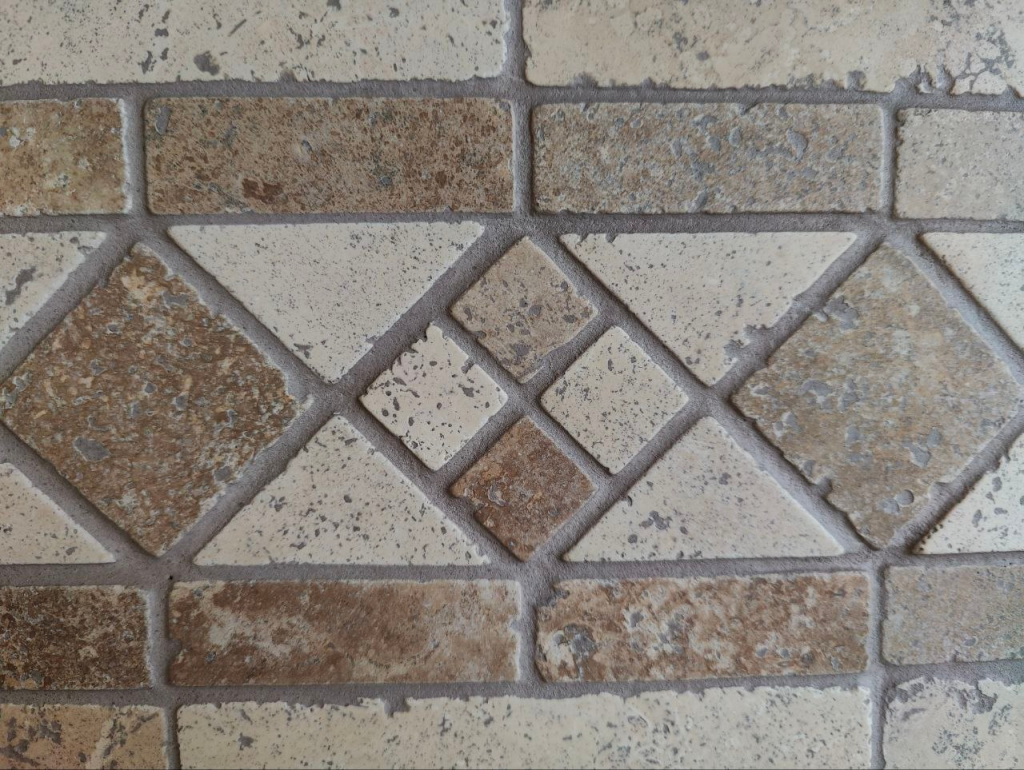
I was starting to think I’d like a travertine backsplash, so we went to the stone section. I found these beautiful mosaic strips that, while expensive, could be incorporated alongside less expensive travertine into an elegant and ornate design!
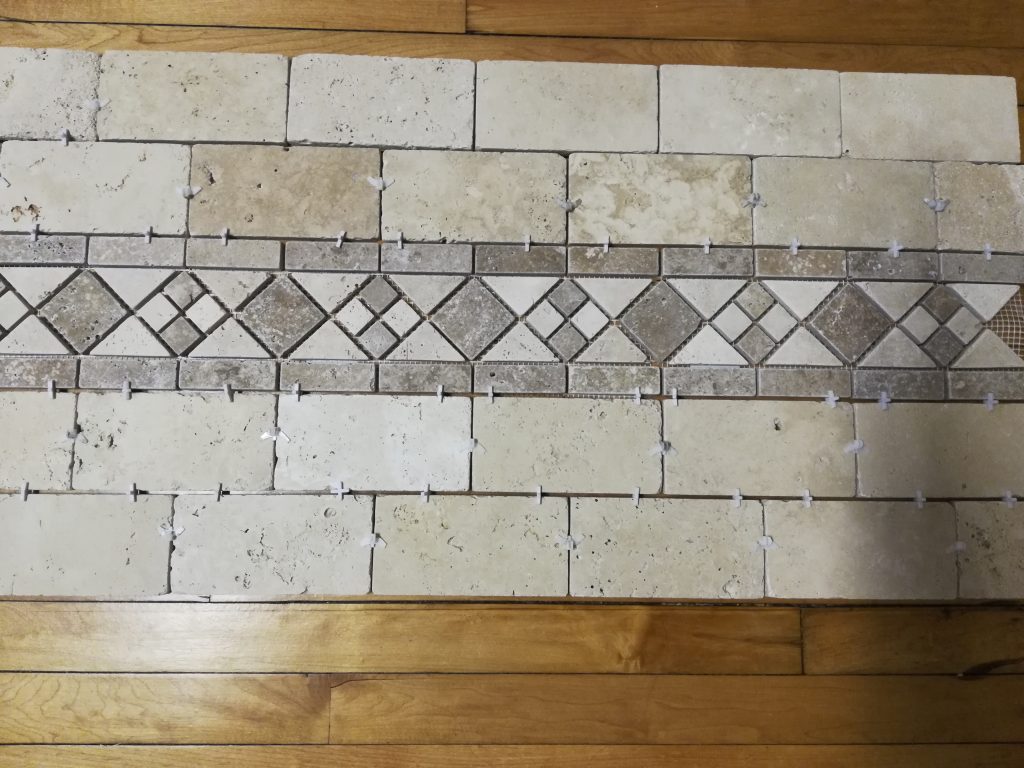
See? The section of ornate tiles in the middle is the decorative strip (around $11 per linear foot) and the rectangular block tiles are just separate ordinary travertine which were less pricey, around $5.50 per square foot.
I thought they coordinated so well, and I love the natural and imperfect look of travertine!
Travertine is extremely porous, so for those who want a nice smooth tile, it’s probably not ideal. The tiles have holes and indentations everywhere, and could easily collect dirt. However, on a backsplash, where tiles don’t get any foot traffic, I think this disadvantage is minimal! Plus, the grout does tend to fill most of these divots once finished.
We picked up the correct amount of tile corresponding to what we knew the square footage of our backsplash was. It’s always good to take these measurements before you go shopping! I drew out a diagram beforehand.
We brought them home and I eagerly started to lay them out!
Picking a layout for our DIY tile backsplash
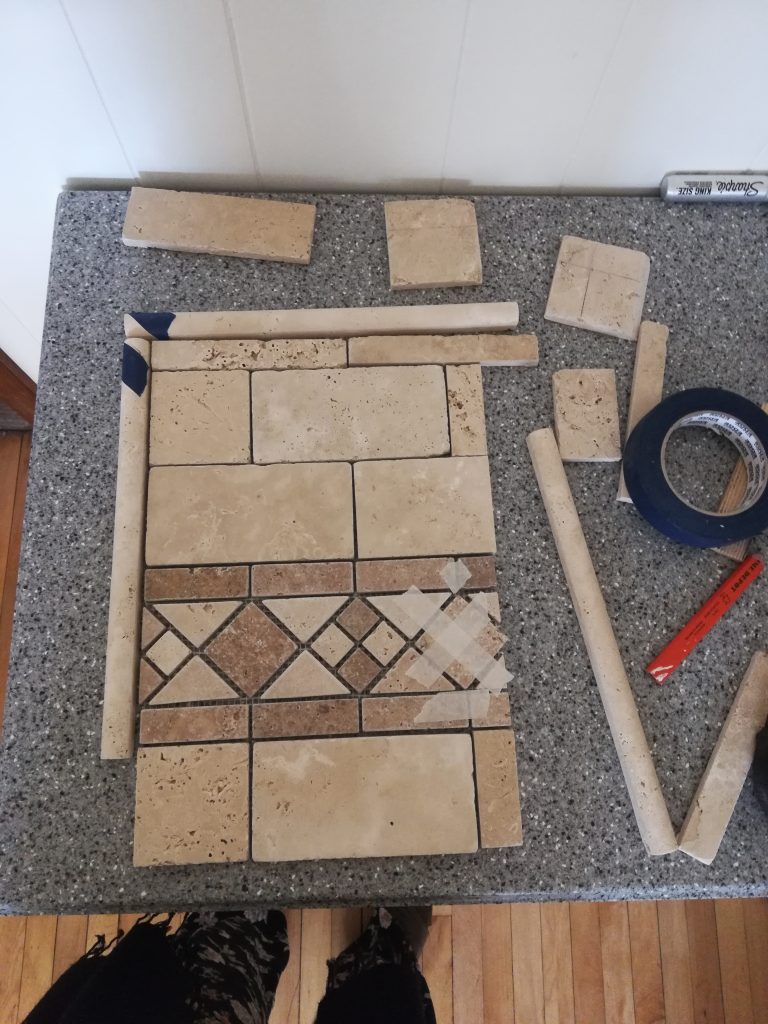
As I laid out the tile, I fiddled with a few different designs. The main considerations I made were:
- Whether or not I should arrange the decorative strip perfectly centered (vertically) in the layout.
- Whether I should prioritize putting a full tile at the bottom of the backsplash or making the bottom and top cuts symmetrical.
- Whether or not I should stagger the rectangular travertine tiles or arrange them in a grid.

Ultimately, my husband and I figured that the bottom row would get the most viewing, since that is where the tile meets the countertop. On the other hand, the top of the backsplash isn’t even visible unless you bend down to look underneath the cabinets, so we decided to make our cuts there.
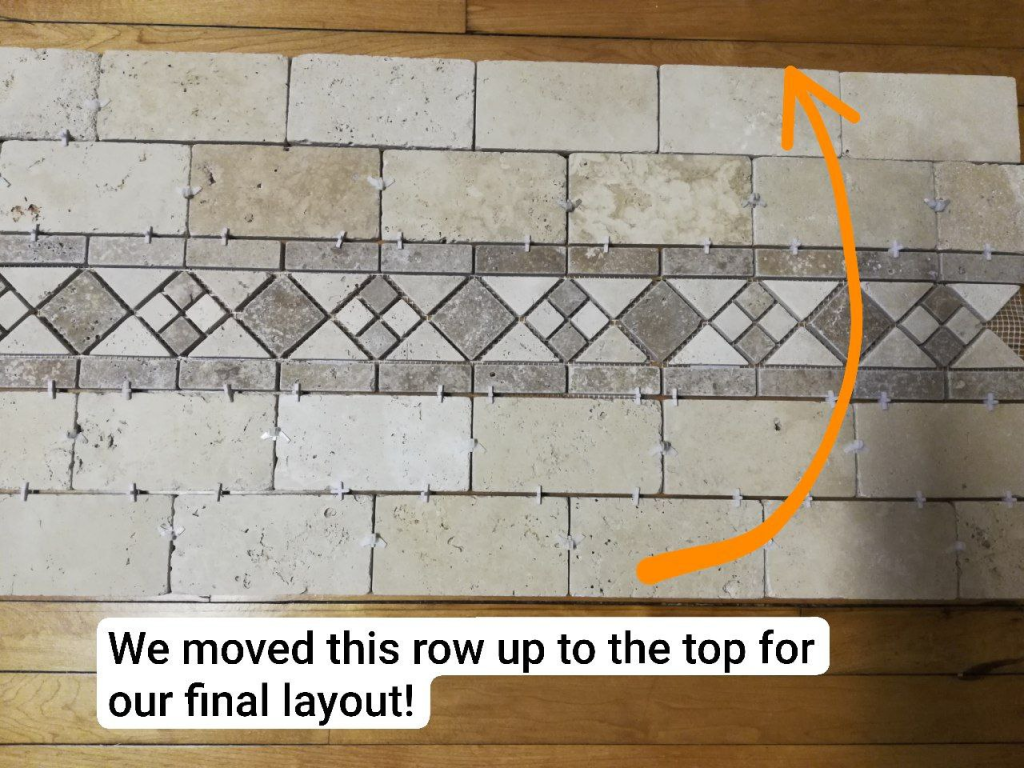
As for the decorative strips, this meant they wouldn’t be spaced exactly in the center of the vertical layout, as shown above. Instead, we’d shift it slightly toward the countertop, which would also make it more eye-catching and visible.
Putting up the tiles!
For this tile job, my husband and I decided to cut while we worked. He would set the tiles and I would make the cuts as needed.
We used his dad’s tile saw, which is super fancy and the blade even tilts to do miter cuts! Home Depot and Lowes also rent tile saws for reasonable rates if you don’t have access to one.
A tip: it helps to be able to set up your saw outside, which also means it helps if the weather isn’t… well, January weather in New England, for example. We do our best to work on our tiling jobs during the spring, summer, or autumn months. Winter can make cutting tiles so miserable!
We also decided to use mastic instead of thinset for this installation, which makes life a lot easier. This is because mastic doesn’t harden in the container, so you can take as long as you need to when tiling. Plus, it’s less messy than thinset. Here’s a link to the one below.
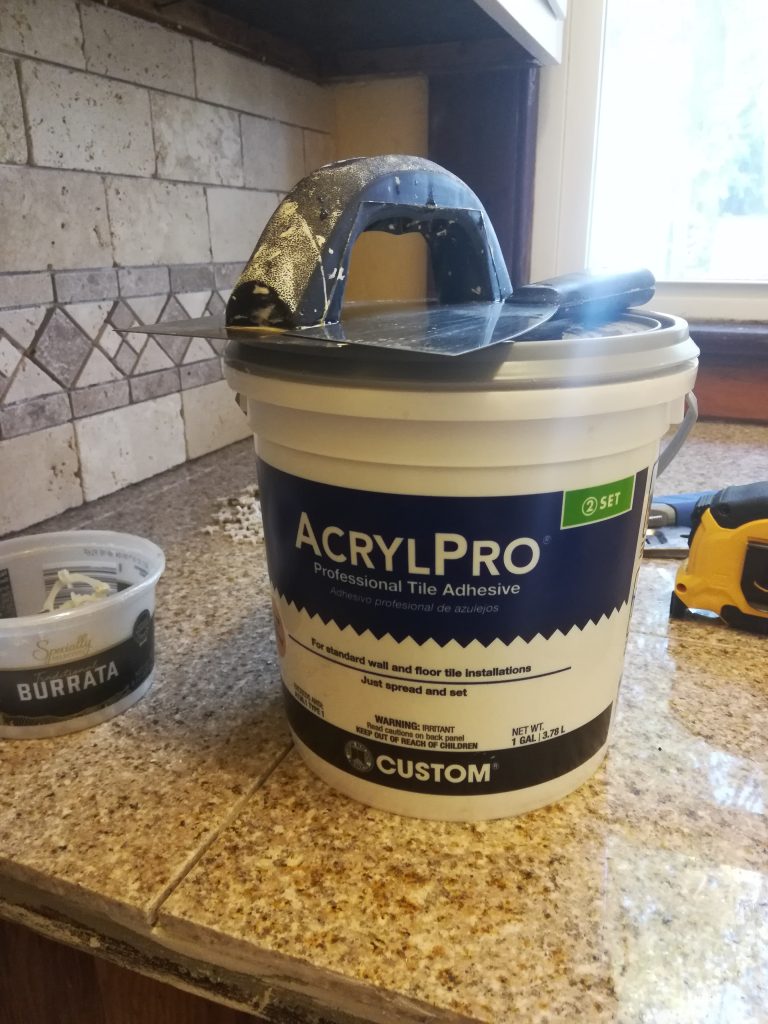
Of course, do keep in mind that mastic does not replace thinset in all applications. It is not good underneath floor tile or in wet areas.
To apply the mastic, we opted for our V-notch trowel, which put up more than enough material for these little tiles.
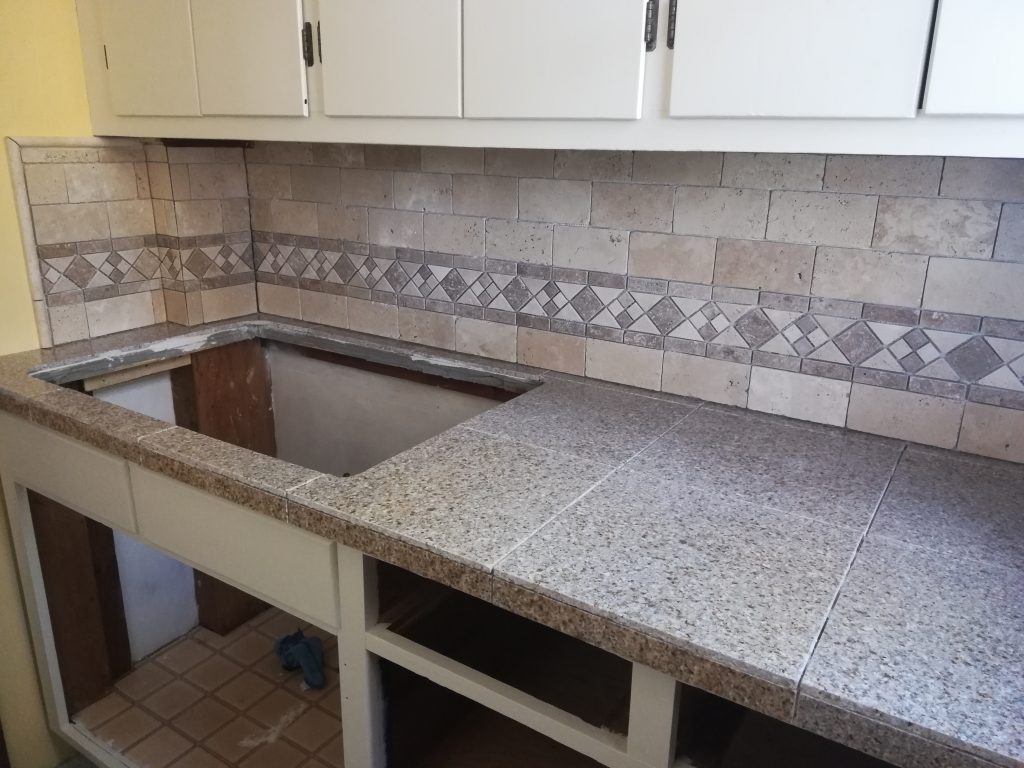
Here’s the first stretch of the backsplash once we’d completed it:
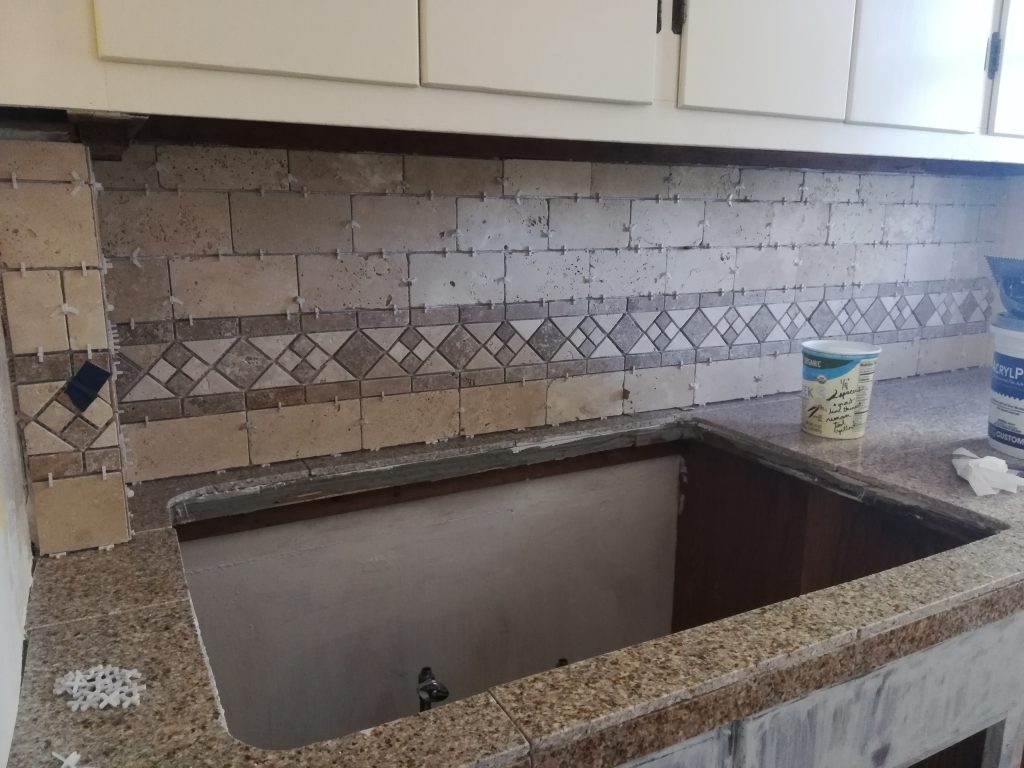
See how we had one row of tile on the bottom and the cuts on the top of the layout? I’m quite happy with how it turned out!
Going around that corner on the left took a bit of precision and planning. I mitered the cuts to enable the pieces to come together closely for snug and crisp-looking grout lines.
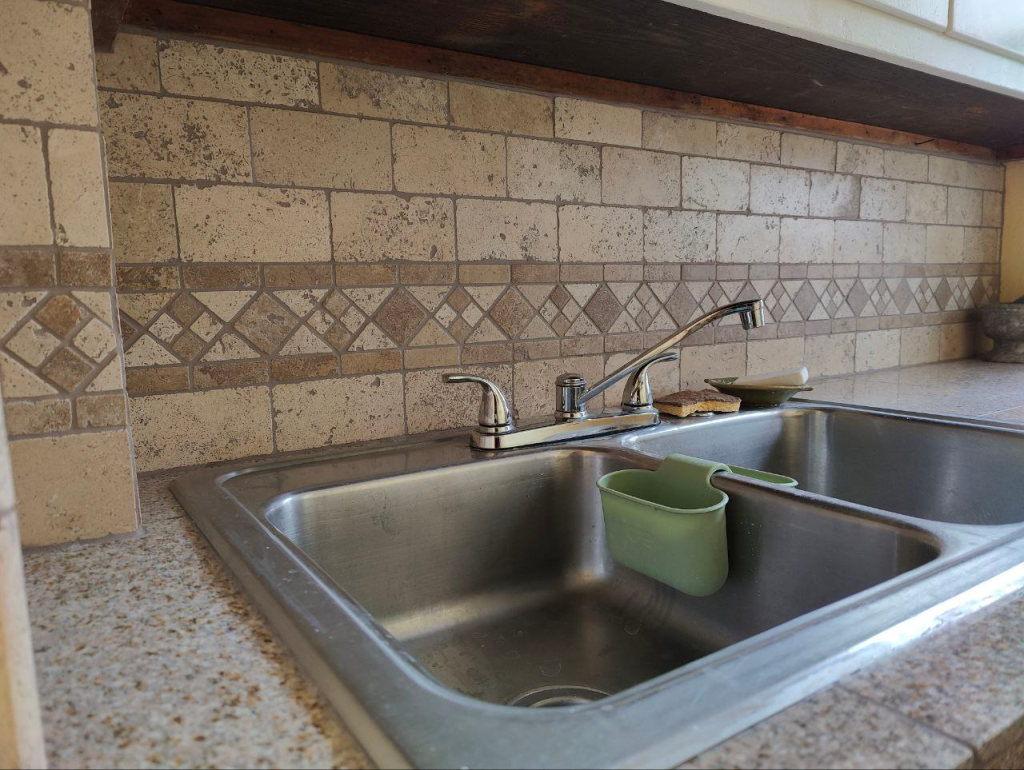
We still had one last stretch to go, which would be the part of the backsplash that juts out into the wall a bit. Some people think ending the backsplash halfway across the wall looks a bit silly, but I didn’t like the idea of having the wall next to the sink so exposed. So, I did my best to make it look as artistic as possible.
Since the tiles were jutting out, it meant they needed some kind of border. That’s where the travertine liner tiles came in!
Notice I used tape on some of the little mosaic tiles. That’s because I had to take them off the sheet, and the tape helped keep them together when we installed them.
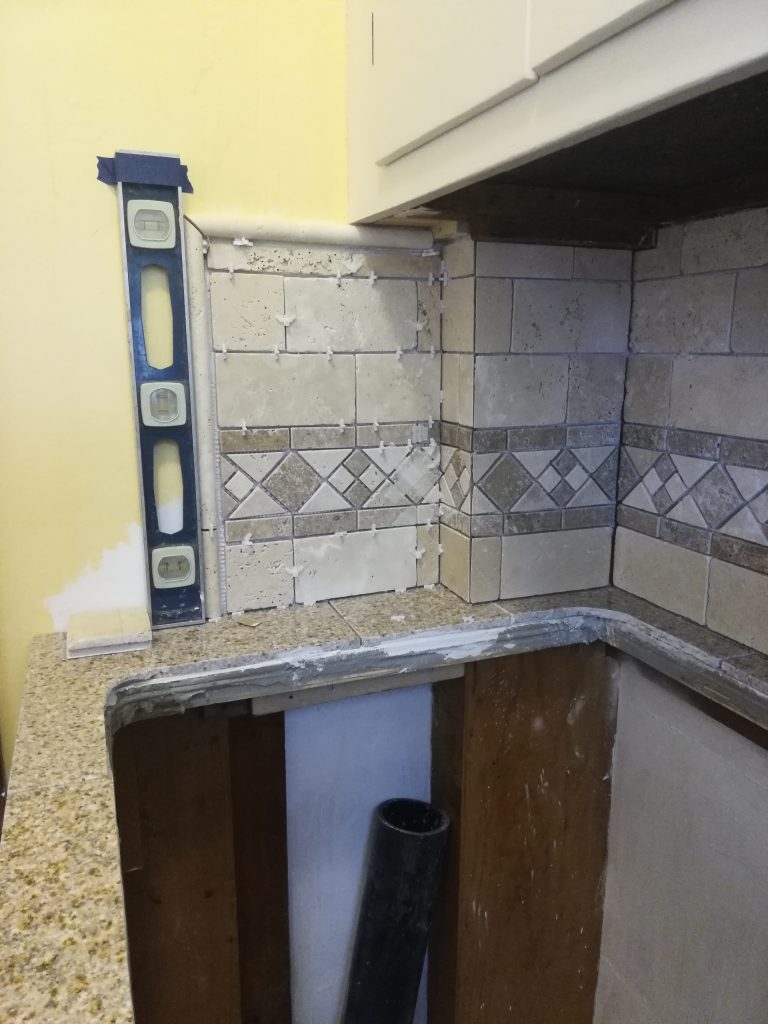
Hah, see our level fixed to the wall alongside the tiles? We always have a level nearby when we’re tiling! We literally just taped it to the wall and let the tiles dry with it there, confirming everything was plumb.
Here’s our backsplash all set and ready for grout!
Grouting the backsplash
The next step was just to grout! Except, since this travertine tile was SO porous, I decided to apply a pricey penetrating sealer before grouting. This helps prevent the tile getting stained during the grouting process and allows the grout to wash off more easily.
I simply took a paint brush and my respirator (whenever I’m around chemicals I like to use it!) and applied a coat to the tiles, then came back and wiped it off. It worked very well! When water gets on the tile, it simply beads up and sits there, so you can tell it’s not absorbing moisture.
Once the tiles had been sealed, it was time to grout! Though we normally opt for epoxy grout, this time we went with conventional.
I would actually be a little nervous to use epoxy grout on this tile, just because it’s so rough and porous. I have a feeling it would be difficult to get the epoxy residue off. It’s possible the sealer I applied would help, but conventional grout seemed to be a safer choice.
If you’d like to read about our grouting process from another project, click here!
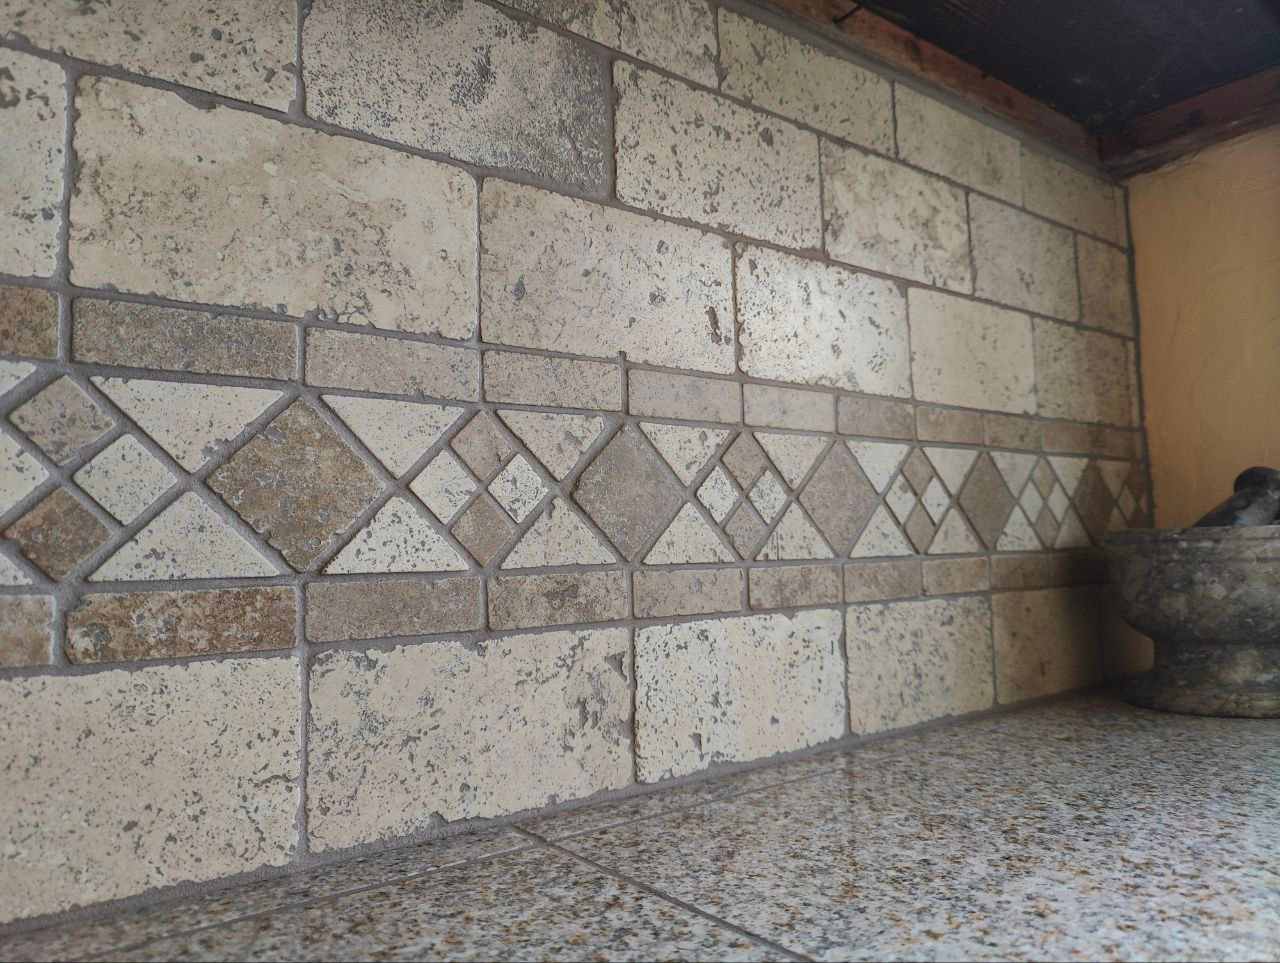
Here is the backsplash after grouting!
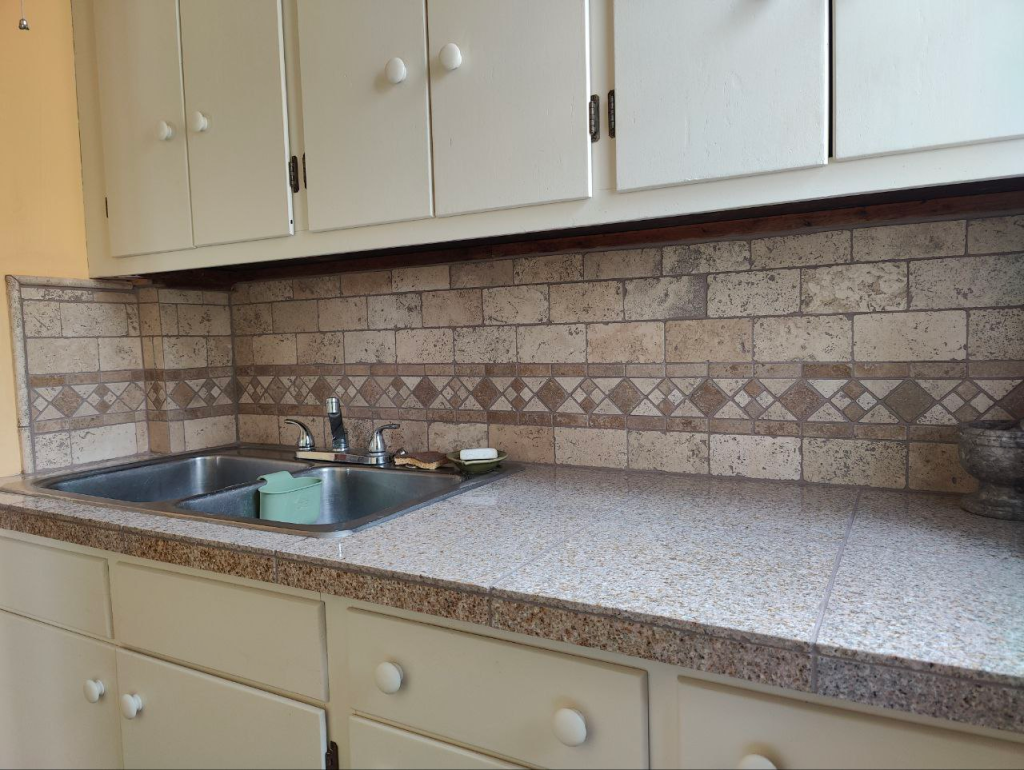
The grout definitely darkened the tile a bit, as we went with a brown color and it inevitably got stuck in the pores of the travertine. But I loved the finished look anyway! It looks so rustic and authentic, and I felt it coordinated so well color-wise with the granite tile we chose!
And I was so happy we went with real travertine… We’d used stone-look porcelain tile in our house already, but there is nothing quite like real stone!
Wrapping it all up…
I hope you enjoyed following along with us as we tiled our travertine backsplash. We love the look of the stone and how it matches our granite tile!
I hope I have inspired creativity and ideas in you for your own projects. I’d love to hear your thoughts or questions in the comments below!
Happy DIYing and tiling to everyone! Thanks so much for being here!