We started growing sprouts at home! (Spoiler alert: it’s SUPER easy!)
Disclosure: I am an Amazon affiliate and this post contains affiliate links, which means I may earn a commission (at no extra cost to you) if you purchase products mentioned.
Oh my goodness guys, this is one of those things that makes you ask yourself, “Why didn’t I start doing this sooner?!”
My husband has always been in love with alfalfa sprouts, so growing sprouts at home only made sense to us! Especially considering how expensive they can be to buy on a regular basis.
Plus, we are SO into doing anything homesteading-related. If you, too, love growing your own food, you’ll be happy to know that growing sprouts is probably the easiest place to start!
Sprouts require maybe five minutes a day of actual attention, and within a handful of days, you have a whole jar full of yummy and healthy greens!
I want to tell you guys all about how we got started, what equipment we used, and how our sprouts turned out. Let’s jump in!
The benefits of growing sprouts at home!
My husband and I have been interested in growing as much of our own food as possible because of all the benefits it would provide us. Yes, it does require an investment of our time, but we also enjoy it, so it’s a win-win!
Let’s look at the specific benefits of growing our own sprouts!
Firstly, it saves us money! This tends to be the biggest driving reason for us, not gonna lie. A little container of sprouts at the store will cost around $4, but we can make a huge jar for less than $1 at home!
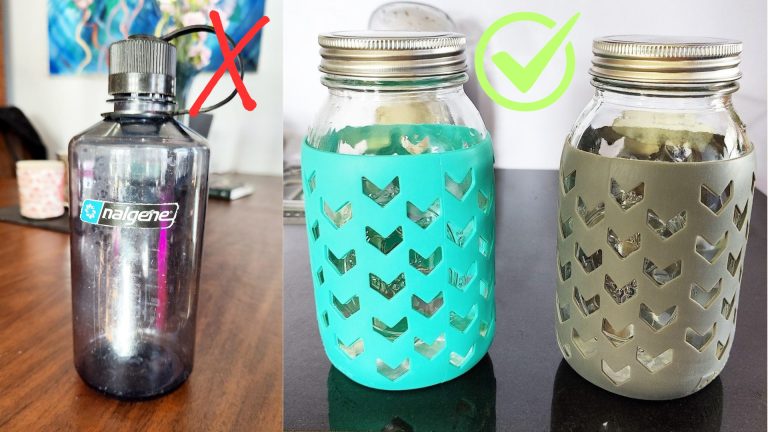
Plus, we have more control over the process when we grow sprouts ourselves. We sprout our seeds with filtered water, in glass jars, and generally also place them in glass jars for storage, which greatly reduces their exposure to plastic and chemicals.
Lastly, as I mentioned above, making our own food gives us such a feeling of satisfaction. Sprouting is such an easy way to get into the art of making your own food, and it really makes us feel like we have a little homestead in the works when we walk into our kitchen! Every step counts, right?
Now, with all that said about why we love sprouting, let’s get into how it actually works…
How does sprouting work in general?
You might have heard of sprouts but, if you haven’t, here’s a little introduction!
Sprouts are what you get when you take seeds and allow them to germinate for a brief period of time, just until those cute little first leaves emerge at the end of the sprout. Certain seeds will sprout better than others, hence the popularity of certain varieties over others.
You can even sprout certain nuts (which are really just seeds in their own right), such as almonds! But these don’t sprout in the same way to produce a lot of green vegetable matter.
In this particular post, I’m focusing on the kinds of sprouts that give you crisp and wiggly greens, which are often great for toppings or salads.
Popular varieties include alfalfa, radish, and broccoli sprouts, though there are many others as well!
And for making these sprouts, all you need to germinate the seeds is water, which is what makes the process super straightforward and low-maintenance!
The at-home sprouting process!
As I already said above, the goal of sprouting is to cause certain types of seeds to germinate and then grow until they gain their first baby leaves. This usually takes around five days to complete.
Soaking the seeds
The first step in the process of growing sprouts is to soak the seeds. The amount of soaking time required can vary depending on the seed, and usually there are instructions on the bag they came in. Usually it’s around 6-8 hours.
It does help to have the seeds in the dark while they soak, which is why I’m so happy that the sprouting kit we bought comes with jar sleeves to block out light when we want to start our sprouts during the day. Alternatively, of course, sprouts can be started at night and will have natural darkness during the soaking stage.
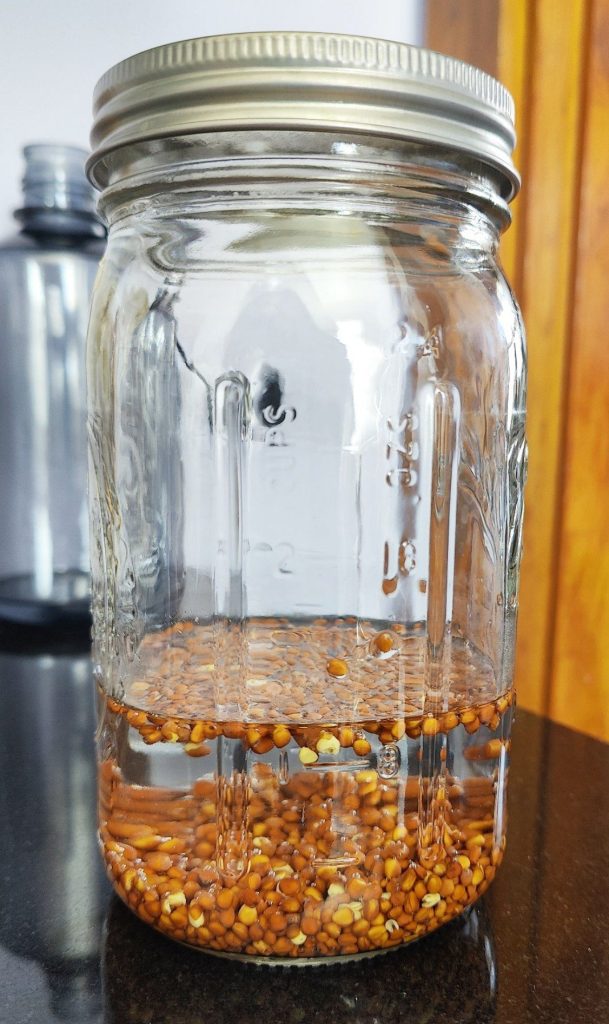

The amount of water added also depends on the seed, but generally it’s around double or triple the height of the seeds in the jar. Though don’t worry about being too precise; this is not an exact science!
Rinsing the seeds
Once the seeds have been soaked for the necessary amount of time, it is time to start rinsing them!
How often you rinse does depend, again, on the type of seed that is being sprouted, but usually twice a day is sufficient (think morning and night).
Rinsing keeps the seeds moist and also prevents bacteria from accumulating. Remember, standing water is a breeding ground for mold! But simply rinsing the sprouts twice a day will keep the bacterial growth at bay. We like to rinse ours with our reverse osmosis water (post on our epic water filter here!) since they don’t require much water and this helps to keep them unadulterated by any chemicals in our tap water.
It is also important that the seeds/sprouts (depending on their stage of growth) are allowed to drain of the leftover water from rinsing, so propping up the jars to facilitate this drainage is very important.
The kit we bought came with four stainless steel mesh lids which allow the water to drip out and the sprouts to breathe as they grow.
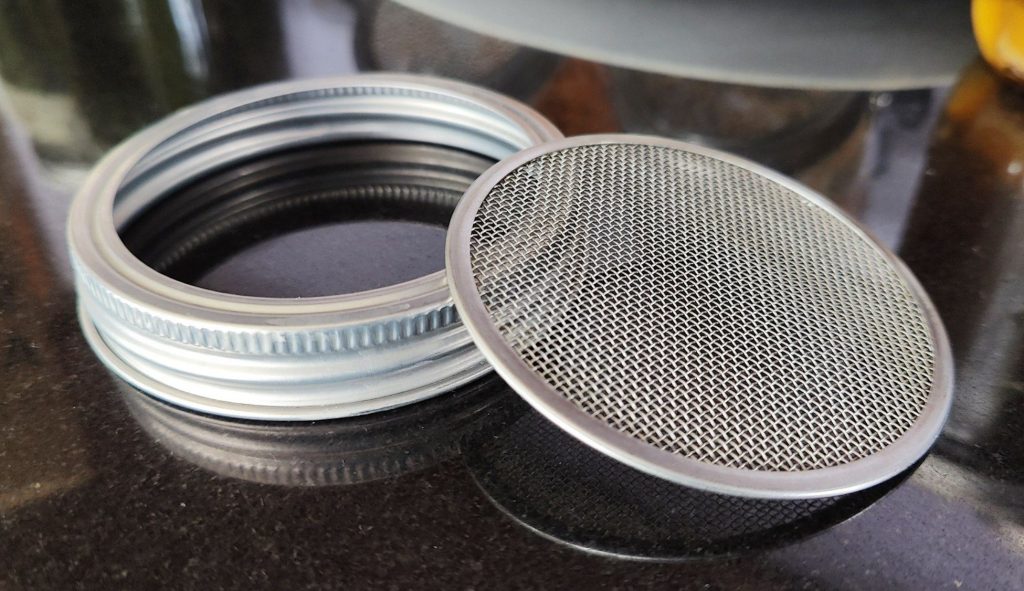
To rinse our sprouts, we simply add water directly through the mesh tops, swish it around the jar, pour it out over the sink, and then prop up our jars and allow the excess water to drain.
Thankfully, this lovely little kit came with little stands which prop up our jars at the correct angle.
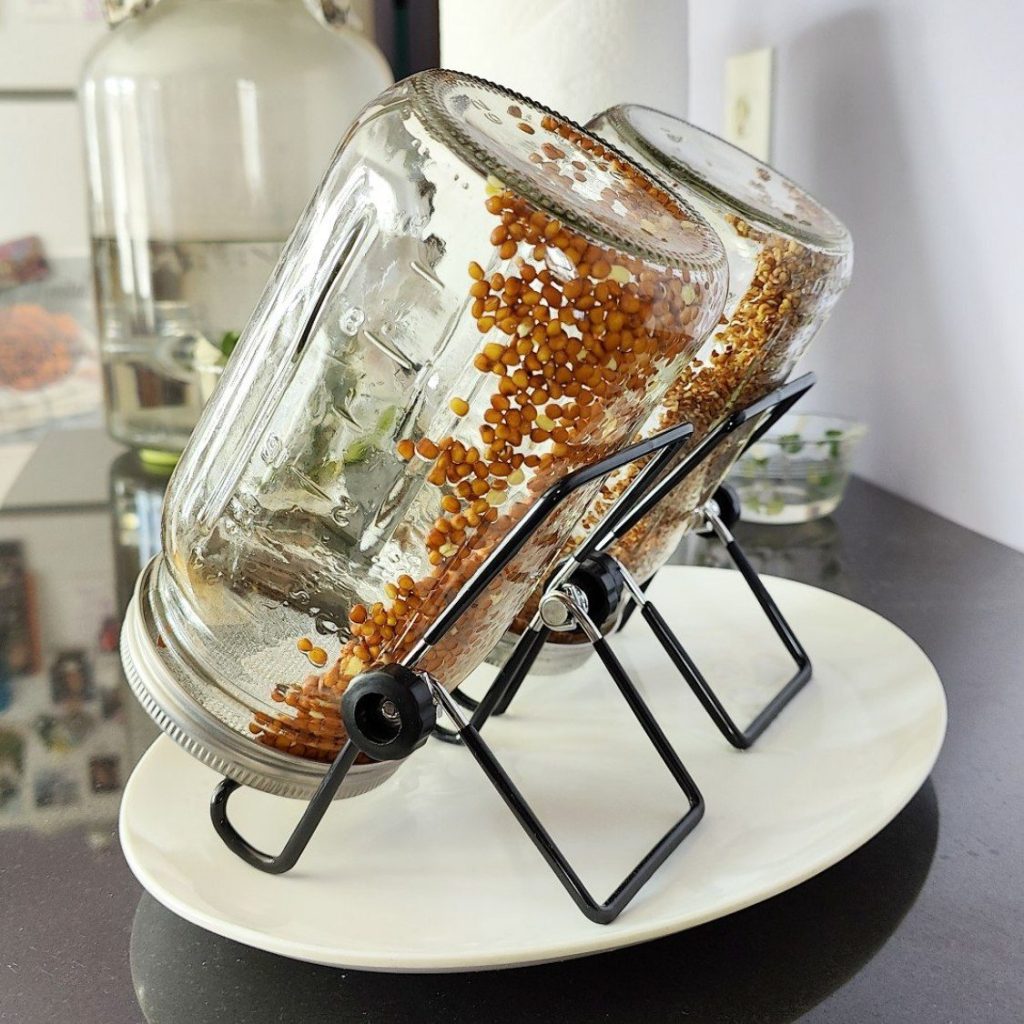
We did need to provide a plate underneath to catch the dripping water. There are tons of different sprouting kits out there, so look for what best suits your needs!
And if you don’t feel like buying anything, you can simply use a cloth instead of the stainless mesh, and place your jar in an appropriately-sized bowl to prop it up at an angle! Don’t be afraid to be creative!
Watching the sprouts grow!
As we rinsed each day, morning and night, the sprouts quickly started to emerge from their husks! It was so fun to watch the first time we did it.
Our first go was with alfalfa sprouts. We needed only two tablespoons of seeds per quart-sized mason jar. (Here are the seeds we bought!) We soaked them overnight and then began rinsing twice a day until they were ready.
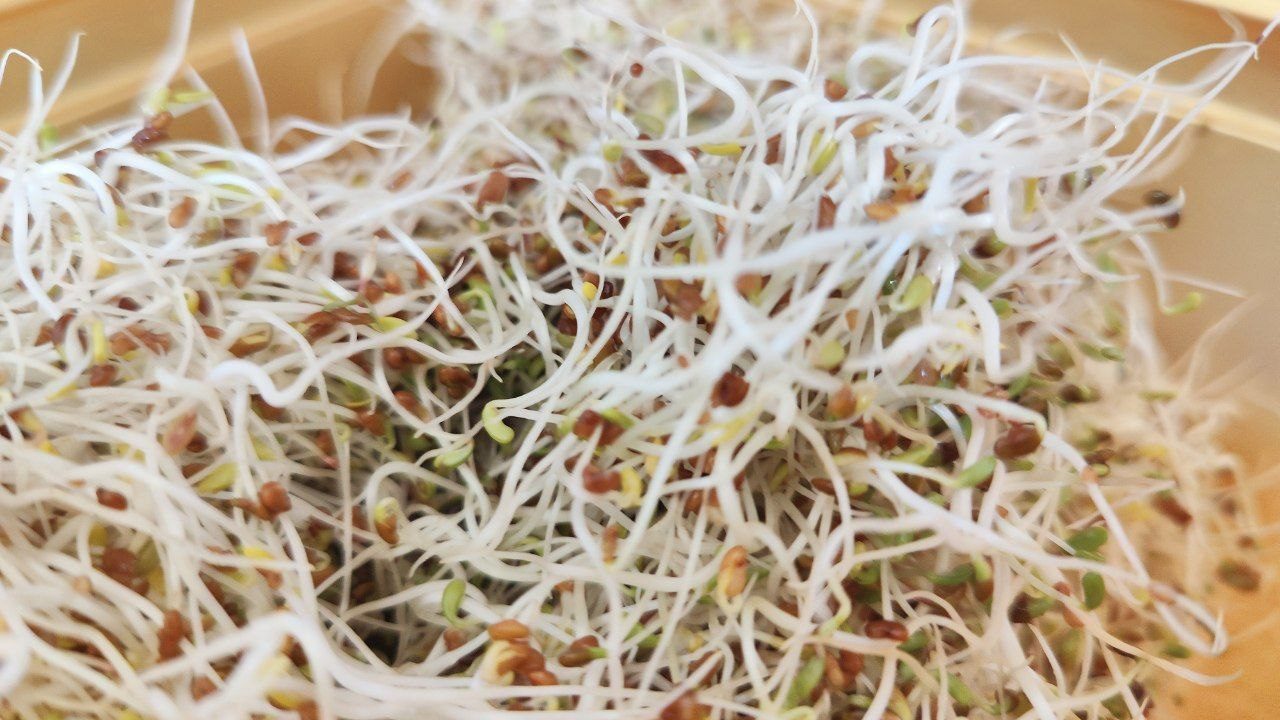
Here are some pictures showing how our alfalfa sprouts grew over several days…
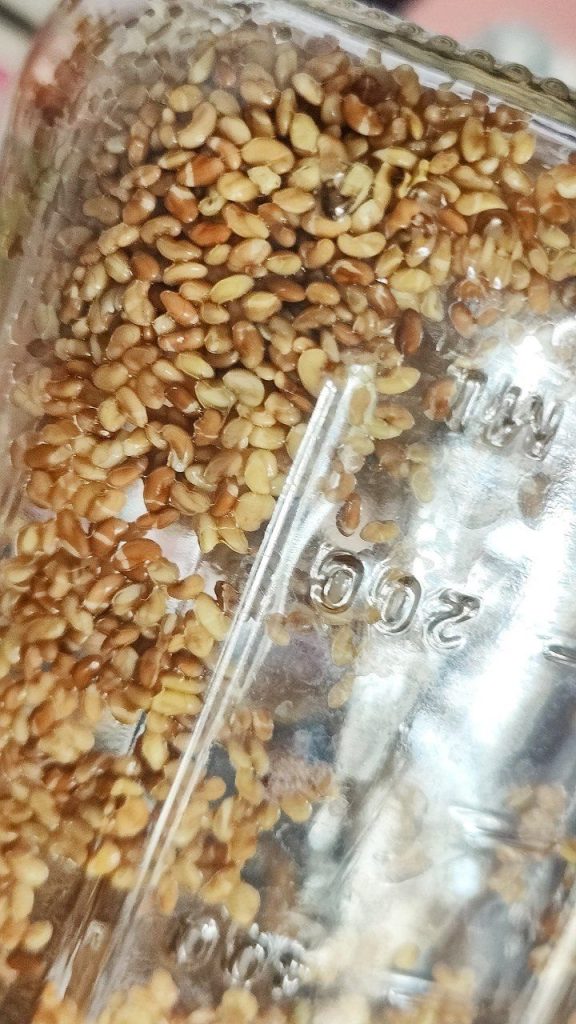
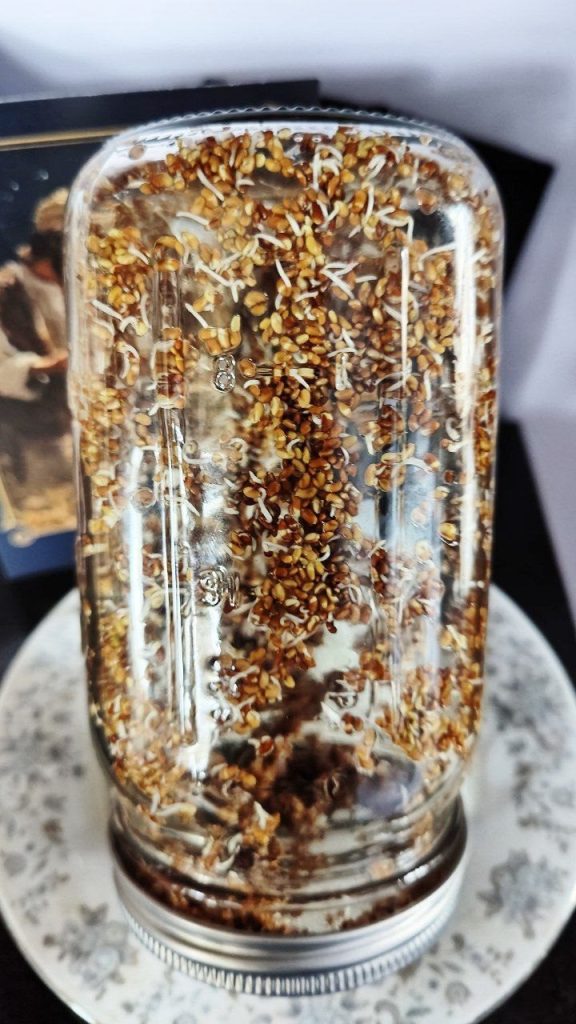
Day two (first day of rinsing)
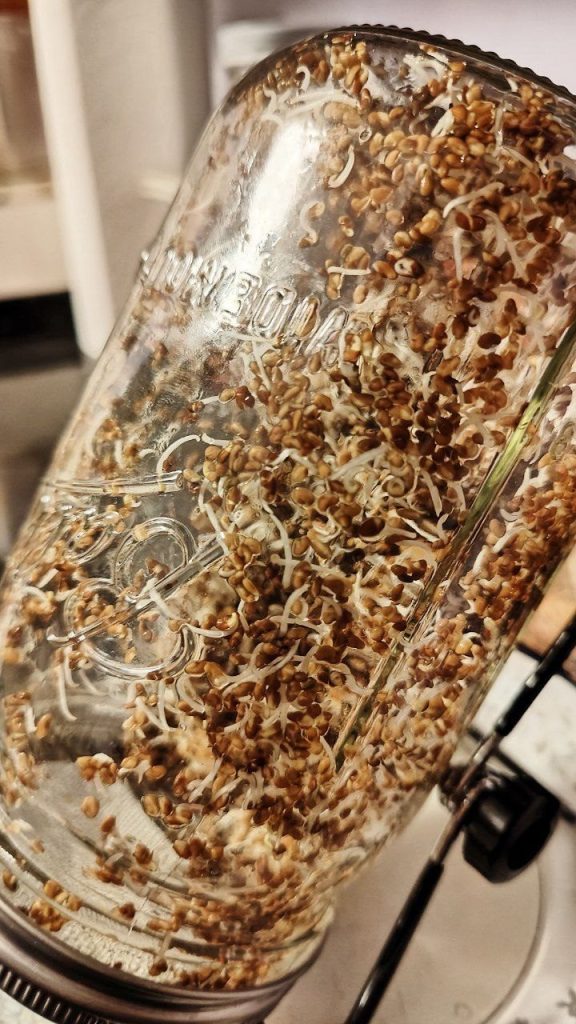
Day three (morning)
Day three (night)
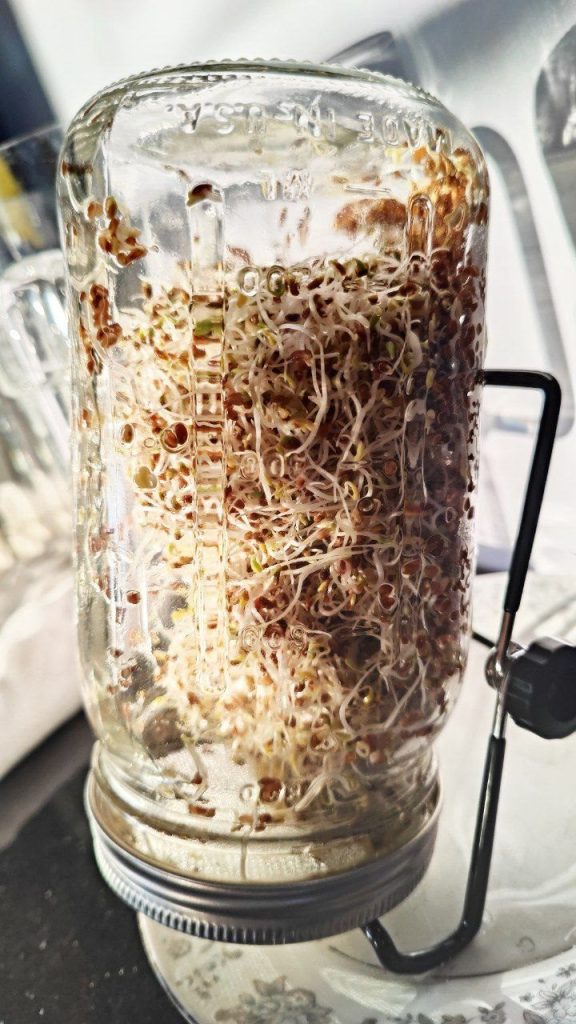
Day five (morning)
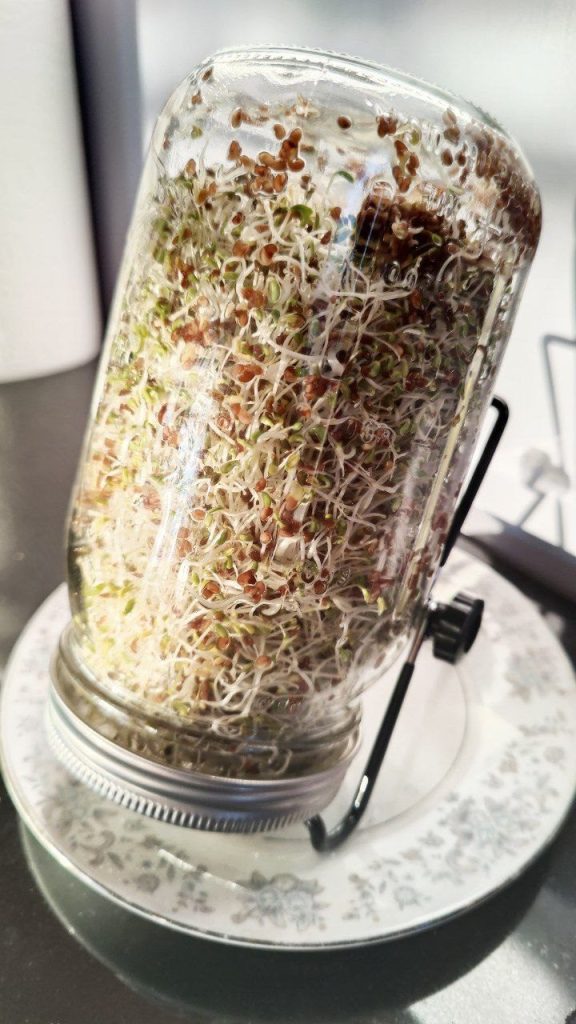
Day six (morning) – they’re ready!
Harvesting the sprouts!
And just like that, we had a bunch of alfalfa sprouts! Look how yummy they look! And how much just two tablespoons of seeds made!
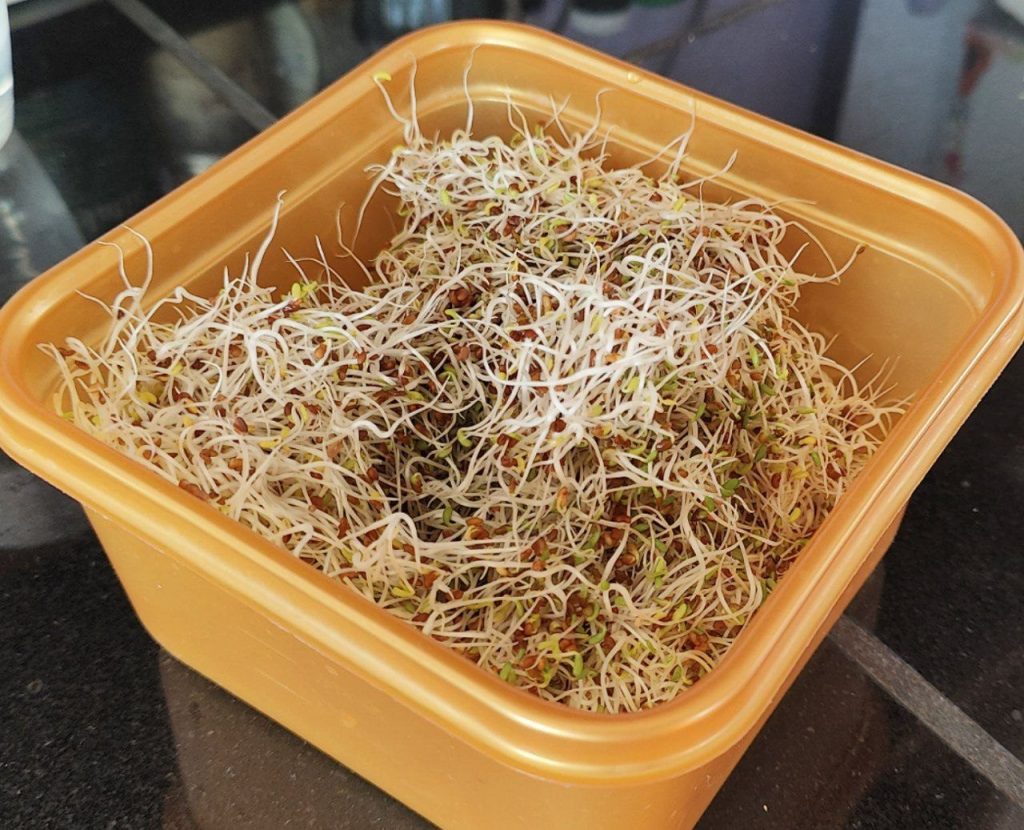
Once they were done, all we did was transfer them into the above container for storage in the fridge (we started using glass containers later on).
Trying different sprouts
Like I said before, the sprouting process does vary slightly for each type of seed, but not too much! Just make sure to read the directions on the bag and you’ll be golden!
We were definitely super excited to grow alfalfa sprouts, since my husband adores them! However, I was interested in growing some different types for myself, as I was worried the alfalfa in particular might have some negative health effects for me. I have an autoimmune disease (my story here), and a quick bit of research revealed these can potentially trigger people with autoimmunity! Figures, right?
So, I decided to purchase some organic radish sprouting seeds after my friend told me about the spicy kick they have!
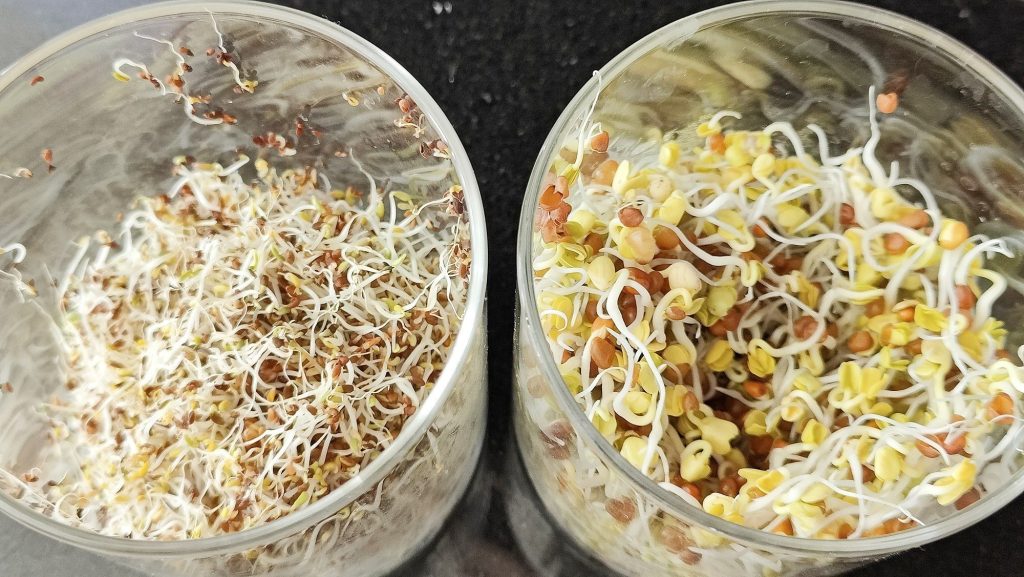
These seeds are bigger than the alfalfa and each quart-sized jar requires three tablespoons of seeds (compared to two for the alfalfa) and a bit of a longer soaking period. But the rinsing process is exactly the same!
I’ve been eating them alongside my bun-free burgers each morning and they are SUPER spicy and tasty! They literally don’t need anything on them, they have so much of their own flavor!

Here is a picture of the radish and alfalfa sprouts next to each other, to give you an idea of the difference in size.
As more time passes, I’m sure we’ll try sprouting even more seeds! There are so many options out there. I prefer to stay with the vegetable varieties, as they are more friendly to my autoimmune diet, so I might try broccoli sprouts next!
In conclusion… we LOVE growing sprouts at home!
So, I’m not sure if you guys can tell yet, but… we absolutely love our new hobby! We seriously spend a ridiculous amount of money on groceries each month, so it feels really great to be able to save somewhere!
Growing sprouts at home is a great way to save money, feel more involved in the process of making your own food, and bring a little bit of greenery to your kitchen – especially during the winter, when things can look so dead and bleak outside!
I really hope I have inspired some of you to give it a try! Please let me know your thoughts, questions, and experiences down in the comments below; I would absolutely love to help if you need it or hear your ideas!
Thanks so much for being here, and happy sprouting everyone! ♥